B
BXHD
Guest
Hey guys! i recently painted my front lion, and there's no write up for it. so i though , ehh, someone might want to know one day! or even how to take it out.
So here goes...
First you will need:
-some really fine grit sandpaper (pretty sure i used 2000 grit)
-some Prep-Wash type stuff, i used a different brand, but its the same thing.
-a plastic paint primer spray
-and the paint colour of your choice. (don't take any notice of the paint i used, aim for something for plastics, as mine has already chipped. if your not sure just ask the someone what to use)
-gloves
-old rags

Step One:
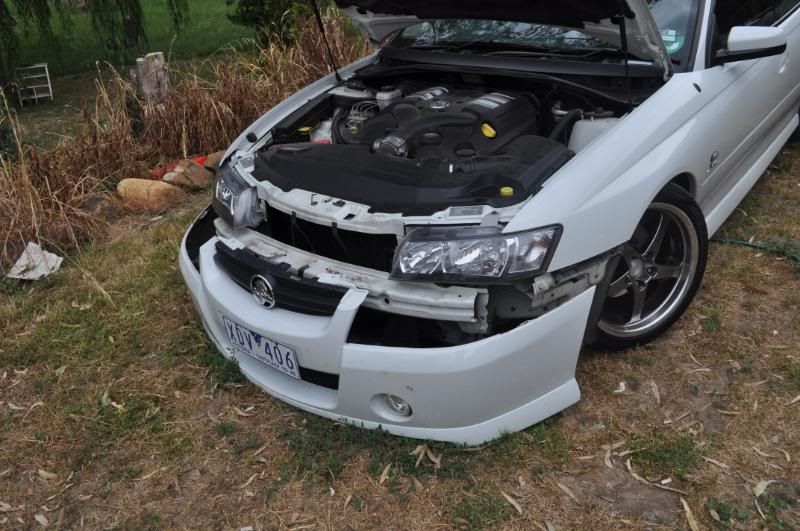
- Refer to the guide VZ SS/SV6 Bumper Removal; https://forums.justcommodores.com.au/threads/vz-sv6-ss-bumper-removal.38430
You will need to take the front bumper off, don't worry about disconnecting the foglights, you don't need to take it completely away from the car.
Step Two:
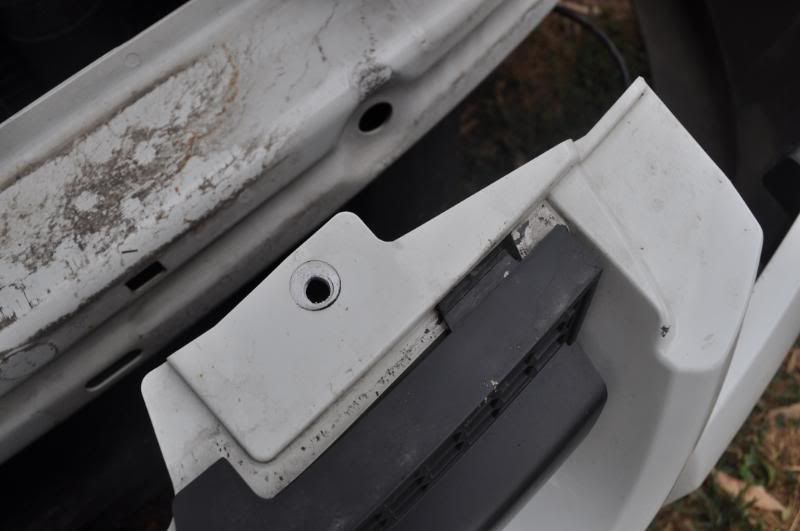
- Looking back at my pictures, i don't think this is completely necessary, but i removed the grill from the front bumper. its really easy.
All you do is locate the clips, and use your common knowledge on which way to push, and then pop it out.
WALLAHH!!

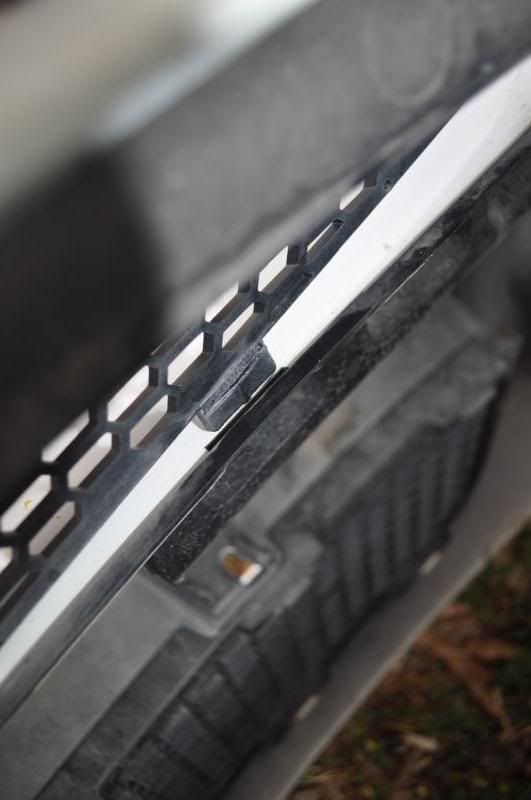
AND IT's OUT!!
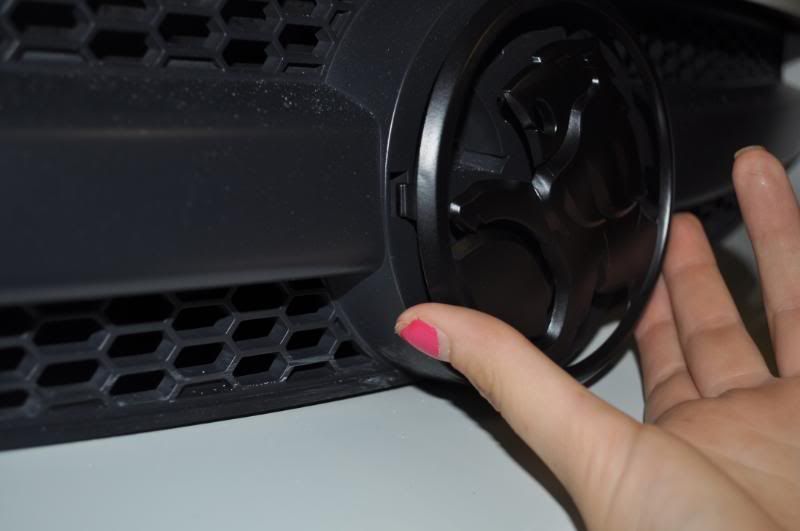
Step Three:
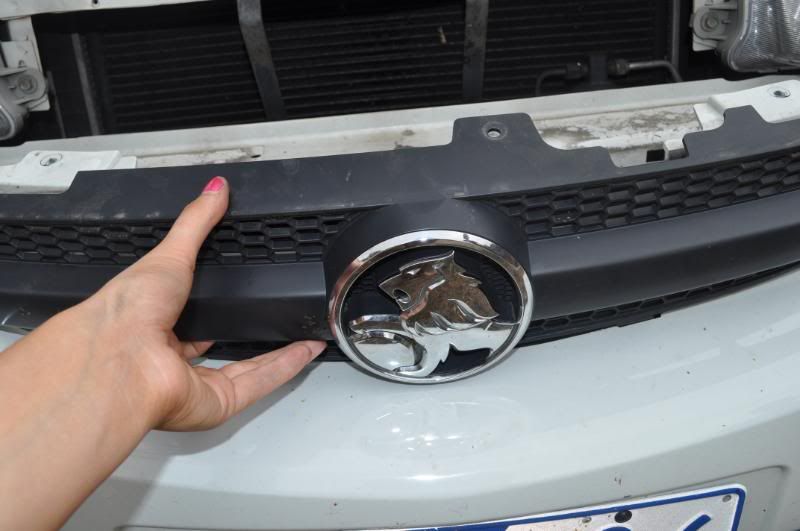
- Now you have the grill out, turn it around and you will see the clips holding the lion on.
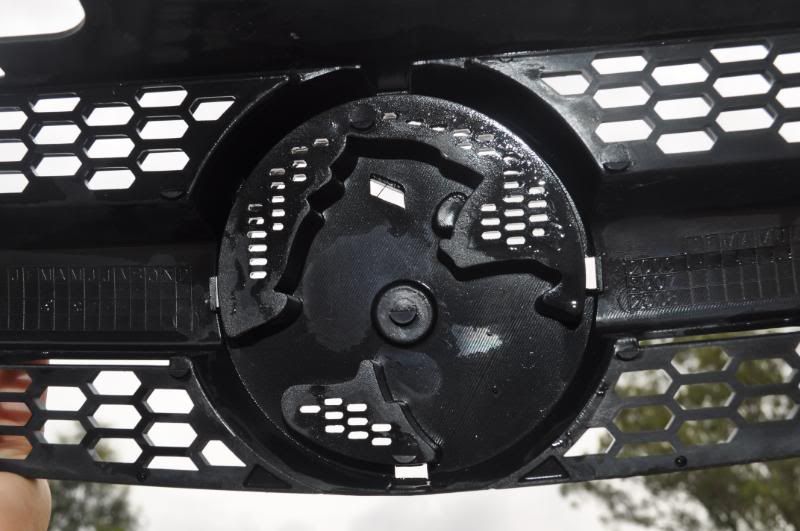
i just push these with something, your finger, or whatever you decide to use, i used a paddlepop stick, gently as you don't want to bend the clippy things.
then it just comes out easy as pie...
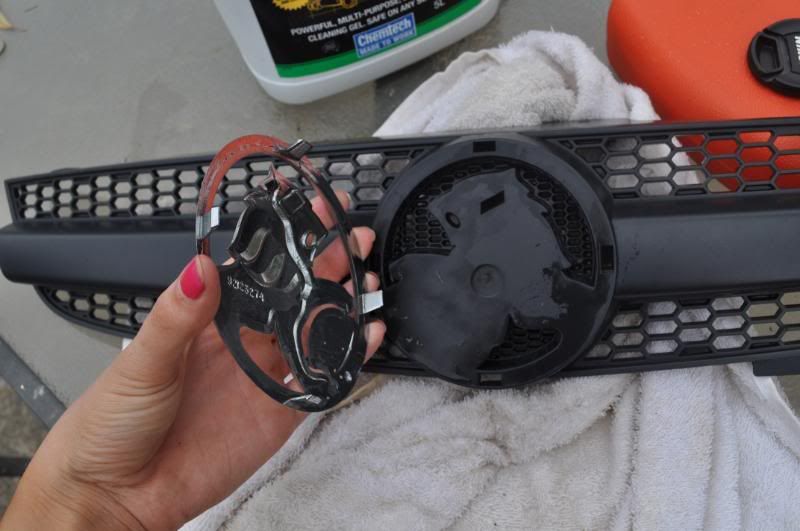
Step Four:
- Clean your lion pride and give it a nice sanding all over with your fine sand paper.
You want to rough it up so the primer and paint sticks on.
Step Five:
- Use your Prep-Wash type grease and goo remover, and give the lion a nice wiping with it, and wipe it off straight away.
Step Six:
- Primer time!!
You will want to use wear gloves now, as i held the lion at angles to make sure i sprayed everywhere, and didn't miss a spot on the side. Just follow the instructions on your primer can, and it should tell you how long till you apply the colour, etc.
(forgot to get a picture on the primer stage, but its very straight forward) :thumbsup:
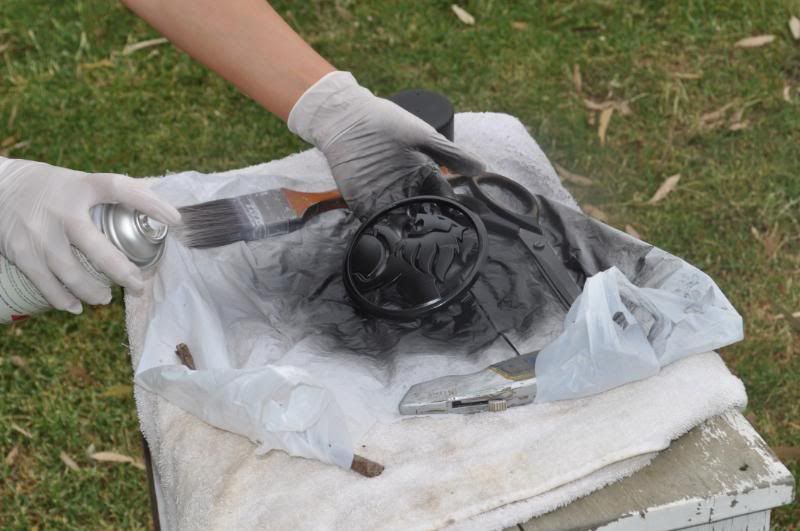
Step Seven:
- PAINT THAT MOFO!! Do however many coats, at whatever intervals the particular paint your using tells you to do.
I did one light coat, left it for 1 minute, then another heavier coat, left it for 1 hour. then one more light-medium coat, and left it for the rest of the night to dry.
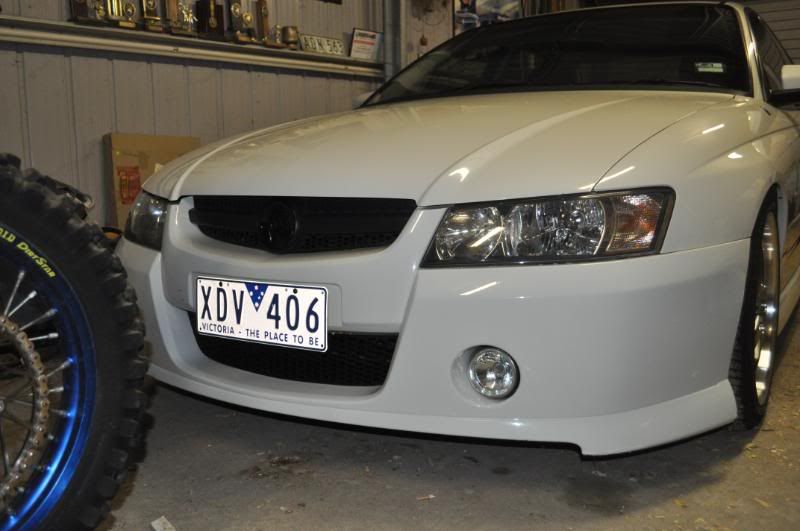
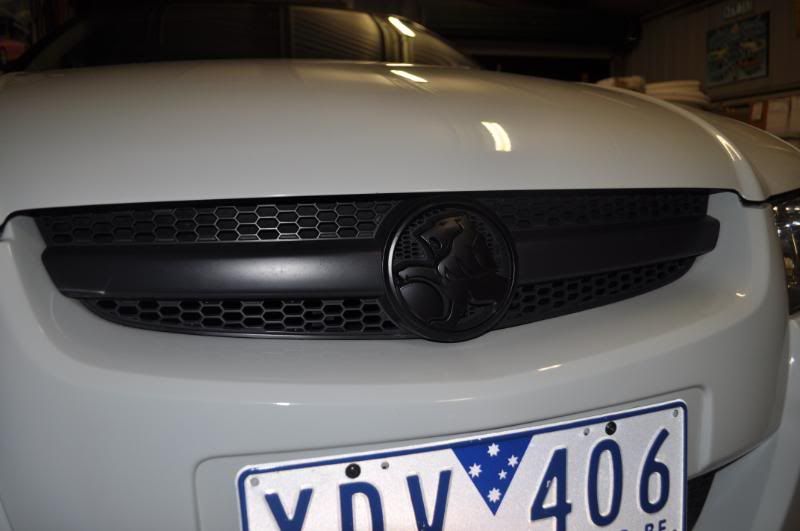
And you should end up with something like this...
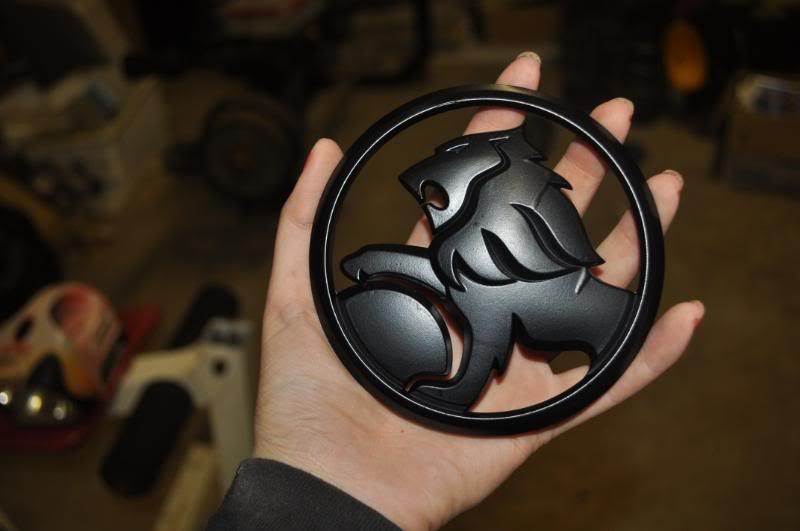
Step Eight:
- Clip the lion back into the grill, simply aim, and push. be gentle!
- Clip your grill back into your front bar, again, really simple, just put the clips in the right place, and push.
- Put your front bar back on following Troy's bumper guide.
and there you have it!!
However, i put everything back on except the lion because i was washing my car, and didn't want to hit my freshly painted lion with the pressure washer
so if u want your lion to chill over night. or over the day and let the paint settle more. then just put everything else back on, but the lion, and it clips on from the outside, so u just have to aim, and push

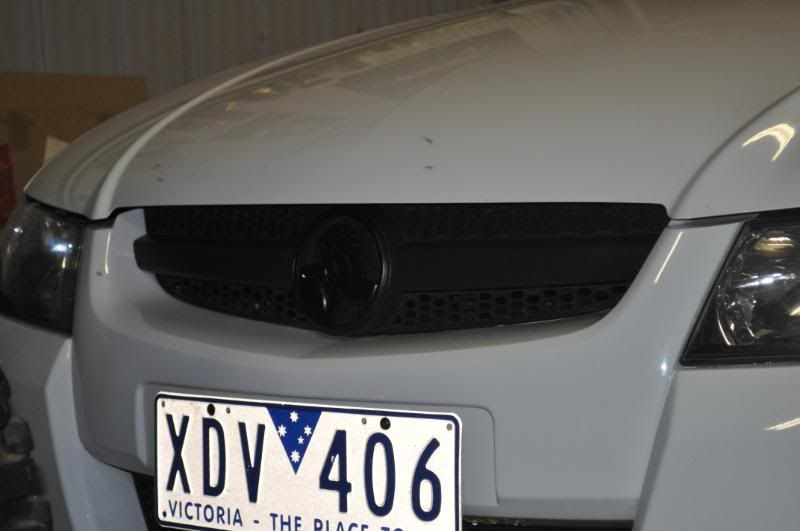
Step Nine:
-Admire your skills, and your mean looking car. RAWRRRRRRR!!!:beer chug:
I hope this guide helped if anyone wants to paint their lion, or just take it off for funzies
So here goes...
First you will need:
-some really fine grit sandpaper (pretty sure i used 2000 grit)
-some Prep-Wash type stuff, i used a different brand, but its the same thing.
-a plastic paint primer spray
-and the paint colour of your choice. (don't take any notice of the paint i used, aim for something for plastics, as mine has already chipped. if your not sure just ask the someone what to use)
-gloves
-old rags
Step One:
- Refer to the guide VZ SS/SV6 Bumper Removal; https://forums.justcommodores.com.au/threads/vz-sv6-ss-bumper-removal.38430
You will need to take the front bumper off, don't worry about disconnecting the foglights, you don't need to take it completely away from the car.
Step Two:
- Looking back at my pictures, i don't think this is completely necessary, but i removed the grill from the front bumper. its really easy.
All you do is locate the clips, and use your common knowledge on which way to push, and then pop it out.
WALLAHH!!
AND IT's OUT!!
Step Three:
- Now you have the grill out, turn it around and you will see the clips holding the lion on.
i just push these with something, your finger, or whatever you decide to use, i used a paddlepop stick, gently as you don't want to bend the clippy things.
then it just comes out easy as pie...
Step Four:
- Clean your lion pride
and give it a nice sanding all over with your fine sand paper.You want to rough it up so the primer and paint sticks on.
Step Five:
- Use your Prep-Wash type grease and goo remover, and give the lion a nice wiping with it, and wipe it off straight away.
Step Six:
- Primer time!!
You will want to use wear gloves now, as i held the lion at angles to make sure i sprayed everywhere, and didn't miss a spot on the side. Just follow the instructions on your primer can, and it should tell you how long till you apply the colour, etc.
(forgot to get a picture on the primer stage, but its very straight forward) :thumbsup:
Step Seven:
- PAINT THAT MOFO!! Do however many coats, at whatever intervals the particular paint your using tells you to do.
I did one light coat, left it for 1 minute, then another heavier coat, left it for 1 hour. then one more light-medium coat, and left it for the rest of the night to dry.
And you should end up with something like this...
Step Eight:
- Clip the lion back into the grill, simply aim, and push. be gentle!
- Clip your grill back into your front bar, again, really simple, just put the clips in the right place, and push.
- Put your front bar back on following Troy's bumper guide.
and there you have it!!
However, i put everything back on except the lion because i was washing my car, and didn't want to hit my freshly painted lion with the pressure washer
so if u want your lion to chill over night. or over the day and let the paint settle more. then just put everything else back on, but the lion, and it clips on from the outside, so u just have to aim, and push
Step Nine:
-Admire your skills, and your mean looking car. RAWRRRRRRR!!!:beer chug:
I hope this guide helped if anyone wants to paint their lion, or just take it off for funzies