HarmlessMuffinMan
Member
- Joined
- Nov 1, 2010
- Messages
- 300
- Reaction score
- 12
- Points
- 18
- Age
- 36
- Location
- Armidale, NSW
- Members Ride
- VX Commodore 2002 Executive v6. Ex Patrol Car
I’d be lying if I didn’t tell you that I just drank a six pack of Mids. I don’t drink much alcohol other than a glass of wine here and there, and I am on anti-depressants, so alcohol and I don’t mix… I’m telling you this because I usually start a how to by saying something profound and almost half intelligent. But you don’t get that today, because I’m half cast and my gentleman sausage is tingling slightly.
So this is a how to on changing your front stabiliser bushes.
These need to be changed at about the 180-200k KM mark depending on how the car has been driven (I don’t actually know that for a fact, I’m guessing it and trying very hard to make myself, and indeed this how to, look smart and well informed). The problem I had that led me to replacing these expensive bastards is my car would shudder braking down a very steep hill. Of course once replaced, my car no longer shuddered. But to be honest I missed the feeling of it, and I daresay so will the woman I want to be my girlfriend… As it was like sitting in a giant vibrator, and rather pleasurable.
Now you are going to need to head down to repco and buy yourself a replacement kit for this. It will set you back $240, however if you have road side assist with NRMA, present your card and you will get 20% in February, and 10% all other months. These bushes cost me $170 with my mother’s NRMA card.
And this is what you get in the kit.
Ontop of this you are going to need a 24mm Spanner, a ½ spanner, a rag, and something small and round to have sex with your bushes (Not your penis).
As always I take no responsibility if you truck your car up, and always recommend that women stay in the kitchen and make a male do the job for them. Things you can do while this is happening is bake a cake, or make a ham and cheese sandwich.
And as always, have a 6 pack of your favourite beer available.
Step 1
Jack your car up on either side with a jack, and put in car stands so the car doesn’t fall on top of you and make your brain splatter all over the cement. Of course if you don’t do this, and do get killed, we will all laugh at you and congratulate natural selection.
Step 2
Locate your front bushes and start by removing the ½ inch bolts from the front plate. They won’t be too tight but you might need some excessive force. If the nuts are slightly stripped in any way shape or form, you should replace them like you would a condom after a long night of watching porn by yourself because you are a derro who uses the word ‘tuff’ and no women or man in their right mind would want to sleep with you. Really, its people like you who give commodore drivers a bad name, you should be ashamed.
Step 3
After you have done that you need to remove the middle bolt with a 24 mm spanner. If you are having trouble doing so (as the bush is most likely more used then a whores ass), then you can do this little trick to get extra leverage.
Then simply pull the bush out and make sure you remove any spacers that are still on the stabiliser bar.
Step 4
Now we get into the fun part, assembly. You start by slipping the metal sleeve into the bush like so.
It’s going to be a tight fit (unlike your girlfriend’s twat), so you may need to use a little force such as a hammer. Once you have done that, you need to grease up the inside and the flat bits at the end with the grease provided in the kit. I found the easiest way to do so was to use my cold chisel, with a penetrating motion, to fill the inside of the bush wish grease. Now make sure it is extra greasy. Think of the first time you busted up a virgin and how much lube you put down there because you suck at foreplay. That’s how much you need.
Step 5
Now once you have done that you need to figure out what kind of camber you have on your front wheels, if it’s just stock then you go a normal setup, however if it’s changed, then you need to figure out which setup you are going to go. I’m not going to help you with this because I actually don’t know what the #### I’m talking about, however there will be a piece of paper that comes with it which will help you out with the correct setup. Normal people will use the top right setup.
Step 6
Once you have figured out the one you are going to use, then assemble. From here on it the how to is focused around the normal setup.
Take your first three spacers and push them onto the rod (These will be 8mm, then 2mm, then flat metal disk). Congratulations, you have the basic motor skills to put rings on a bar. Go tell your mother of your achievement, she will be most proud.
Step 7
Slide on your metal disk, then your 4mm spacer, and tighten up the bolt as hard as you can. Seriously, get some muscle into you. This bad baby needs to be tighter then a Pedobear victim.
Step 8
Tighten up the ½ inch nuts using the usual pattern of tightening one, then the other furthest away from the one you tightened. For example, bottom right, then top left, then top right, then bottom left. Don’t be an idiot and do it wrong of you will crash and we will all laugh at you and natural selection blah blah blah you know the deal.
Step 9
After this you need to loosen the 22mm bolt about half a turn. This is so that when you finally do tighten it the car is in the right position. If you leave it tight, and then lower your car and leave it how it is, you will twist and #### the bush and have to replace it within three months. Natural selection yadda yadda yadda.
Step 10
Lower your car off the jacks, and pushing down on the front, bounce the car up and down so the suspension settles into the correct position.
Now get under the car and tighten that 22mm bolt as tight as you can get it. Take it for a test drive and feel the difference! Notable improvements will be that steering is sharper, there is less body roll, and you don’t feel like you are going to fly out your windscreen when you break sharply. After the test drive, get back under there and double check they are nice and tight.
Step 11

Need I comment?
Conclusion
If you have any troubles, or I did something wrong, or have suggestions or whatever, comment below. Always happy to hear feedback, however if you are a woman I probably won’t pay attention unless you are topless, or have some sort of food in your hands that you cooked for me.
Thanks for your time and goodluck you bunch of wankers!
So this is a how to on changing your front stabiliser bushes.
These need to be changed at about the 180-200k KM mark depending on how the car has been driven (I don’t actually know that for a fact, I’m guessing it and trying very hard to make myself, and indeed this how to, look smart and well informed). The problem I had that led me to replacing these expensive bastards is my car would shudder braking down a very steep hill. Of course once replaced, my car no longer shuddered. But to be honest I missed the feeling of it, and I daresay so will the woman I want to be my girlfriend… As it was like sitting in a giant vibrator, and rather pleasurable.
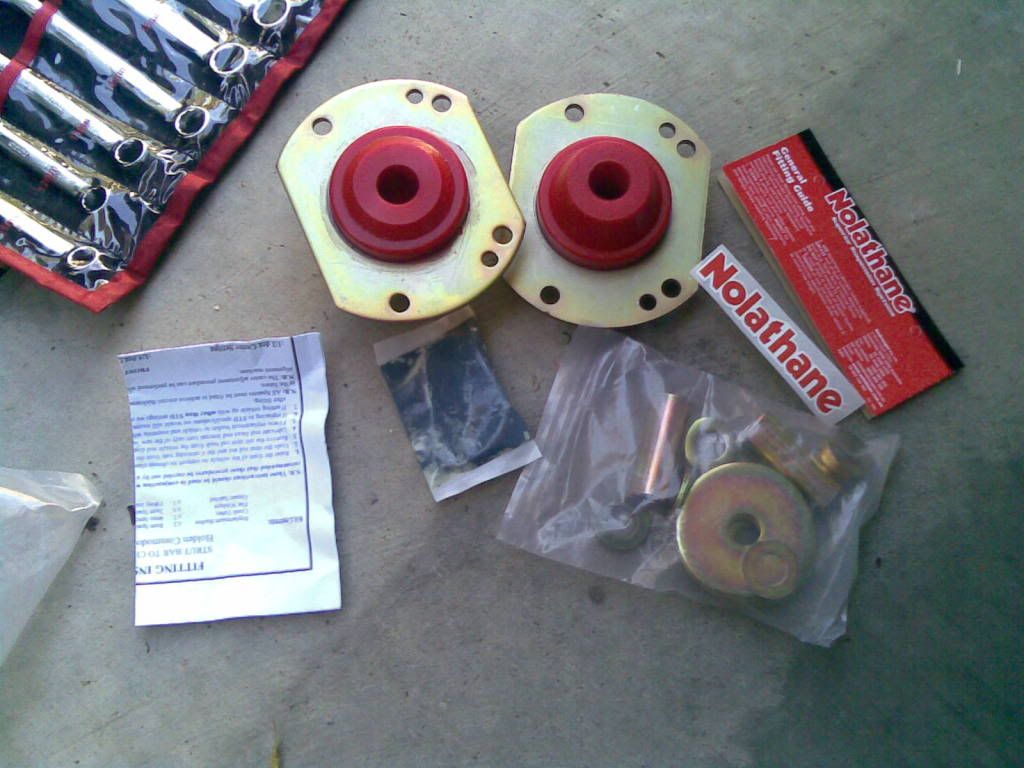
Now you are going to need to head down to repco and buy yourself a replacement kit for this. It will set you back $240, however if you have road side assist with NRMA, present your card and you will get 20% in February, and 10% all other months. These bushes cost me $170 with my mother’s NRMA card.
And this is what you get in the kit.
Ontop of this you are going to need a 24mm Spanner, a ½ spanner, a rag, and something small and round to have sex with your bushes (Not your penis).
As always I take no responsibility if you truck your car up, and always recommend that women stay in the kitchen and make a male do the job for them. Things you can do while this is happening is bake a cake, or make a ham and cheese sandwich.
And as always, have a 6 pack of your favourite beer available.
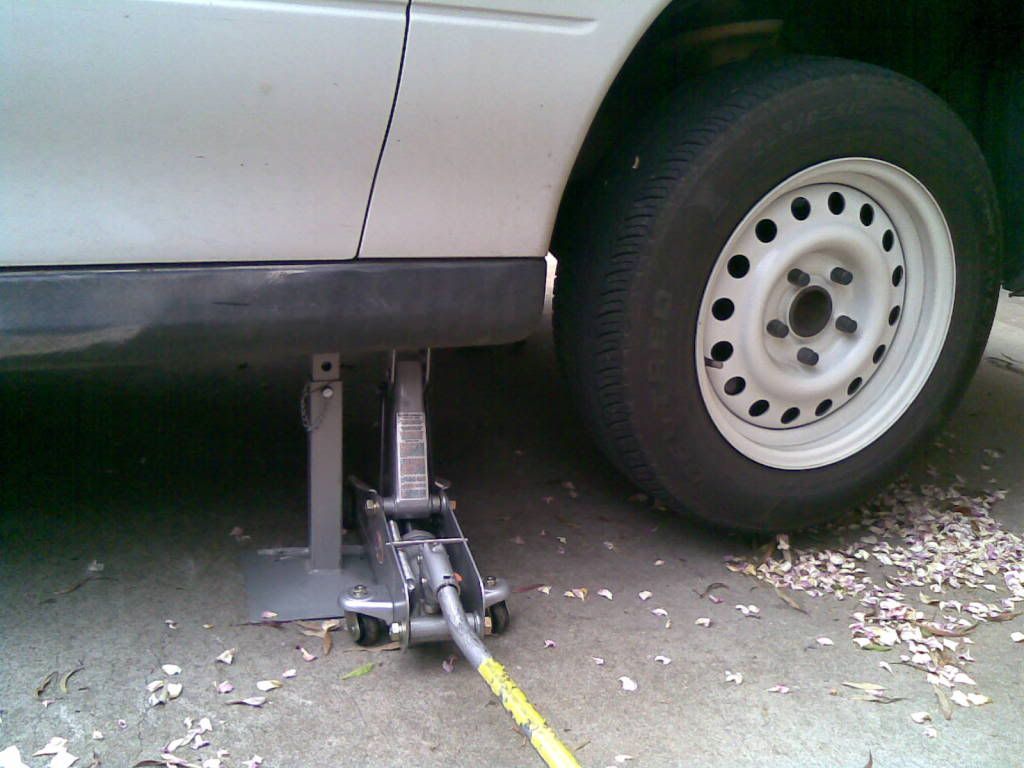
Step 1
Jack your car up on either side with a jack, and put in car stands so the car doesn’t fall on top of you and make your brain splatter all over the cement. Of course if you don’t do this, and do get killed, we will all laugh at you and congratulate natural selection.
Step 2
Locate your front bushes and start by removing the ½ inch bolts from the front plate. They won’t be too tight but you might need some excessive force. If the nuts are slightly stripped in any way shape or form, you should replace them like you would a condom after a long night of watching porn by yourself because you are a derro who uses the word ‘tuff’ and no women or man in their right mind would want to sleep with you. Really, its people like you who give commodore drivers a bad name, you should be ashamed.
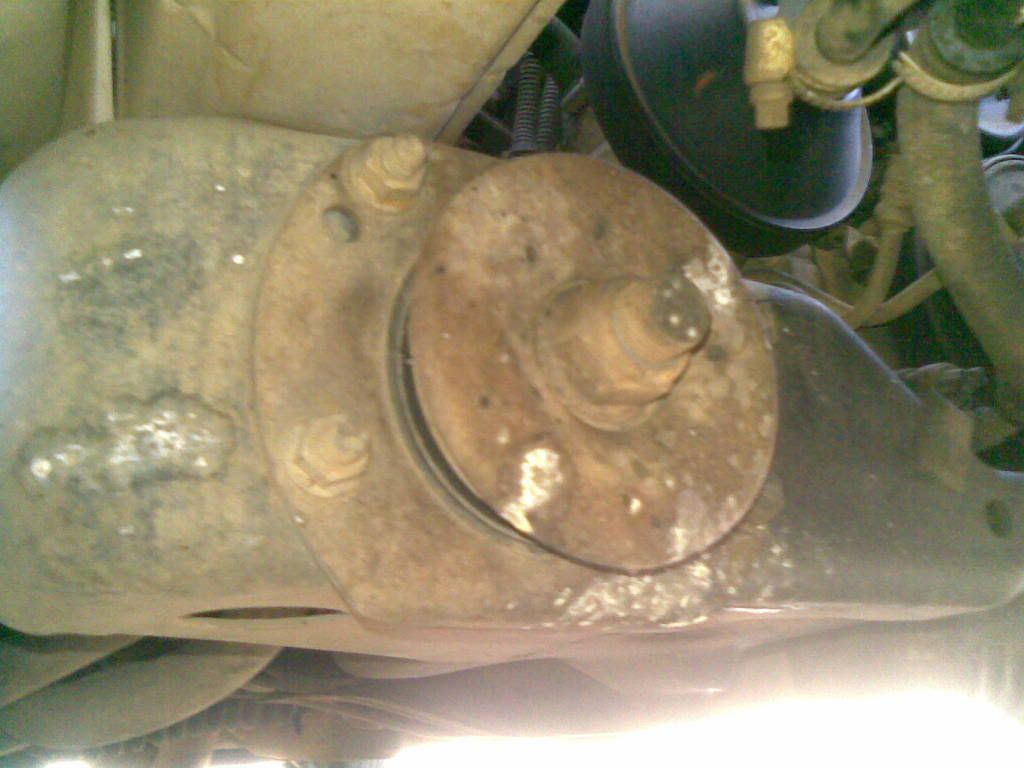
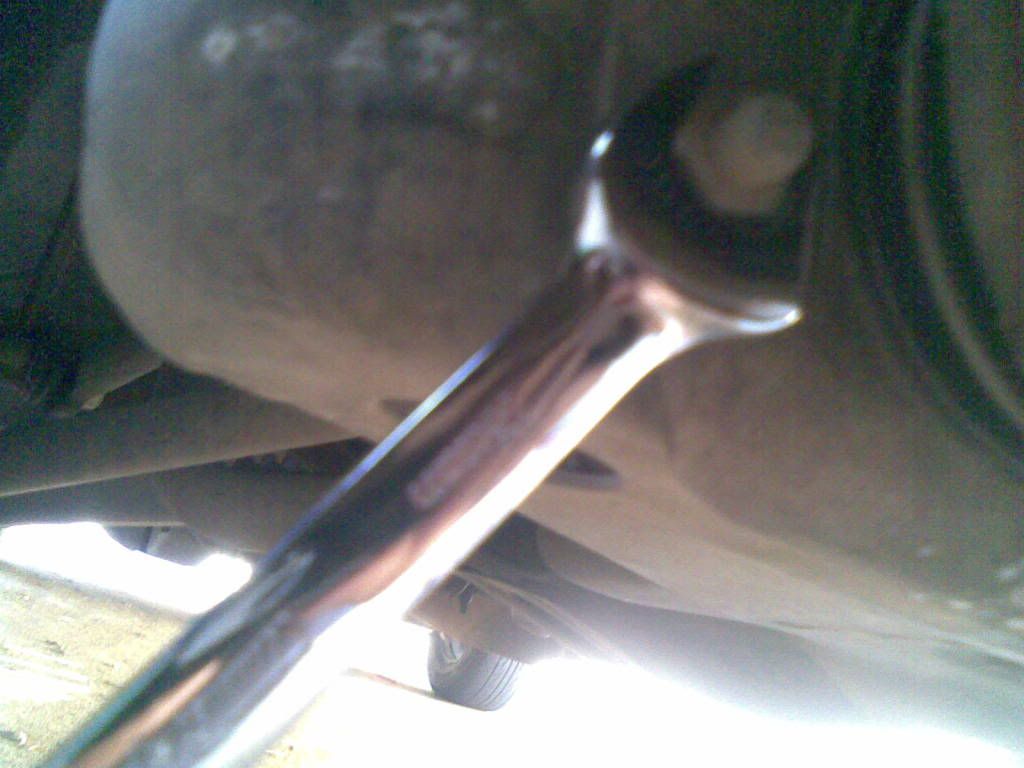
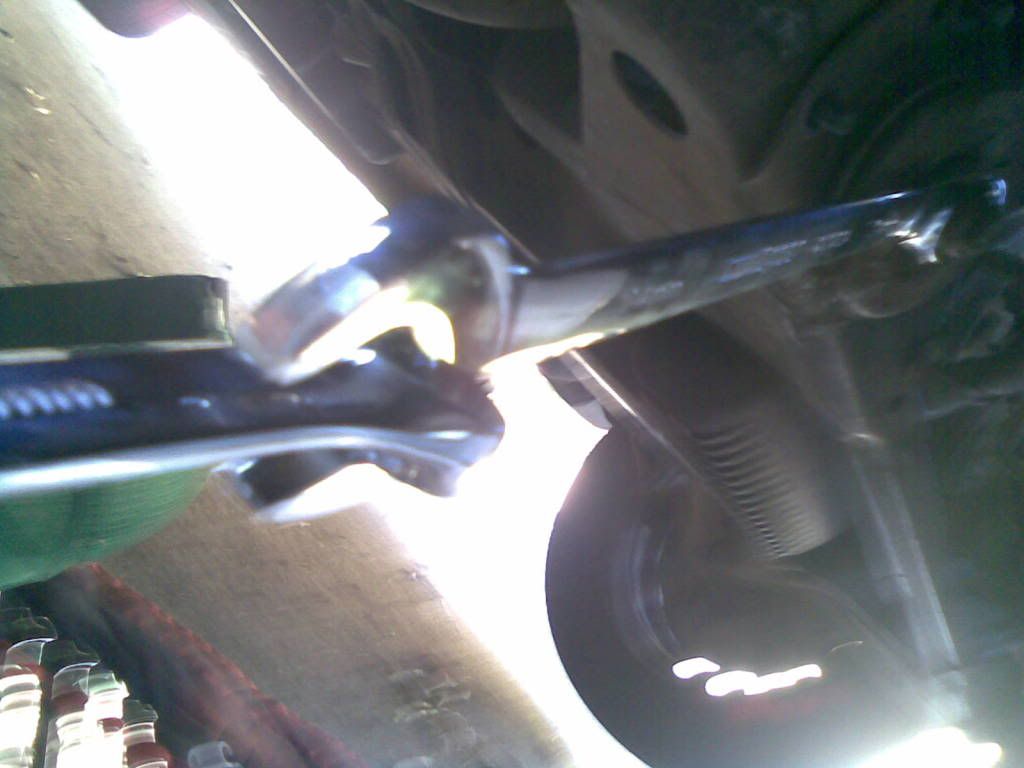
Step 3
After you have done that you need to remove the middle bolt with a 24 mm spanner. If you are having trouble doing so (as the bush is most likely more used then a whores ass), then you can do this little trick to get extra leverage.
Then simply pull the bush out and make sure you remove any spacers that are still on the stabiliser bar.
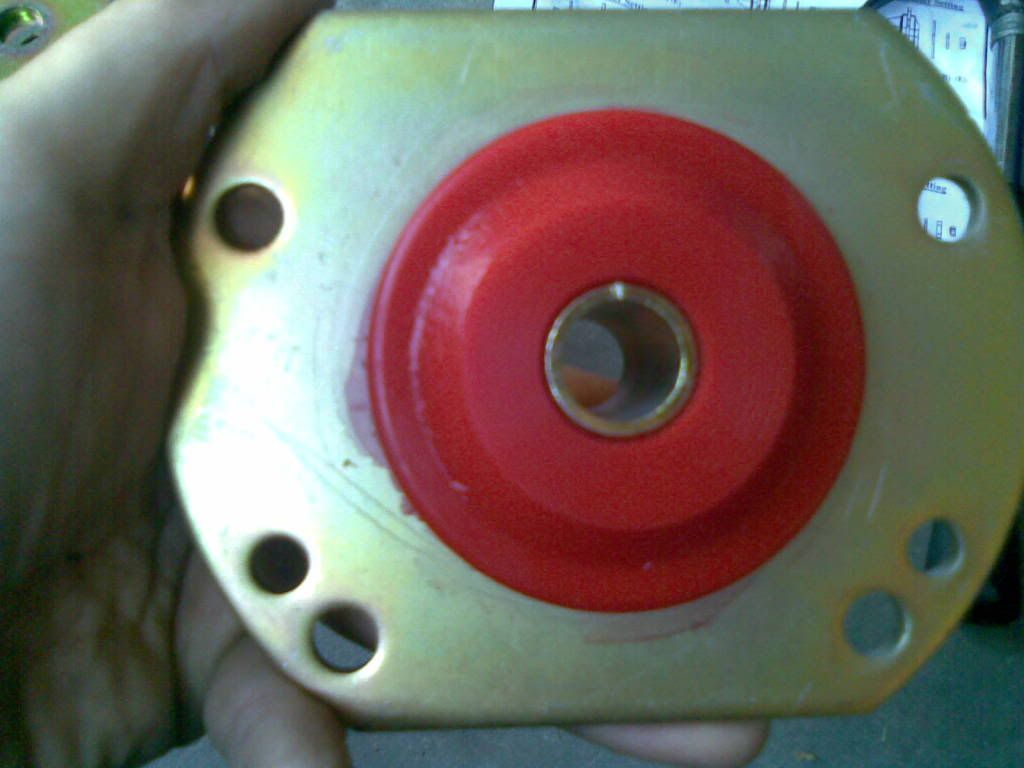
Step 4
Now we get into the fun part, assembly. You start by slipping the metal sleeve into the bush like so.
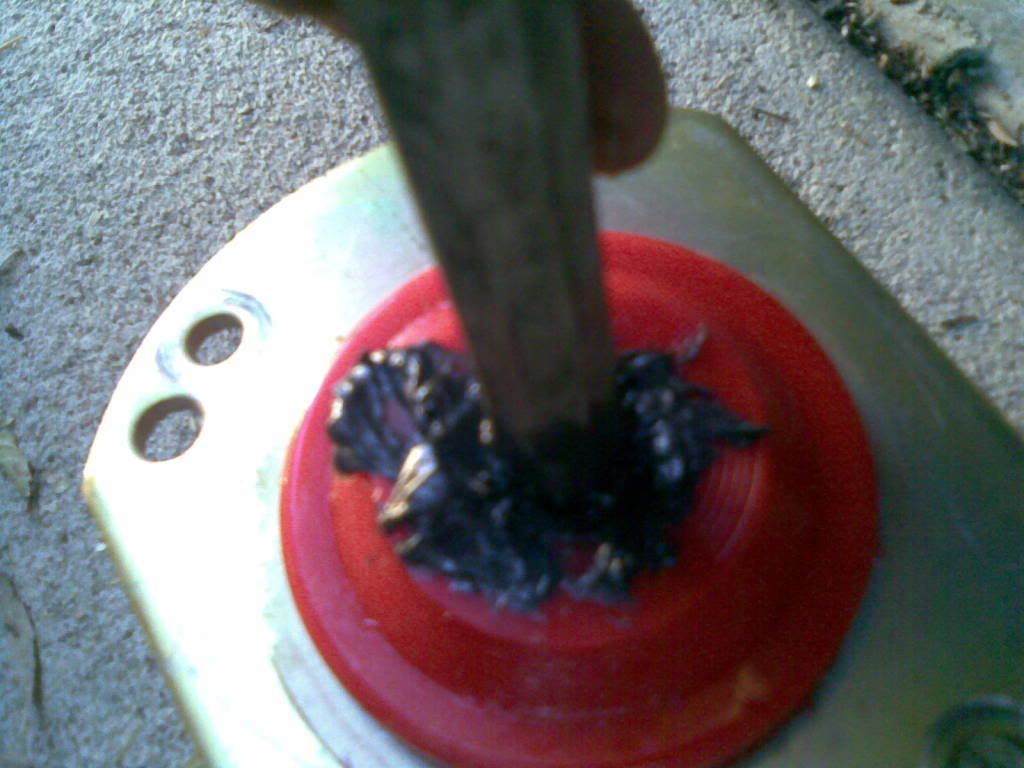
It’s going to be a tight fit (unlike your girlfriend’s twat), so you may need to use a little force such as a hammer. Once you have done that, you need to grease up the inside and the flat bits at the end with the grease provided in the kit. I found the easiest way to do so was to use my cold chisel, with a penetrating motion, to fill the inside of the bush wish grease. Now make sure it is extra greasy. Think of the first time you busted up a virgin and how much lube you put down there because you suck at foreplay. That’s how much you need.
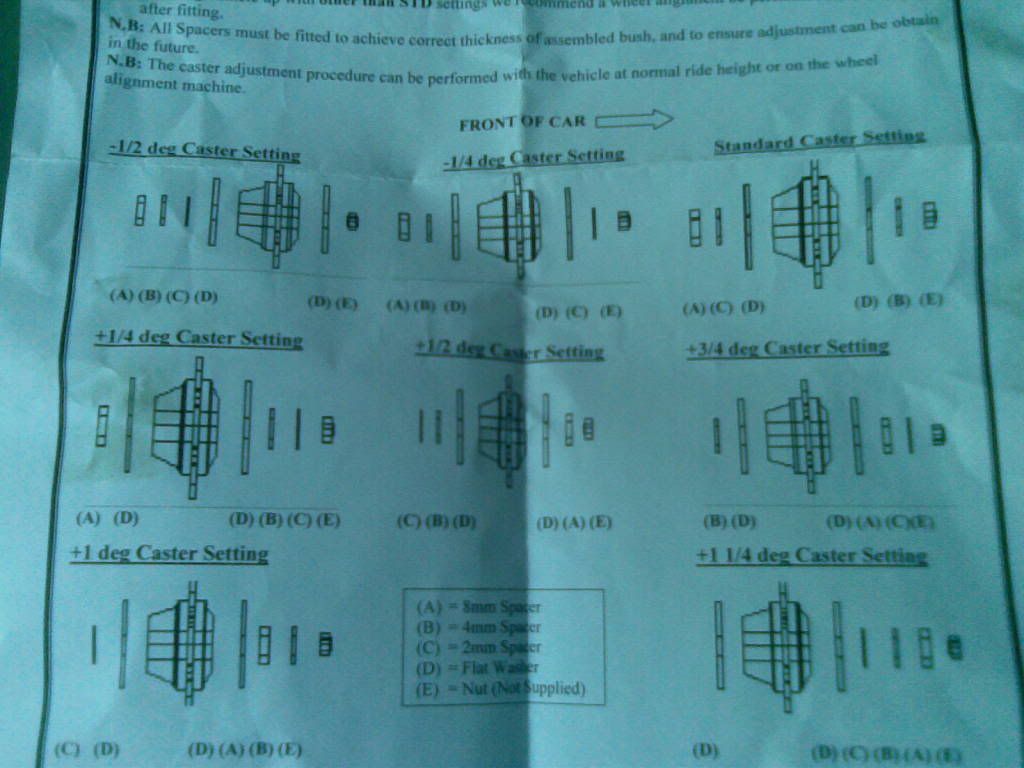
Step 5
Now once you have done that you need to figure out what kind of camber you have on your front wheels, if it’s just stock then you go a normal setup, however if it’s changed, then you need to figure out which setup you are going to go. I’m not going to help you with this because I actually don’t know what the #### I’m talking about, however there will be a piece of paper that comes with it which will help you out with the correct setup. Normal people will use the top right setup.
Step 6
Once you have figured out the one you are going to use, then assemble. From here on it the how to is focused around the normal setup.
Take your first three spacers and push them onto the rod (These will be 8mm, then 2mm, then flat metal disk). Congratulations, you have the basic motor skills to put rings on a bar. Go tell your mother of your achievement, she will be most proud.
Step 7
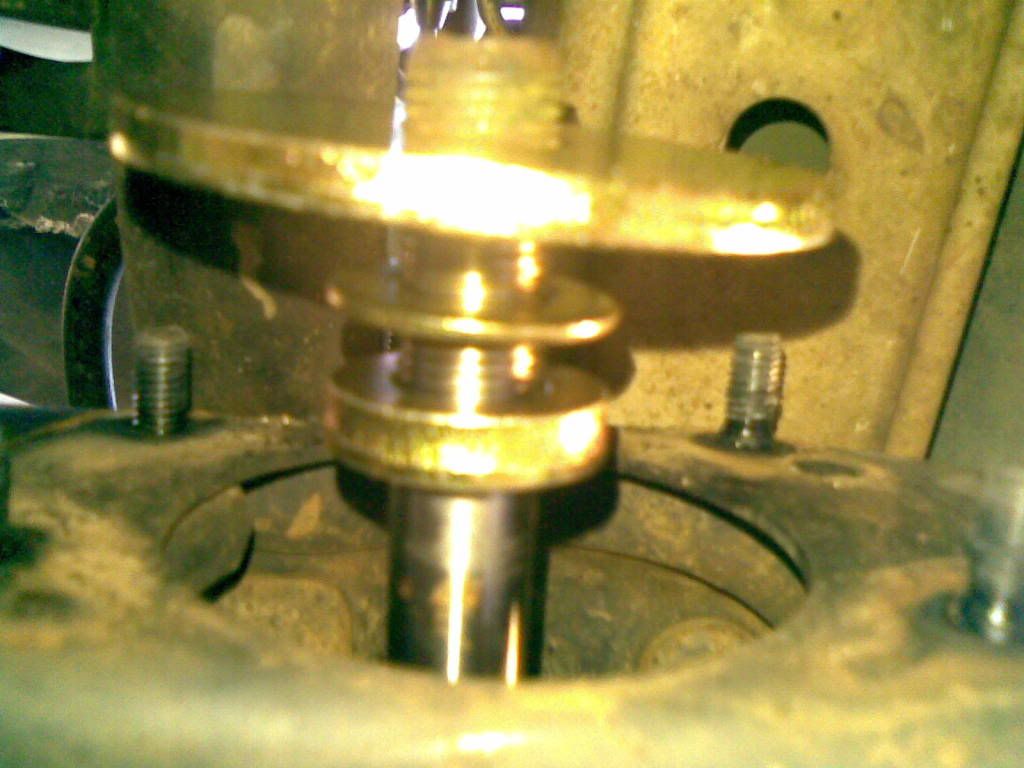
Slide on your metal disk, then your 4mm spacer, and tighten up the bolt as hard as you can. Seriously, get some muscle into you. This bad baby needs to be tighter then a Pedobear victim.
Step 8
Tighten up the ½ inch nuts using the usual pattern of tightening one, then the other furthest away from the one you tightened. For example, bottom right, then top left, then top right, then bottom left. Don’t be an idiot and do it wrong of you will crash and we will all laugh at you and natural selection blah blah blah you know the deal.
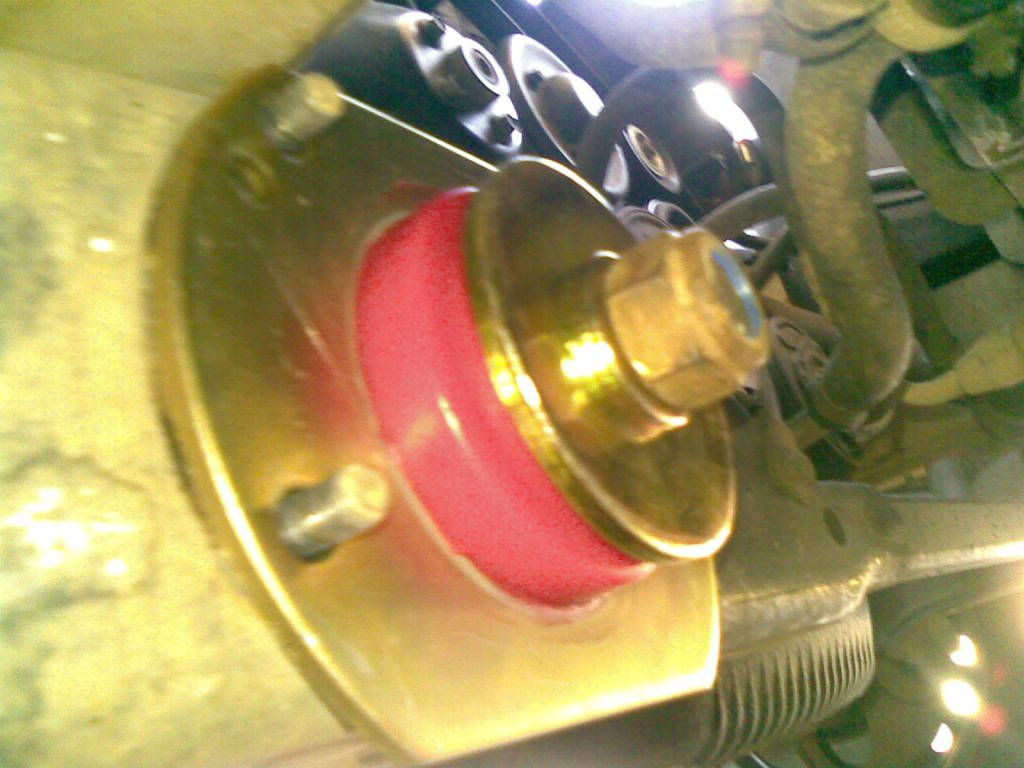
Step 9
After this you need to loosen the 22mm bolt about half a turn. This is so that when you finally do tighten it the car is in the right position. If you leave it tight, and then lower your car and leave it how it is, you will twist and #### the bush and have to replace it within three months. Natural selection yadda yadda yadda.
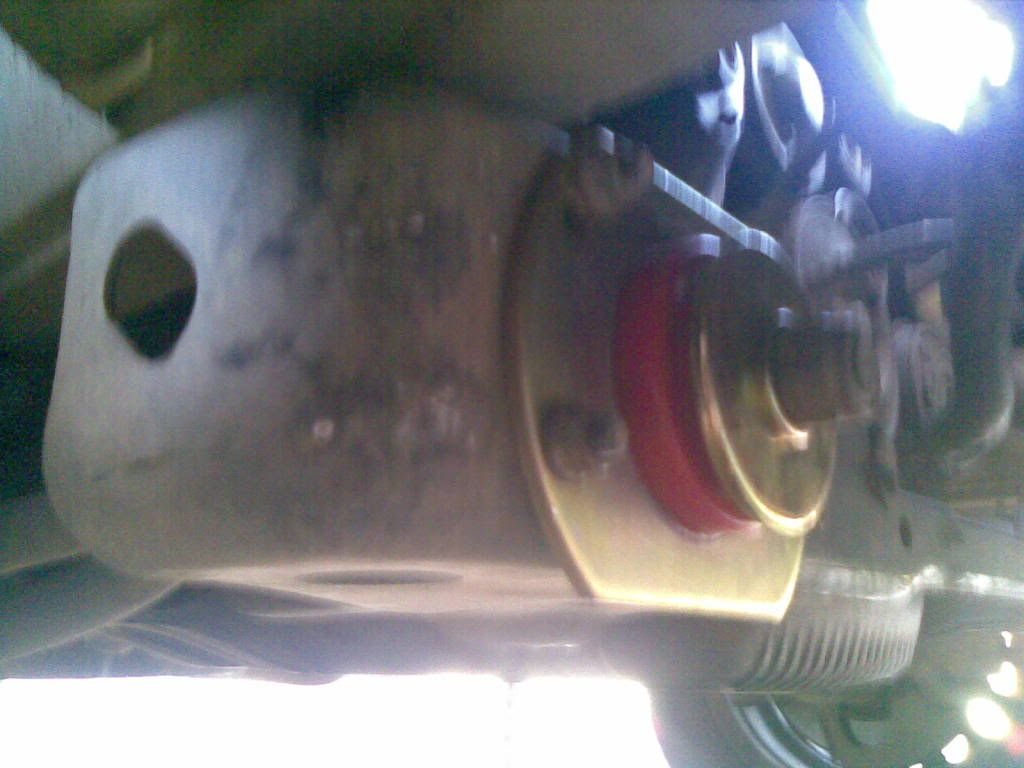
Step 10
Lower your car off the jacks, and pushing down on the front, bounce the car up and down so the suspension settles into the correct position.
Now get under the car and tighten that 22mm bolt as tight as you can get it. Take it for a test drive and feel the difference! Notable improvements will be that steering is sharper, there is less body roll, and you don’t feel like you are going to fly out your windscreen when you break sharply. After the test drive, get back under there and double check they are nice and tight.
Step 11
Need I comment?
Conclusion
If you have any troubles, or I did something wrong, or have suggestions or whatever, comment below. Always happy to hear feedback, however if you are a woman I probably won’t pay attention unless you are topless, or have some sort of food in your hands that you cooked for me.
Thanks for your time and goodluck you bunch of wankers!