COINERS
Member
- Joined
- Jul 6, 2005
- Messages
- 241
- Reaction score
- 4
- Points
- 18
- Age
- 38
- Members Ride
- VE SV6 MY.10
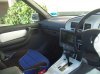
Ok so my project was changing the head liners in my car. And colour coding the sun visors and handles on the roof… Was over all very worth while as I got to customize the fabric to the colour I wanted and as im planing on doing up my cabin a bit. This was a great place to start…
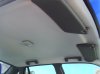
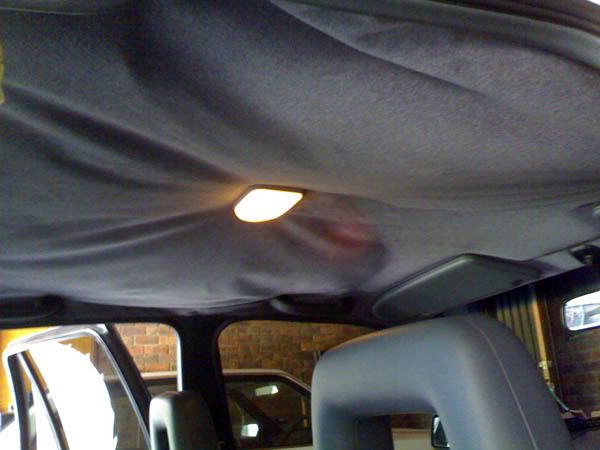
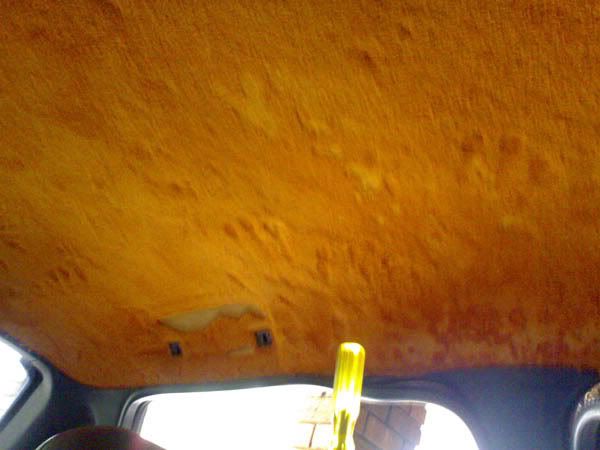
As you can see it got to the point where I could no longer just use pins to keep the fabric up…
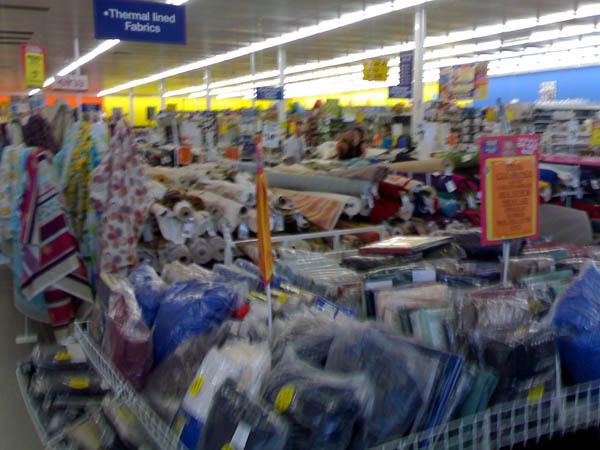
Ok so first I went to spot light and found some fabric that I liked. As you can see in the photo took me about a hour to find something I liked. Hence the massive amount of fabric spot light offers.
Ok so what I did
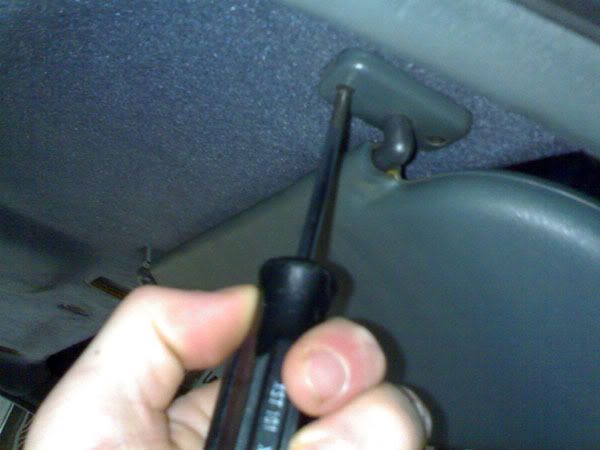
1) Unscrew the roof handles. And Sun visors and roof light. So as you can see. Pretty much the fabric just fell from the roof once I unscrewed the handles and sun visors.
2)Untuck the cardboard from around all the trims. This took me a while as I didn’t want to mess up the cardboard. But take your time so you don’t snap clips and trims
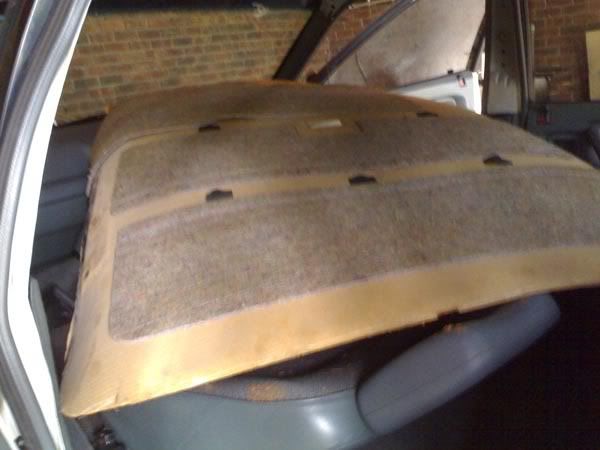
3)To get the roof out of the car. I slightly rolled it and took it out of the front passengers door.
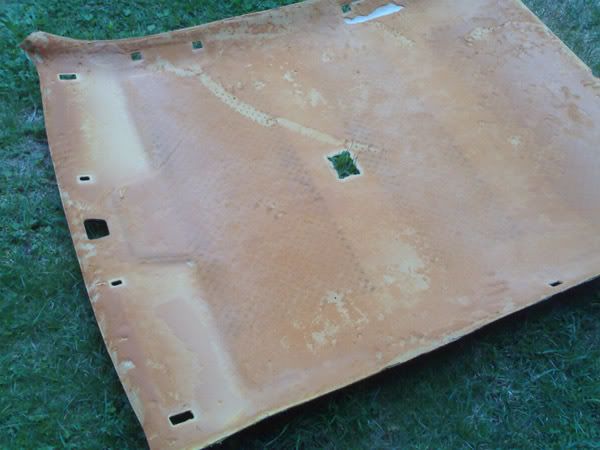
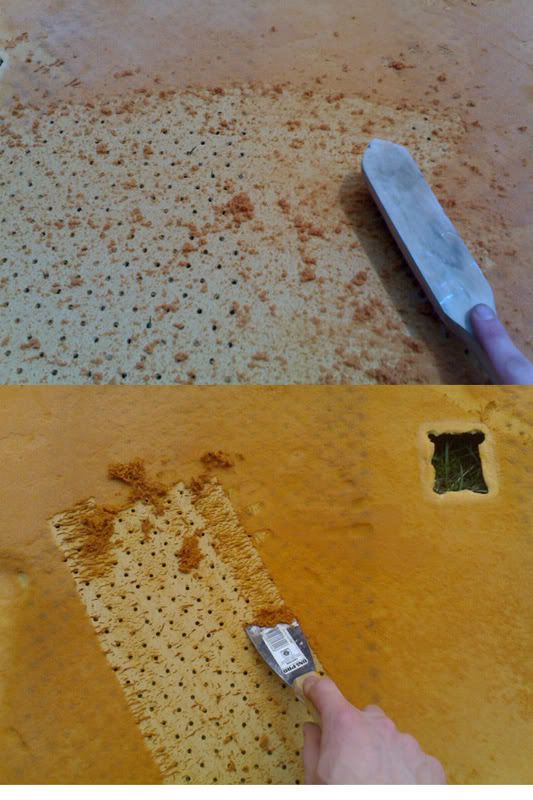
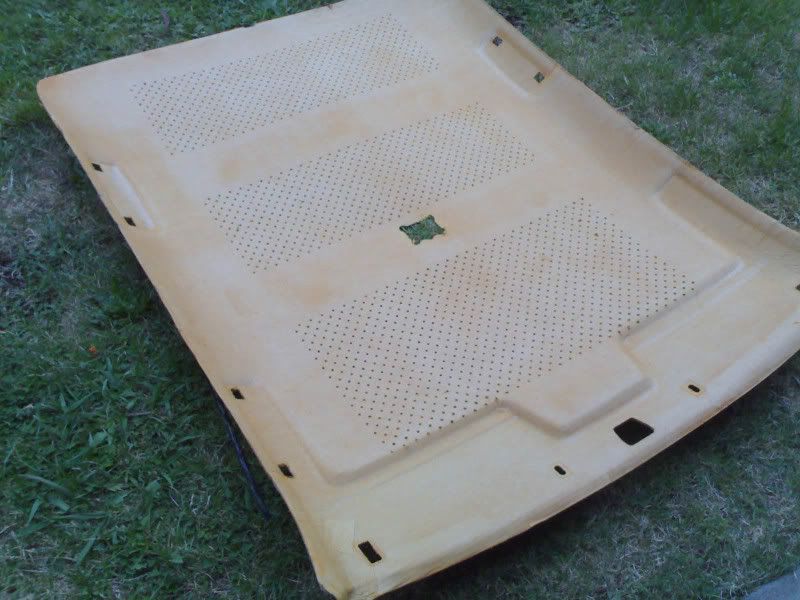
4)Place cardboard on ground and scrap and scrub the yucky orange foam off. I used a wire bush and a paint scraper. Took me maybe 30 mins to get it perfect.
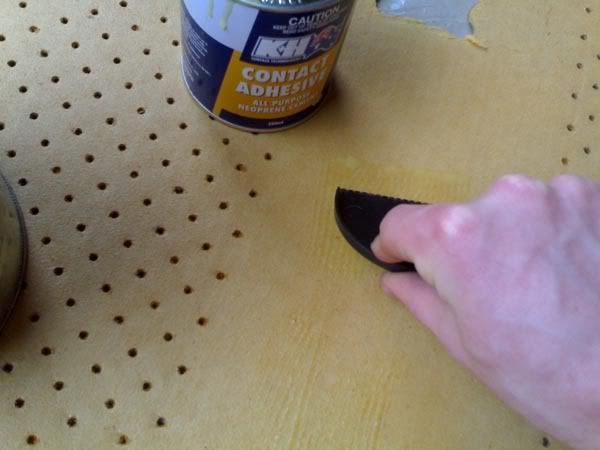
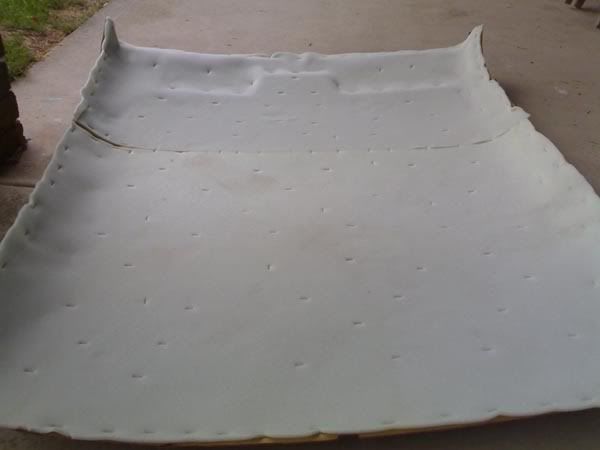
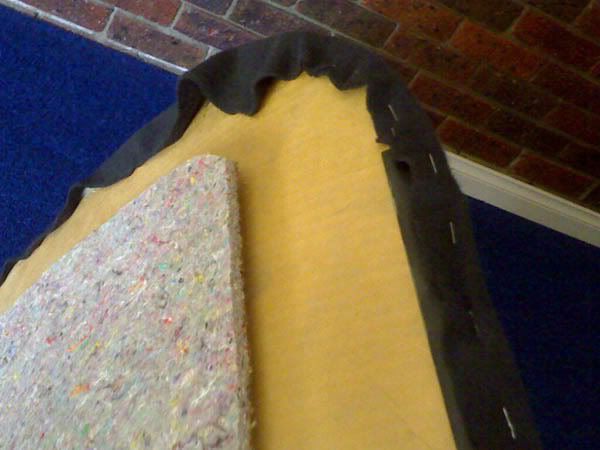
5)Once clean I put contact adhesive on the board and placed some new foam.
6)Then I stapled the **** outta it to ensure it was going to stick
7)Once I trimmed it all down. I sprayed the material and the foam with spray adhesive
8)Waited 5 mins for both sides to become sticky then bonded both together… then got a clean paint roller and smoothed it out
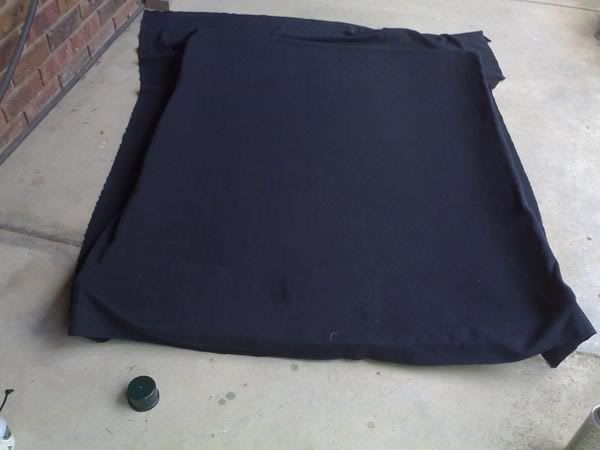
9)Then stapled the left over material to the back of the board
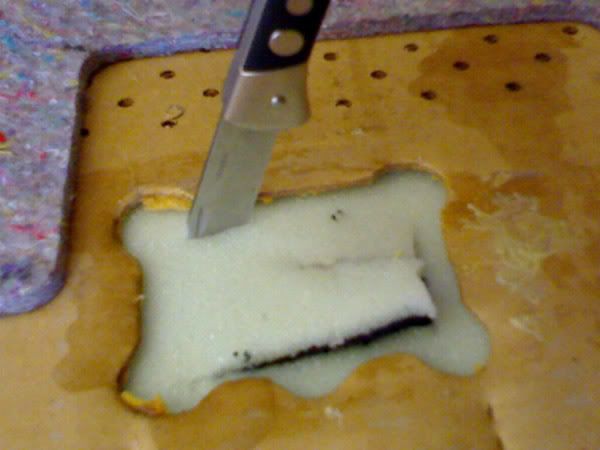
10)Then cut out the holes for the roof light and roof handles
Then reinstall it back in the car. Was a pain in the arse but with 2 people putting it back in the car will prob take around half a hour. Hardest past is lining up all the screws with screw holes. Don’t do this on a hot sticky day. I did and I wanted to kill my self.
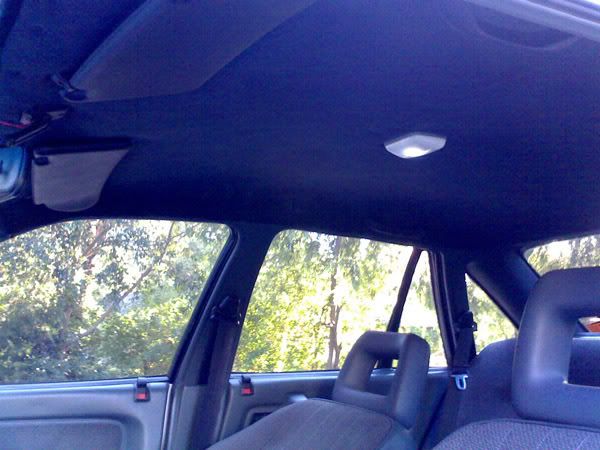
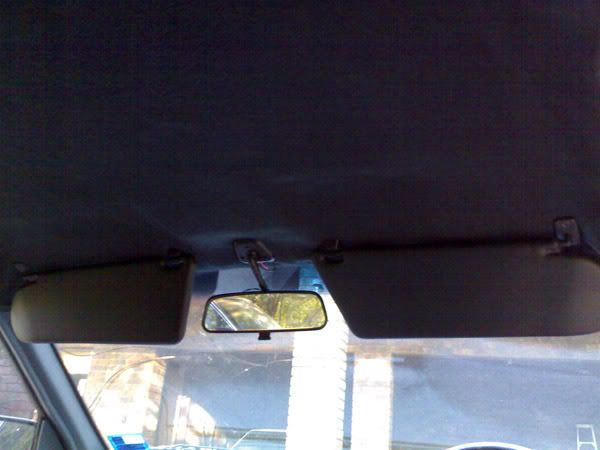
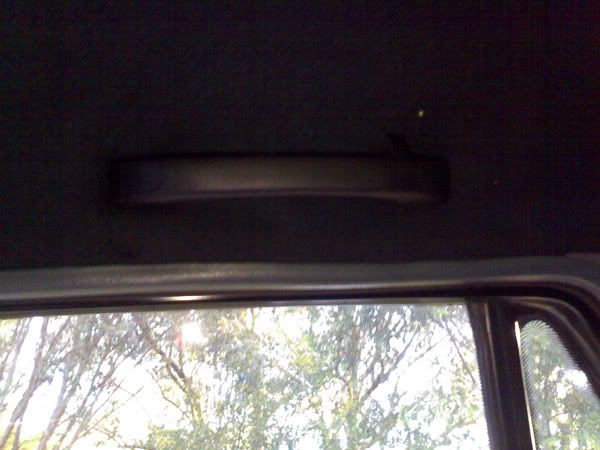
Over all think it looks great and was worth all the effort
Colour coding Sun visors and roof handles.
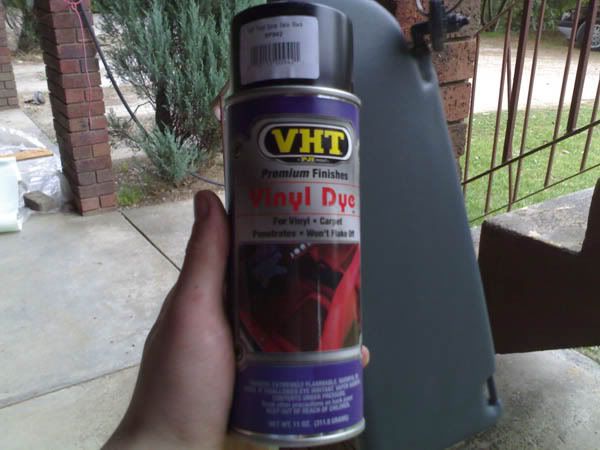
1.I got a can of VHT vinyl die and a tin of wax and grease remover.
2.Gave the sun visors and handles a good clean with wax and grease remover then hanged them up on some coat hangers
3.gave them about 3 or 4 light sprays
4.Screw back in to roof.
OK guys I hope that helped you all out.
As you can see it got to the point where I could no longer just use pins to keep the fabric up…
Ok so first I went to spot light and found some fabric that I liked. As you can see in the photo took me about a hour to find something I liked. Hence the massive amount of fabric spot light offers.
Ok so what I did
1) Unscrew the roof handles. And Sun visors and roof light. So as you can see. Pretty much the fabric just fell from the roof once I unscrewed the handles and sun visors.
2)Untuck the cardboard from around all the trims. This took me a while as I didn’t want to mess up the cardboard. But take your time so you don’t snap clips and trims
3)To get the roof out of the car. I slightly rolled it and took it out of the front passengers door.
4)Place cardboard on ground and scrap and scrub the yucky orange foam off. I used a wire bush and a paint scraper. Took me maybe 30 mins to get it perfect.
5)Once clean I put contact adhesive on the board and placed some new foam.
6)Then I stapled the **** outta it to ensure it was going to stick
7)Once I trimmed it all down. I sprayed the material and the foam with spray adhesive
8)Waited 5 mins for both sides to become sticky then bonded both together… then got a clean paint roller and smoothed it out
9)Then stapled the left over material to the back of the board
10)Then cut out the holes for the roof light and roof handles
Then reinstall it back in the car. Was a pain in the arse but with 2 people putting it back in the car will prob take around half a hour. Hardest past is lining up all the screws with screw holes. Don’t do this on a hot sticky day. I did and I wanted to kill my self.
Over all think it looks great and was worth all the effort
Colour coding Sun visors and roof handles.
1.I got a can of VHT vinyl die and a tin of wax and grease remover.
2.Gave the sun visors and handles a good clean with wax and grease remover then hanged them up on some coat hangers
3.gave them about 3 or 4 light sprays
4.Screw back in to roof.
OK guys I hope that helped you all out.
Last edited: