BullittSV6
Member
- Joined
- May 5, 2008
- Messages
- 428
- Reaction score
- 8
- Points
- 18
- Age
- 38
- Location
- Adelaide, South Australia
- Members Ride
- 2005 VZ Commodore SV6
I've had sooo many questions regarding the 2 Hole Mod and since I took some pics I though I would make up this thread.
What you'll need:
Time
About a day
Method
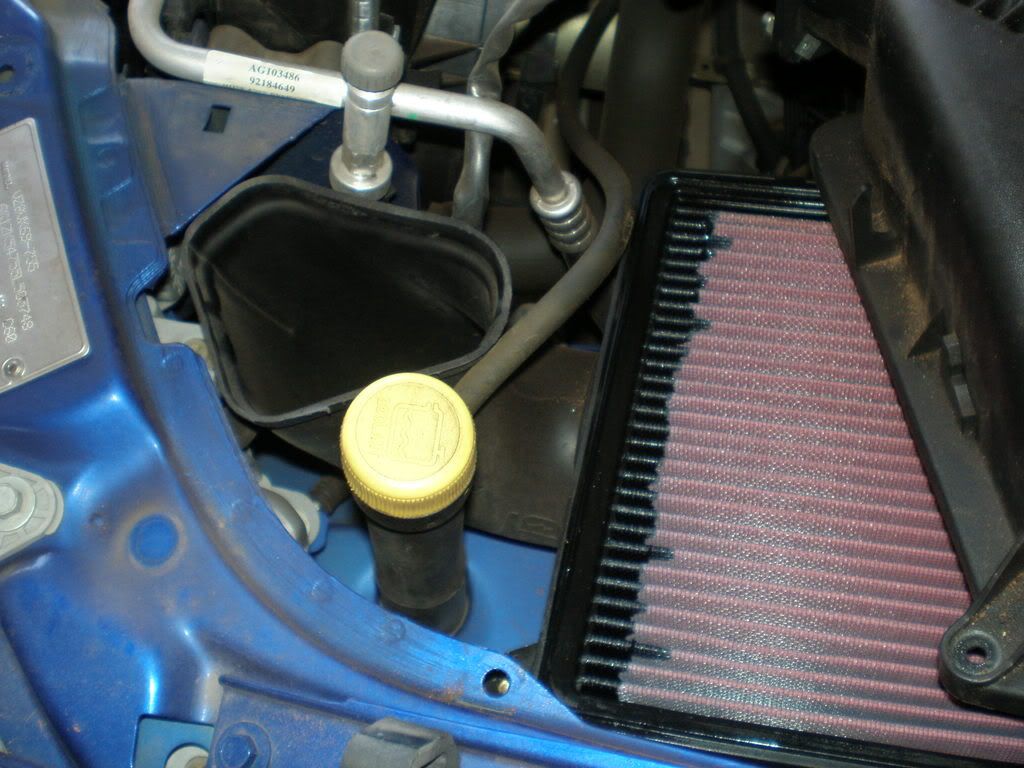
Step 1 - Extract the airbox
Use your flathead screw driver to take the pin out of the plastic rivets holding your radiator shroud in place and remove it. Then use your phillips head screw driver and remove the three screws holding your air box lix and pull the air box lid to the side. You can remove the lid using a spanner but I can't remember what size so I won't post it, but it makes life easier. Now remove your air filter (while your at it maybe give it a clean too!). To remove the air box give it a good pull. There's 3 rubber grommets holding it to the engine bay and a good pull will dislodge those easy. No tools required. Your restrictive 90 degree duct will come out too. Keep it in a spare parts box and forget about it.
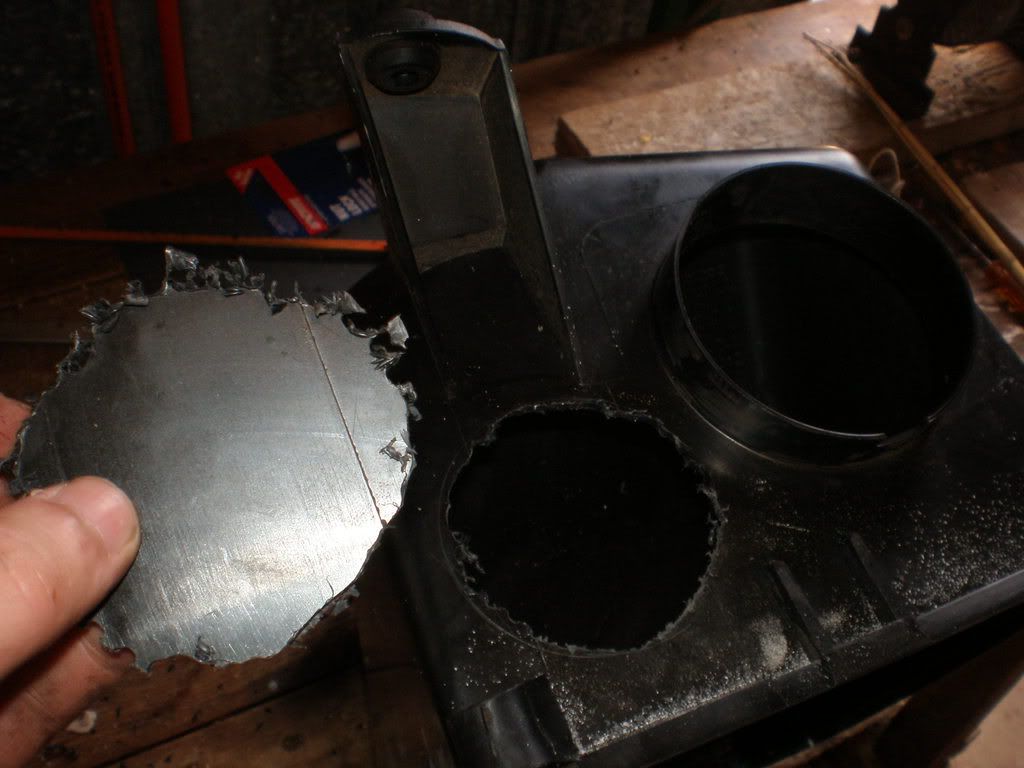
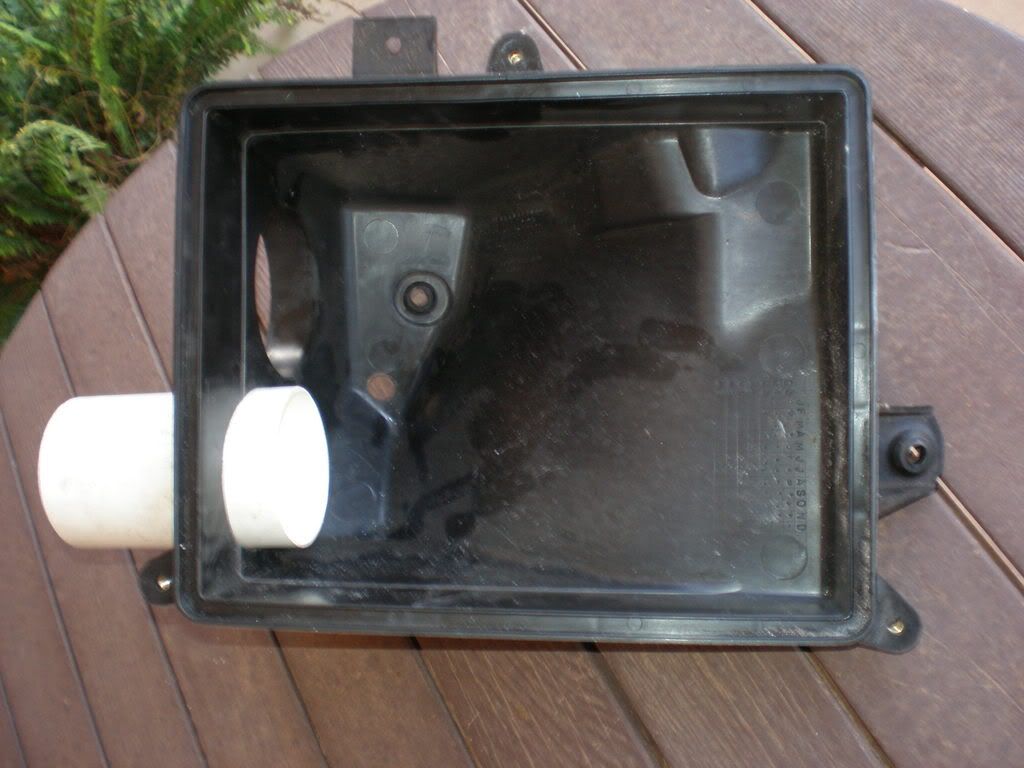
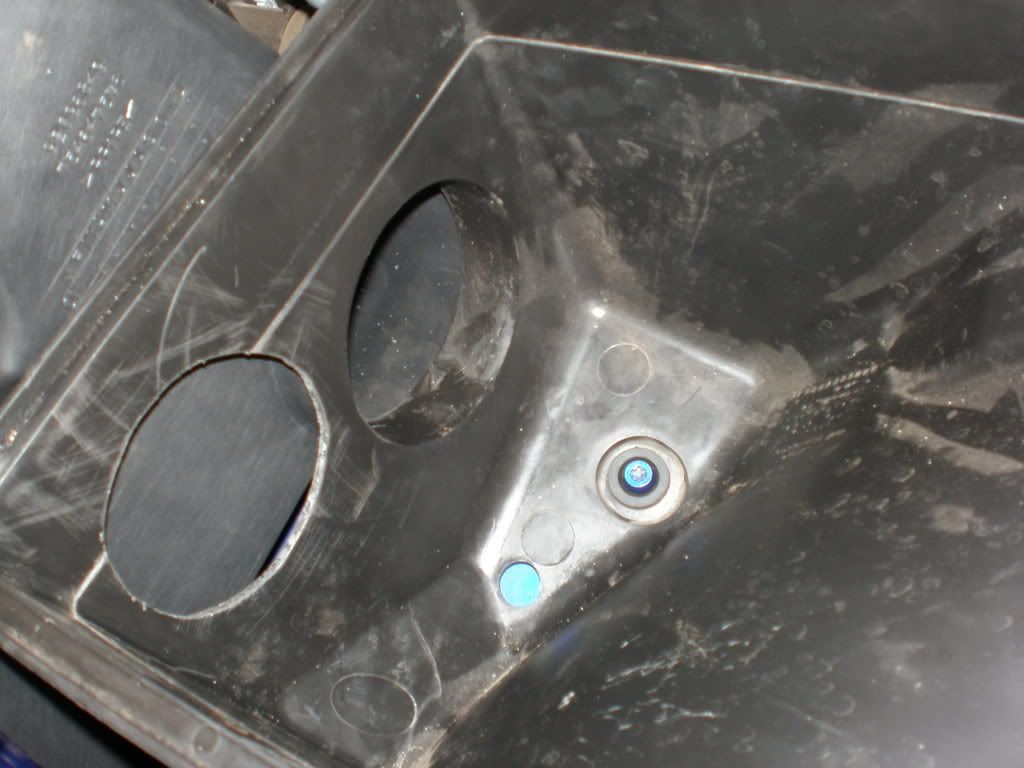
Step 2 - Make your second hole in the air box
Get hold of your 90 mm PVC pipe and trace the outline on the front of your air box. It will need to be on the passenger side of the air box because there's no room of the drivers side where the primary hole is already. If you are afraid of operating on your own air box stop now and get a spare! Now cut the hole. You can use a dremel or hole saw or you can use a drill because the plastic is quite soft. I found an extra pair of hands "handy" at this point. I ended up using a vice, the plastic will hold its shape. Now you'll need to file it back so its smooth and round. Use your PVC pipe trial fitting as you go until it fits. I left a bit of give in mine so I could move it back and forth and so it still had a little give.
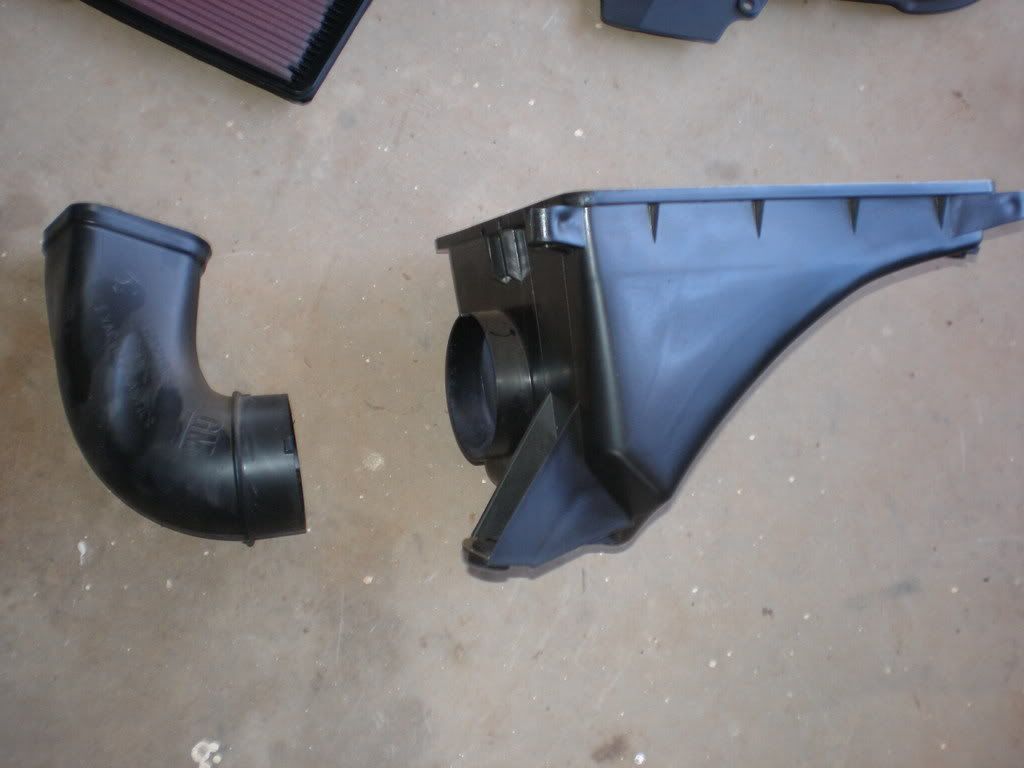
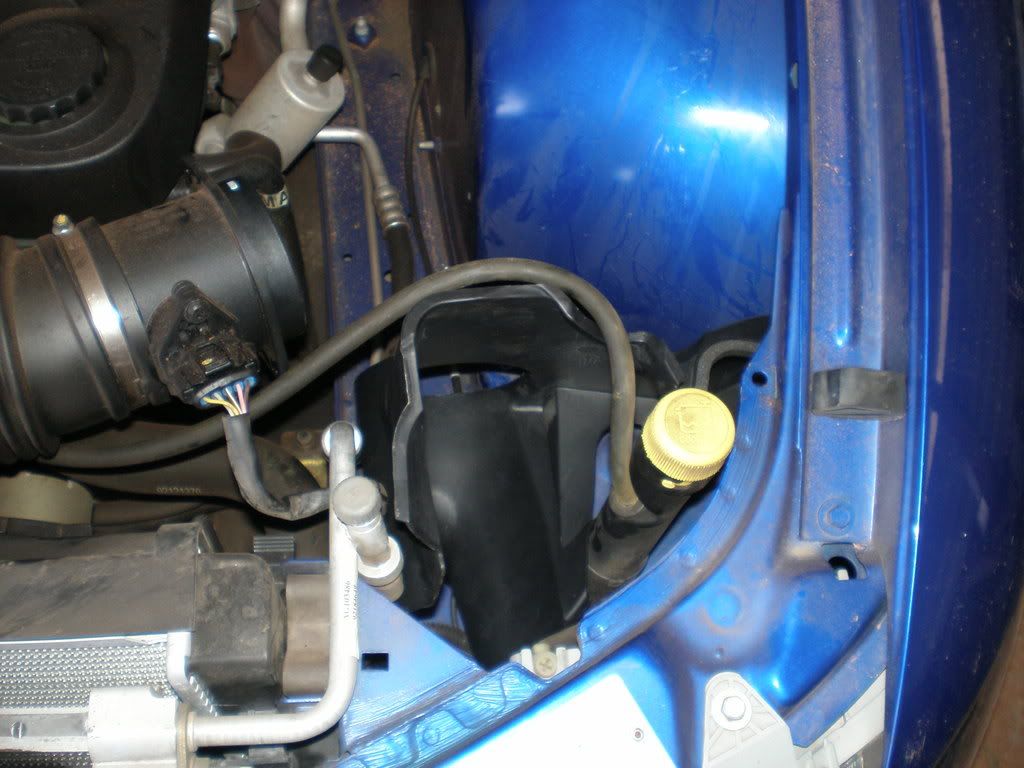
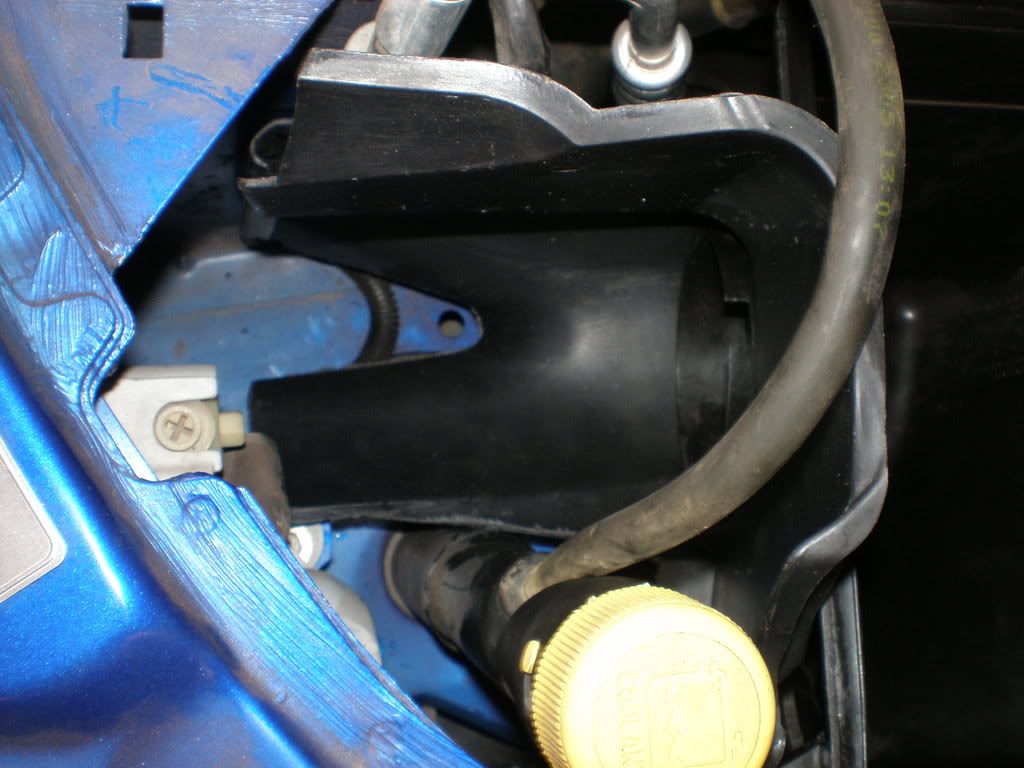
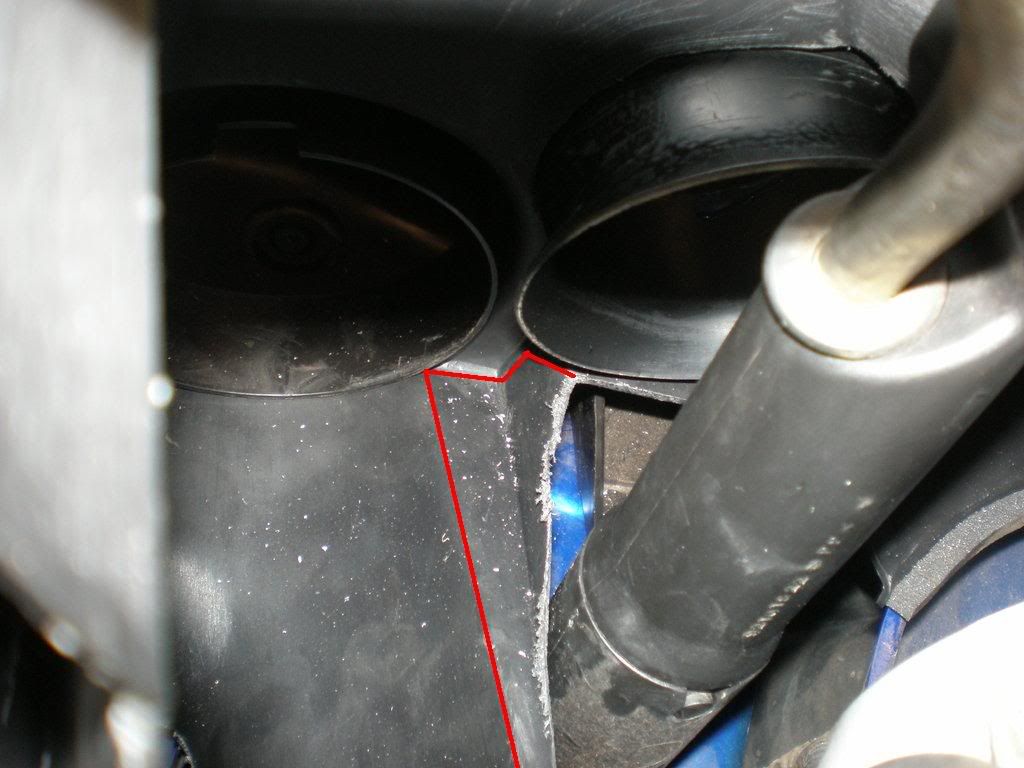
Step 3 - Modify the MCAI
This is the most tedious part. What you'll need to do now is get a hold of your MCAI and fit it back into the car with the air box. It won't fit first time due to the coolant pipe so as a start cut along the red lines shown below. After this do another trial fit and make more cuts as required. In the end your MCAI and air box should fit nice and snug so you can get your air box lid and radiator shroud back on without having to force to coolant pipe to one side or similar.
(NB The cuts for the coolant pipe were made the weekend after I did this so further pics won't show these cuts)

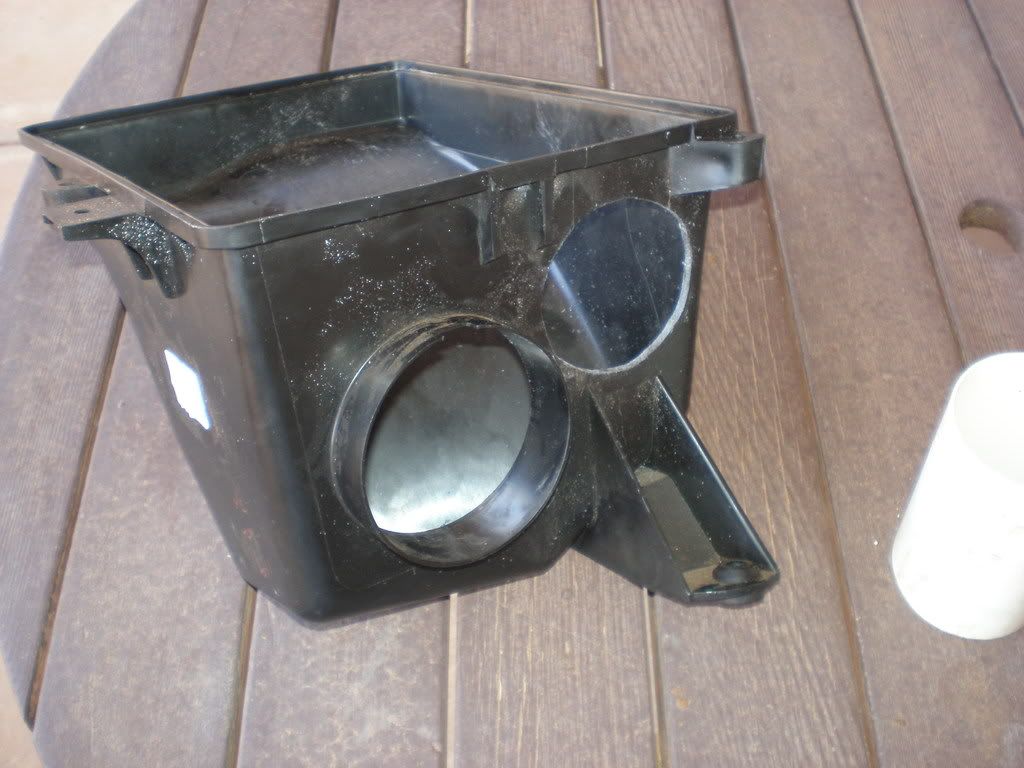
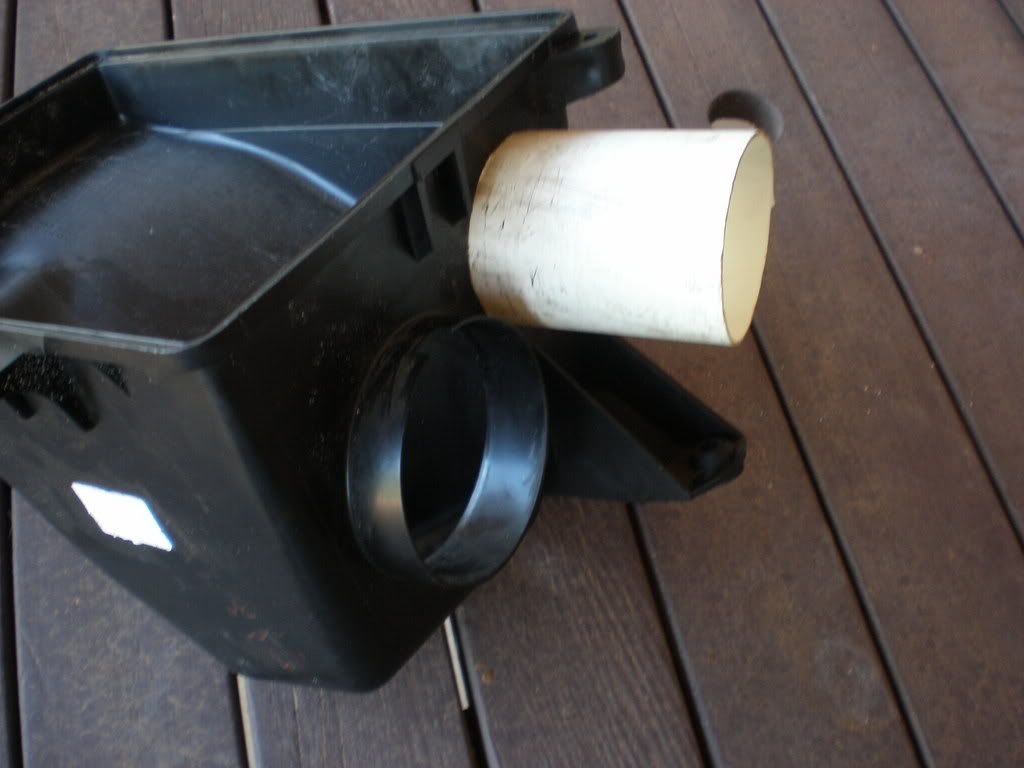
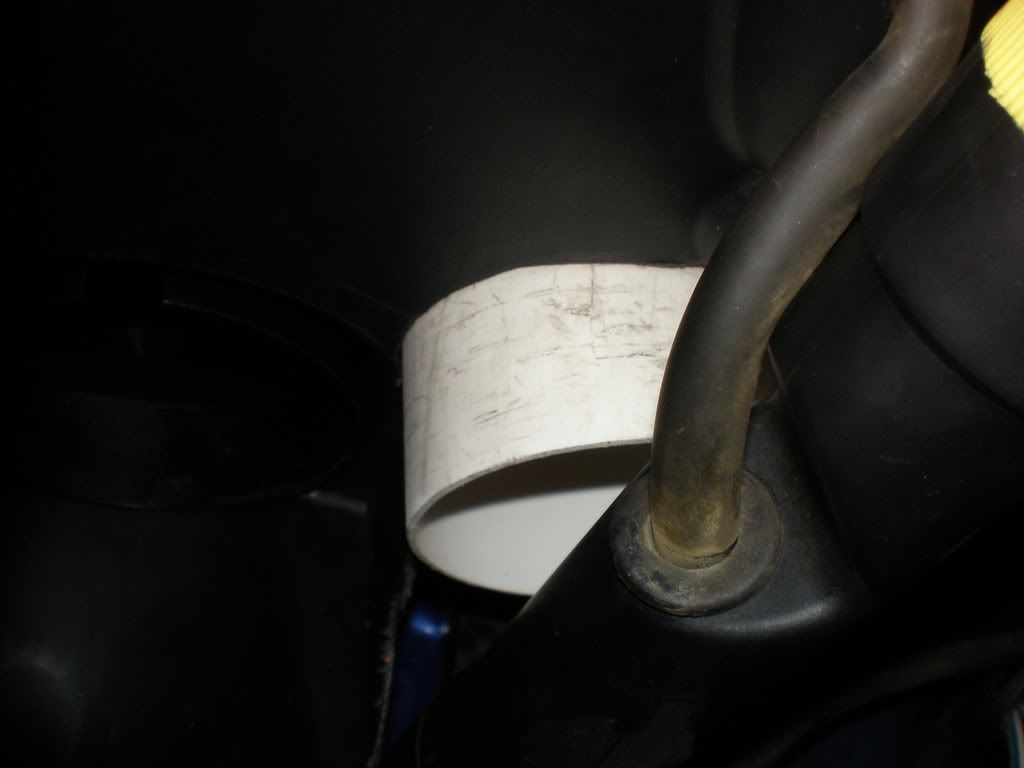
Step 4 - Make your second hole in the MCAI
Once your happy with how its all sitting, keep the MCAI and airbox in position and trace the outline of the new air box hole on the MCAI. Now remove the MCAI and repeat the cutting and filing process you used on the air box, so trialling with the 90 mm pipe. Once its all hunky dory, stick the MCAI and air box back in the engine bay and do a trial fit with your 90 mm pipe. It should look a little like below.

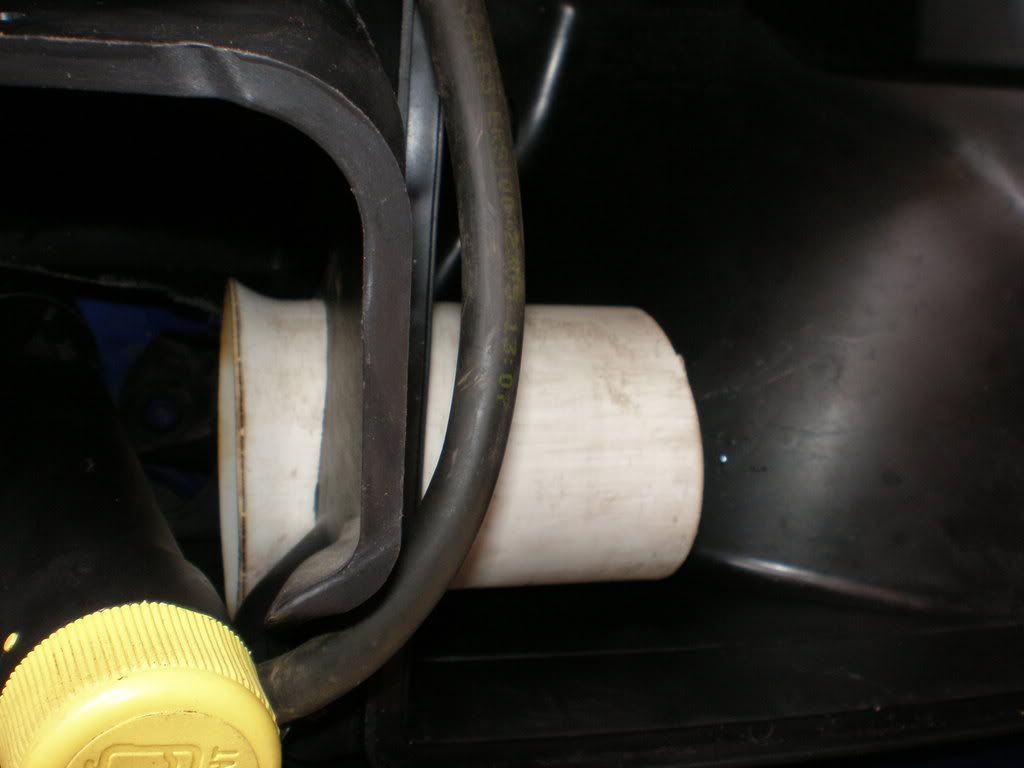
Step 5 - Cut the 90mm PVC pipe to size
At this point you can also put a flange on your pipe like I did. What I did was fire up the BBQ and using a series of jars, heated up the side of the pipe I wanted facing the incoming air and pushed it against a jar bottom and repeated this until I got the desired flange and dipped it in a buacket of cold water to set the shape. Now you need to cut your PVC pipe down to size. Basically leave a bit of clearance between your PVC pipe and the coolant pipe (about 1 cm) and at the rear of the pipe mark out the edge of the air box along the 90 mm pipe and do some more cutting :yeah:. At You can also paint your pipe black to match its surroundings.
Step 6 - Assembly
Once your spay paint has DRIED COMPLETELY (or else you end up with a mess) place your MCAI, Airbox and PVC pipe in desired position. Use an adhesive like loctite or stikaflex and spread it around the rear of the pipe, sealing the airbox. (WARNING: don't use blue loctite like I did first time. It won't set! In the end I used clear loctite and that set in moments.) Once sealed, wipe off any excess and put your air box lid back on along with your radiator shroud and away you go.
Results
First of all remember this is a cheap mod so don't expect to be Vin Diesel and blow off the competition. Once the ECU realises "hey I can breathe now!" you'll hear a bit of induction roar under WOT. It sound slike a muffled growl, best heard with the windows down. You MAY feel a slight imporvement in low down power, however as I said don't expect a surge of VTEC like power guys.
Enjoy!
What you'll need:
- Cutting utensils (saw, dremel, hole saw, a drill)
- Sandpaper or file
- Philllips head screw driver (large tip)
- Flat headed screwdriver
- Monaro Cold Air Induction Shroud (MCAI - Holden part number 92096849)
- 90mm diameter PVC pipe (about 5 inches will do)
- Something to trace with (a nail will do)
- Adhesive
- OPTIONAL: Open flame (BBQ is best)
- OPTIONAL: Jars of different widths
- OPTIONAL: Spray paint
Time
About a day
Method
Step 1 - Extract the airbox
Use your flathead screw driver to take the pin out of the plastic rivets holding your radiator shroud in place and remove it. Then use your phillips head screw driver and remove the three screws holding your air box lix and pull the air box lid to the side. You can remove the lid using a spanner but I can't remember what size so I won't post it, but it makes life easier. Now remove your air filter (while your at it maybe give it a clean too!). To remove the air box give it a good pull. There's 3 rubber grommets holding it to the engine bay and a good pull will dislodge those easy. No tools required. Your restrictive 90 degree duct will come out too. Keep it in a spare parts box and forget about it.
Step 2 - Make your second hole in the air box
Get hold of your 90 mm PVC pipe and trace the outline on the front of your air box. It will need to be on the passenger side of the air box because there's no room of the drivers side where the primary hole is already. If you are afraid of operating on your own air box stop now and get a spare! Now cut the hole. You can use a dremel or hole saw or you can use a drill because the plastic is quite soft. I found an extra pair of hands "handy" at this point. I ended up using a vice, the plastic will hold its shape. Now you'll need to file it back so its smooth and round. Use your PVC pipe trial fitting as you go until it fits. I left a bit of give in mine so I could move it back and forth and so it still had a little give.
Step 3 - Modify the MCAI
This is the most tedious part. What you'll need to do now is get a hold of your MCAI and fit it back into the car with the air box. It won't fit first time due to the coolant pipe so as a start cut along the red lines shown below. After this do another trial fit and make more cuts as required. In the end your MCAI and air box should fit nice and snug so you can get your air box lid and radiator shroud back on without having to force to coolant pipe to one side or similar.
(NB The cuts for the coolant pipe were made the weekend after I did this so further pics won't show these cuts)
Step 4 - Make your second hole in the MCAI
Once your happy with how its all sitting, keep the MCAI and airbox in position and trace the outline of the new air box hole on the MCAI. Now remove the MCAI and repeat the cutting and filing process you used on the air box, so trialling with the 90 mm pipe. Once its all hunky dory, stick the MCAI and air box back in the engine bay and do a trial fit with your 90 mm pipe. It should look a little like below.
Step 5 - Cut the 90mm PVC pipe to size
At this point you can also put a flange on your pipe like I did. What I did was fire up the BBQ and using a series of jars, heated up the side of the pipe I wanted facing the incoming air and pushed it against a jar bottom and repeated this until I got the desired flange and dipped it in a buacket of cold water to set the shape. Now you need to cut your PVC pipe down to size. Basically leave a bit of clearance between your PVC pipe and the coolant pipe (about 1 cm) and at the rear of the pipe mark out the edge of the air box along the 90 mm pipe and do some more cutting :yeah:. At You can also paint your pipe black to match its surroundings.
Step 6 - Assembly
Once your spay paint has DRIED COMPLETELY (or else you end up with a mess) place your MCAI, Airbox and PVC pipe in desired position. Use an adhesive like loctite or stikaflex and spread it around the rear of the pipe, sealing the airbox. (WARNING: don't use blue loctite like I did first time. It won't set! In the end I used clear loctite and that set in moments.) Once sealed, wipe off any excess and put your air box lid back on along with your radiator shroud and away you go.
Results
First of all remember this is a cheap mod so don't expect to be Vin Diesel and blow off the competition. Once the ECU realises "hey I can breathe now!" you'll hear a bit of induction roar under WOT. It sound slike a muffled growl, best heard with the windows down. You MAY feel a slight imporvement in low down power, however as I said don't expect a surge of VTEC like power guys.
Enjoy!
