luke641
ST33ZE: A Berlina Thing
- Joined
- Jun 7, 2010
- Messages
- 45
- Reaction score
- 0
- Points
- 6
- Location
- Cronulla
- Members Ride
- 2003 VY Berlina with Calais Bits
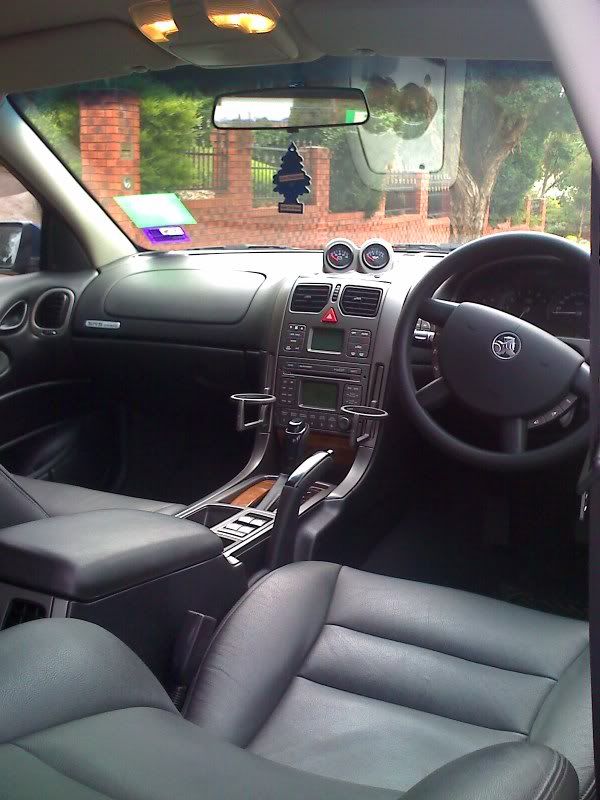
2003 VY Berlina with Leather Interior and Calais Bits, My First Car
Hi all, thought I would make a thred and post up some pictures on my first car, a 2003 VY Berlina.
Specs
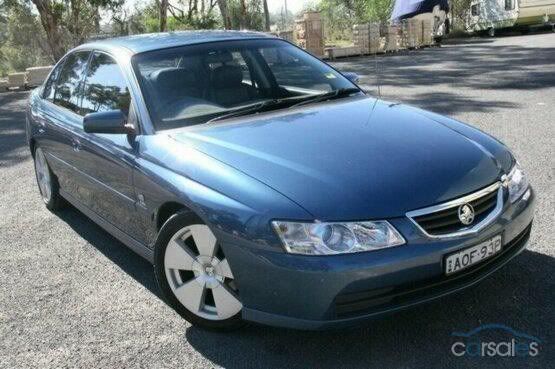
Model: 2003 VY Berlina
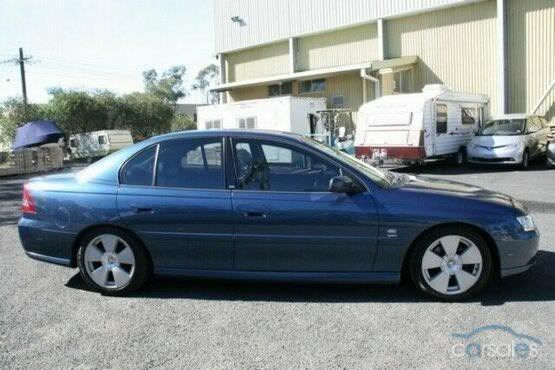
Colour: Delft Blue
Engine Type: 3.8L Ecotec with 170xxxkm, High I know, But serviced regularly every 15000km.
Engine Mods: N/A
Gearbox: 4 Speed Auto
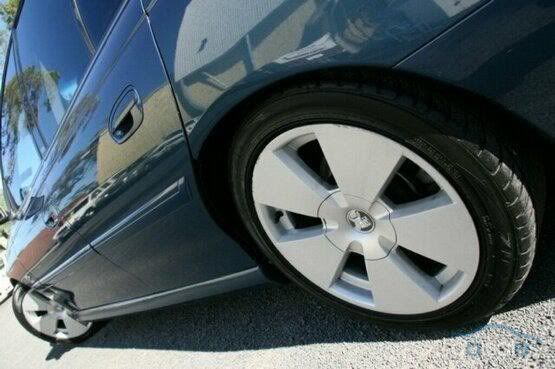
VY/VZ Calais 17' rims with 235/35/r17's
Tinted rear windows, not sure if front are. Unsure of tint strength.
Full leather interior, Factory Option
Lowerd. Unsure of amount or type of spring
Future Plans:
Pay off the money I borrowed for it
Chrome S2 Number plate surround
Exhaust
VY/VZ Calais Lights - Done
Calais Bumper reflectors - Done
Clean up/repaint rear/front bumpers - Done(no repaint)
Amp/Sub - Done
7' Touch screen DVD/CD/TV Player
+ Will add more as I think of it.
No bad for a first car... The paint is in good condition, has a larger amount of scratches then usual, but most will come out with a good cut and polish, wax etc...
Any comments/advise/input welcomed.
Pics
Cheers
Luke
Hi all, thought I would make a thred and post up some pictures on my first car, a 2003 VY Berlina.
Specs
Model: 2003 VY Berlina
Colour: Delft Blue
Engine Type: 3.8L Ecotec with 170xxxkm, High I know, But serviced regularly every 15000km.
Engine Mods: N/A
Gearbox: 4 Speed Auto
VY/VZ Calais 17' rims with 235/35/r17's
Tinted rear windows, not sure if front are. Unsure of tint strength.
Full leather interior, Factory Option
Lowerd. Unsure of amount or type of spring
Future Plans:
Pay off the money I borrowed for it
Chrome S2 Number plate surround
Exhaust
VY/VZ Calais Lights - Done
Calais Bumper reflectors - Done
Clean up/repaint rear/front bumpers - Done(no repaint)
Amp/Sub - Done
7' Touch screen DVD/CD/TV Player
+ Will add more as I think of it.
No bad for a first car... The paint is in good condition, has a larger amount of scratches then usual, but most will come out with a good cut and polish, wax etc...
Any comments/advise/input welcomed.
Pics
Cheers
Luke
Last edited:
")