Tasmaniak
Not a valid input....
- Joined
- Apr 30, 2005
- Messages
- 8,094
- Reaction score
- 131
- Points
- 63
- Age
- 41
- Location
- S.E. Melbourne
- Website
- www.ranjinstallations.com.au
- Members Ride
- VR Stato, C180 Kompressor, Prado and Ka
How to access the speaker wires and any other wires at the back of the headunit. I will add pinout when I get a chance...
First, always approach said beast with caution... sudden movements will startle it...
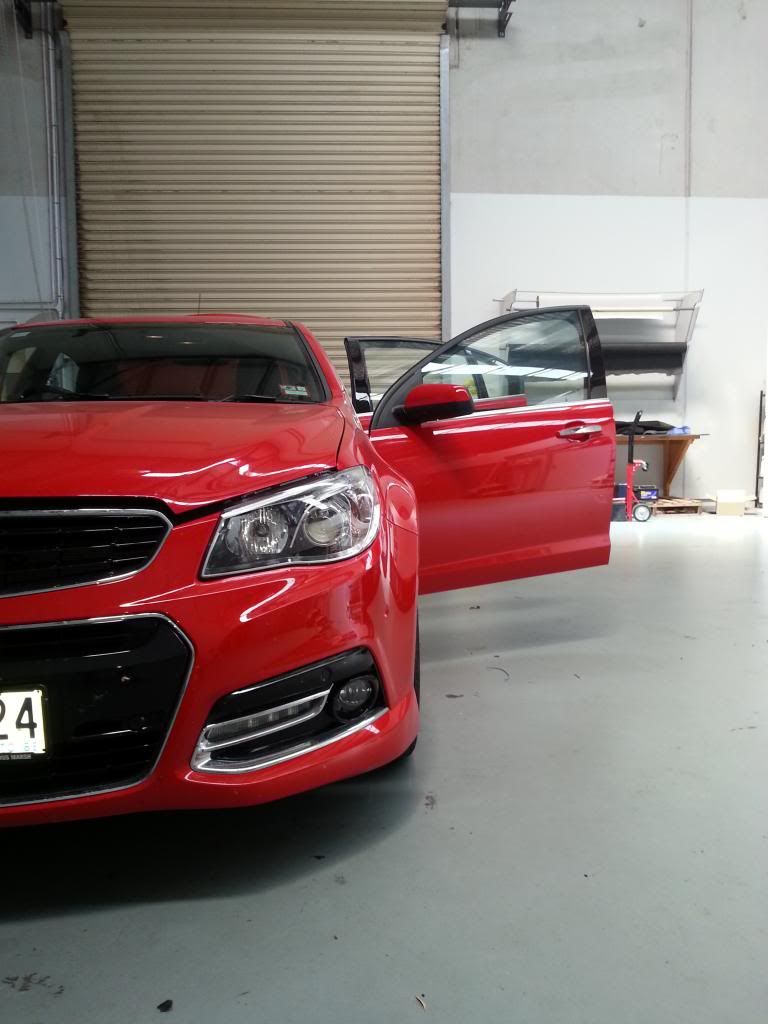
Then admire the prettyness... actually I think it looks horrid but no one ever listens to me.
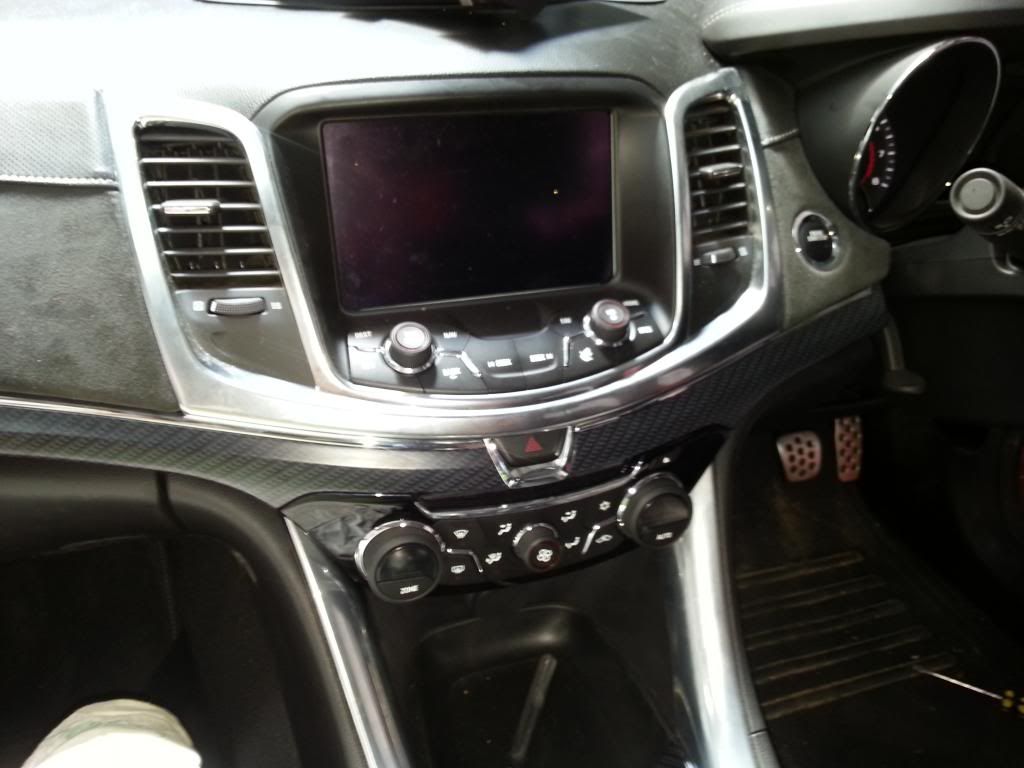
Now open the glove box and get your fingers under the trim. Feel for the clips and apply outward presure on either side of each one. The VE had brittle trim... these feel worse.
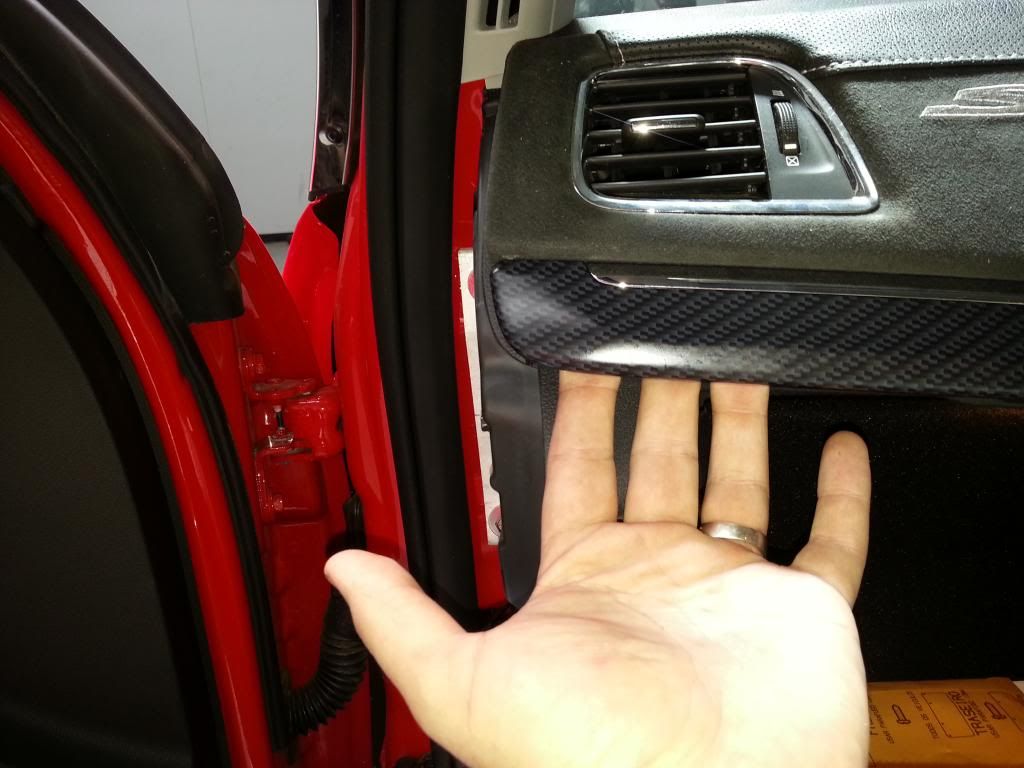
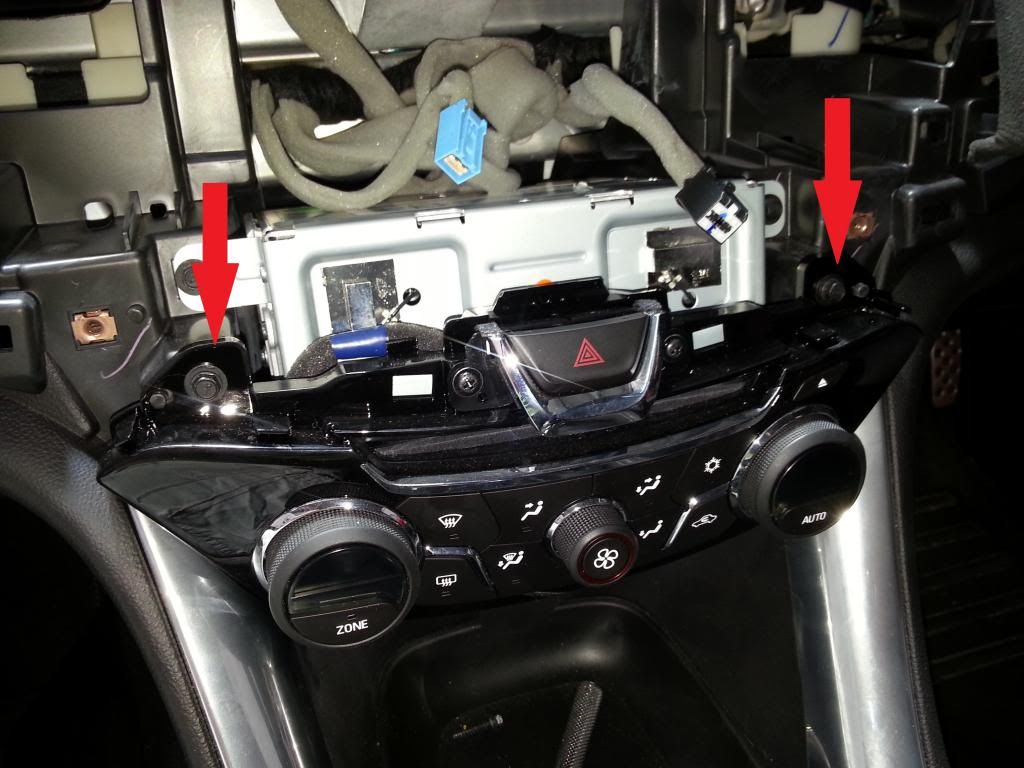
Remove the trim from either side of the hazard switch. This will then reveal your first two bolts (please note, I said bolts not screws.) Use a 7mm to remove them both.
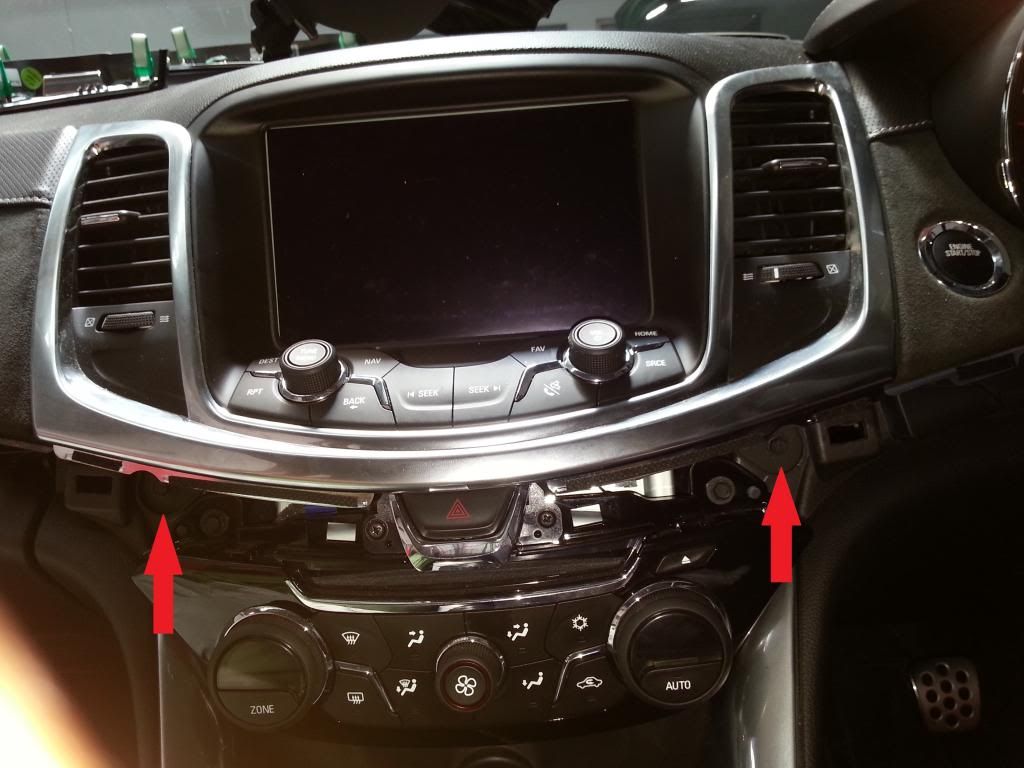
Pulling gently but firmly (interpret that how you want) start at lower bottom corners and work your way up and around the screen and vents. You may use panel removal wedges or fingers. After 15 years of doing this... my fingers grip anything! Remove the screen and vent assembly after disconnecting the three plugs. Now attack the the two bolts pointed out below... At the bottom of this assembly is two plastic clips they'll come free as you pull the HVAC controls outwards.
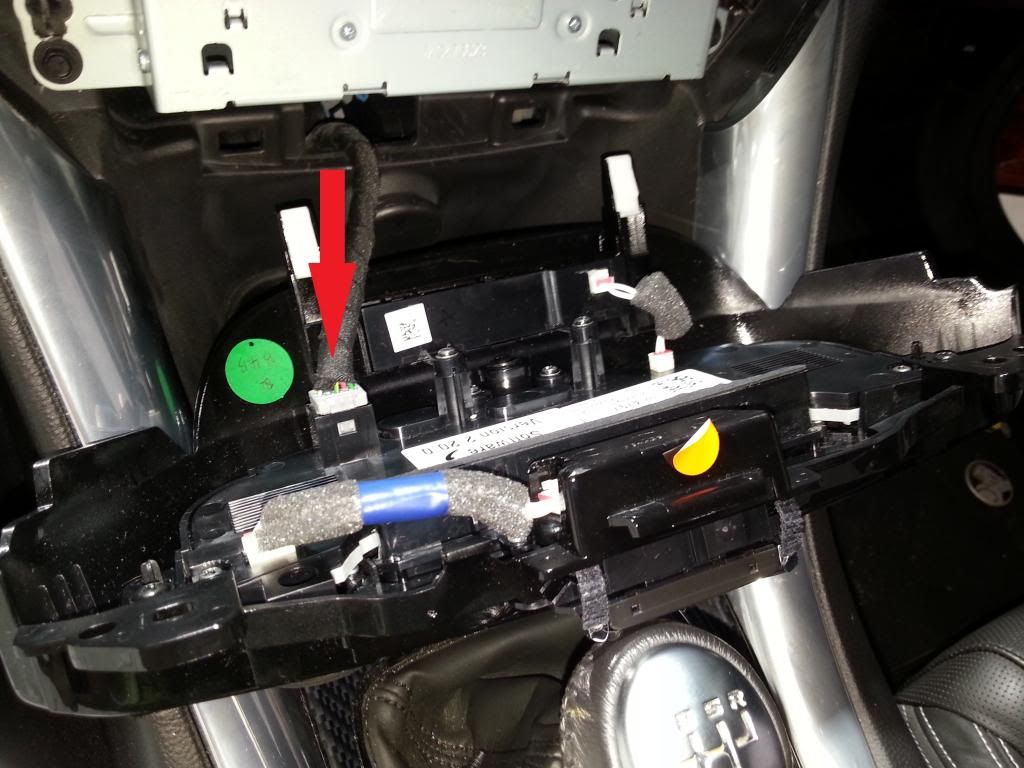
Undo this plug... you can also see the two clips previously mentioned.
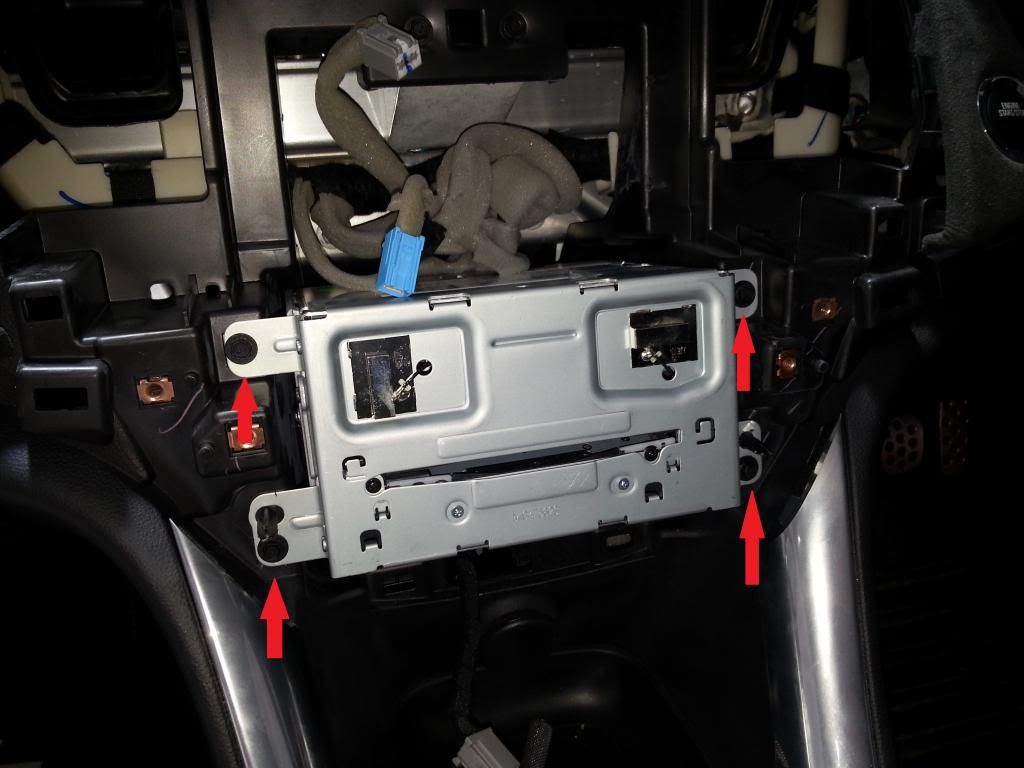
This is the main unit... another four 7mm bolts and out she comes. I suggest laying a cloth down over the front half of the centre console at this point otherwise you may scratch the plastic on the console
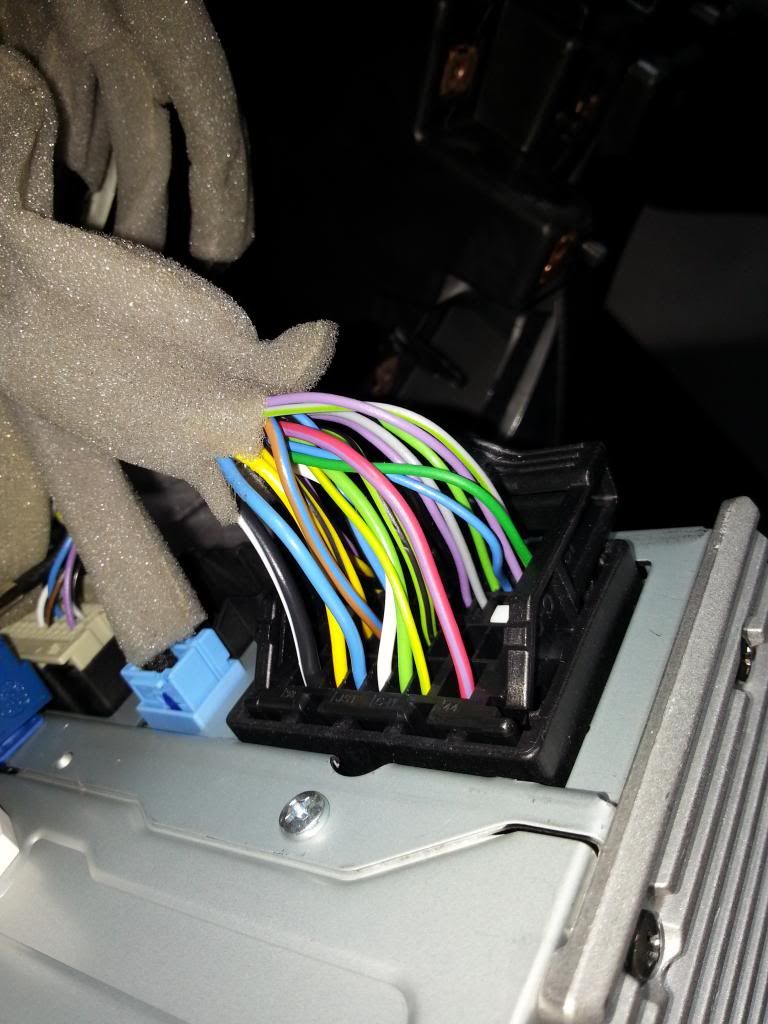
Here is the offending plug... looks similar to the Fakra connector on the VE but is in fact quite different. It's the same plug on the Cruze.
Questions? I'm hopeless at guides lol
First, always approach said beast with caution... sudden movements will startle it...

Then admire the prettyness... actually I think it looks horrid but no one ever listens to me.

Now open the glove box and get your fingers under the trim. Feel for the clips and apply outward presure on either side of each one. The VE had brittle trim... these feel worse.

Remove the trim from either side of the hazard switch. This will then reveal your first two bolts (please note, I said bolts not screws.) Use a 7mm to remove them both.

Pulling gently but firmly (interpret that how you want) start at lower bottom corners and work your way up and around the screen and vents. You may use panel removal wedges or fingers. After 15 years of doing this... my fingers grip anything! Remove the screen and vent assembly after disconnecting the three plugs. Now attack the the two bolts pointed out below... At the bottom of this assembly is two plastic clips they'll come free as you pull the HVAC controls outwards.

Undo this plug... you can also see the two clips previously mentioned.

This is the main unit... another four 7mm bolts and out she comes. I suggest laying a cloth down over the front half of the centre console at this point otherwise you may scratch the plastic on the console

Here is the offending plug... looks similar to the Fakra connector on the VE but is in fact quite different. It's the same plug on the Cruze.

Questions? I'm hopeless at guides lol