levymetal
TURN MY HEADPHONES UP
- Joined
- Dec 29, 2007
- Messages
- 1,259
- Reaction score
- 31
- Points
- 48
- Location
- Earth
- Members Ride
- HSV ENHANCED VP CALAIS
So the other day I came back to my car to realise that someone had left a nice dent in my right rear door, probably hit it when trying to park next to me in a carpark. Although not very big, it still annoyed me a lot. I didn't want to drill a hole and pull out the dent like usual then fill it, because it's not scratched badly and touch up paint will fix it fine. So I decided to bang it out from behind, and write a small tutorial so other people can fix their minor dents. This tutorial also doubles as how to remove the door trim, although there already is a tutorial explaining that too.
Before you start reading, please note that this does not fix your dent perfectly. It is not a suitable way to fix dents in cars that you need to look perfect. My car is old and has probably been in many accidents, it has scratches all over, poor paint, other minor dents... So I wasn't worried about making it look perfect. Just better than it was before. This is suitable for the common VN-VS owner who can't be bothered drilling, pulling, filling, sanding, then painting.
YOU WILL NEED:
Flat Head screwdriver
Philips Head screwdriver
Hammer
Rag
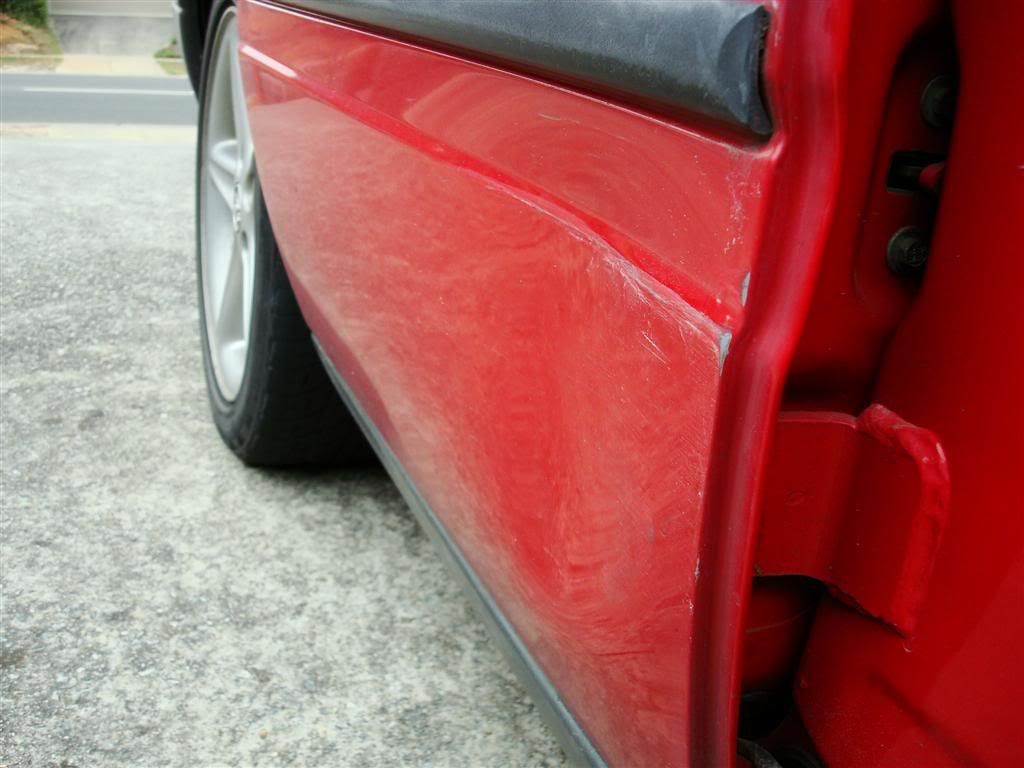
So this is what you arrive to see. The lovely person who hit you couldn't even be bothered leaving a "Sorry" note.
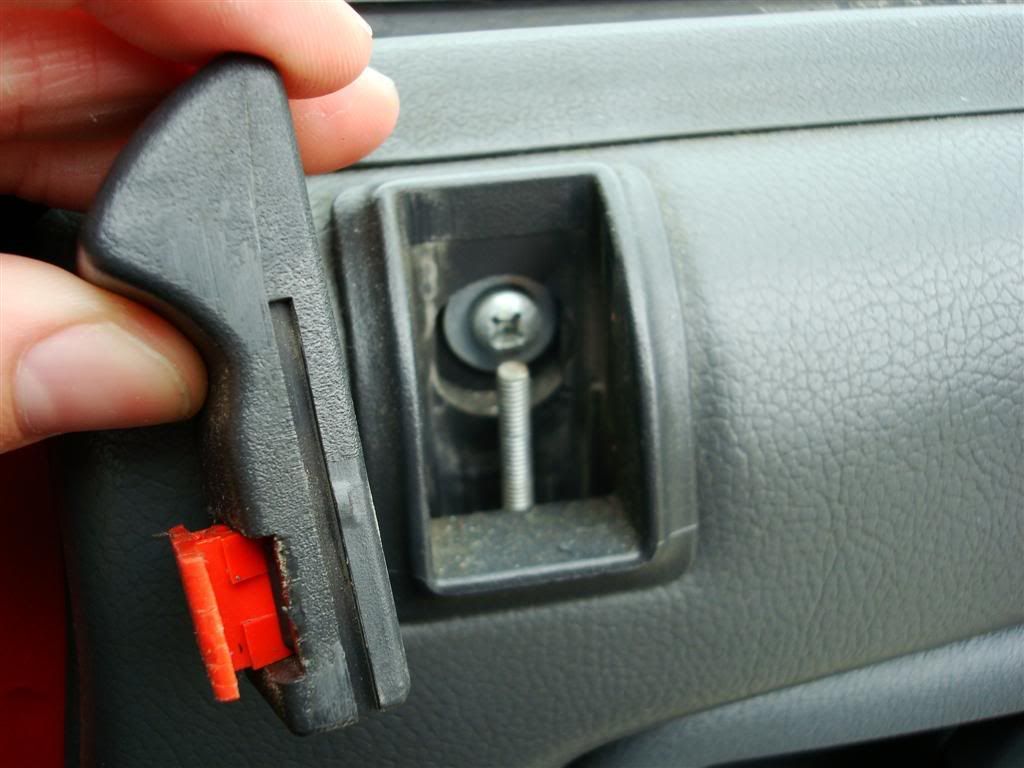
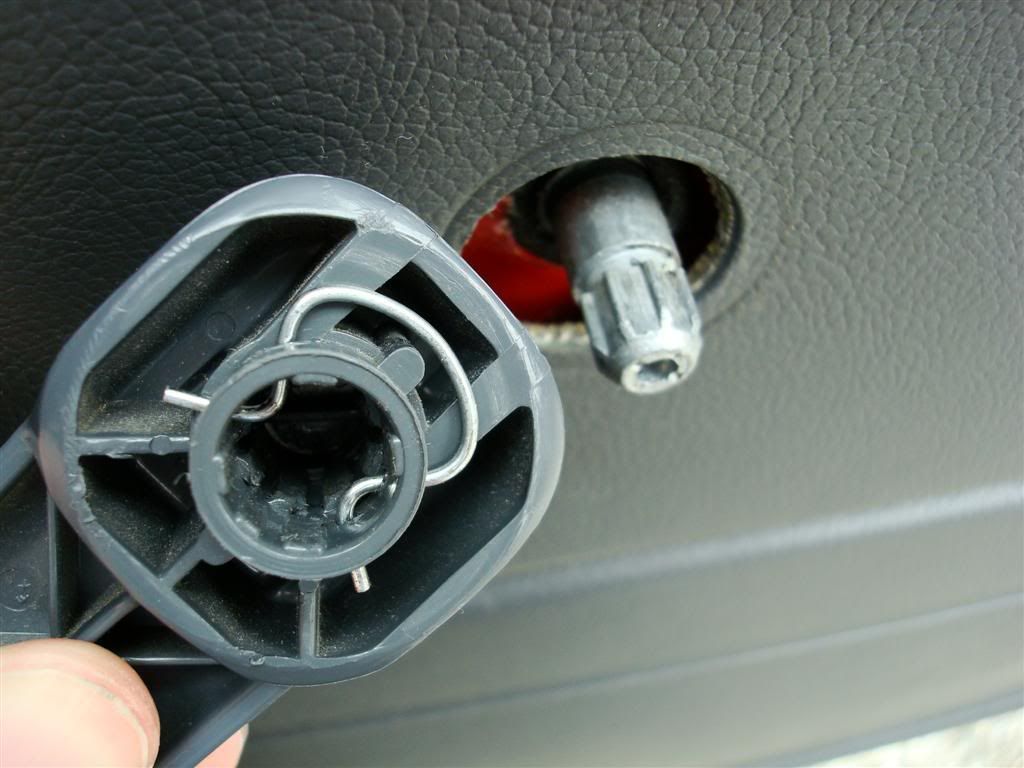
First thing we are going to do is to remove the door lock. Pry apart the orange tab from the side, as shown in the picture. Once it is out a little bit, start prying from the top of it until it pops out. The lock will then slide off.

Here I have attempted you show you how it works so you better understand how to get it off. The orange tab grabs onto the thread to stop it from moving. Undo the screw behind the thread then lift out the bracket and save for later.
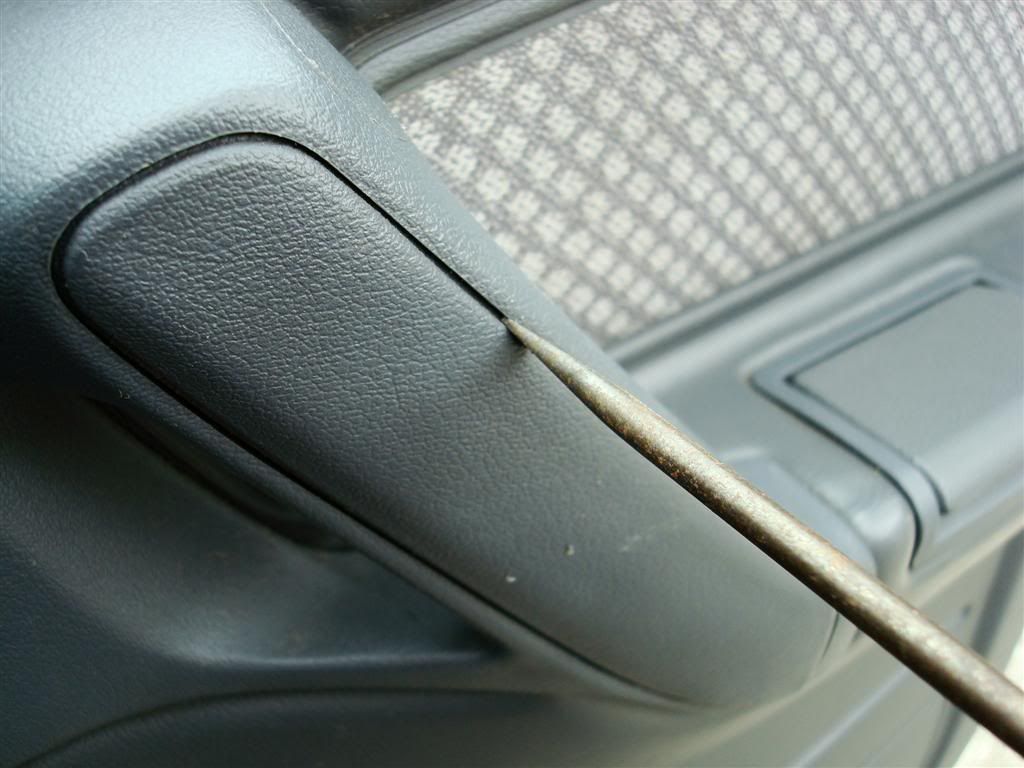
Now remove the tab on the arm rest using your flathead and take out the 2 screws behind it. Remove the arm rest completely.
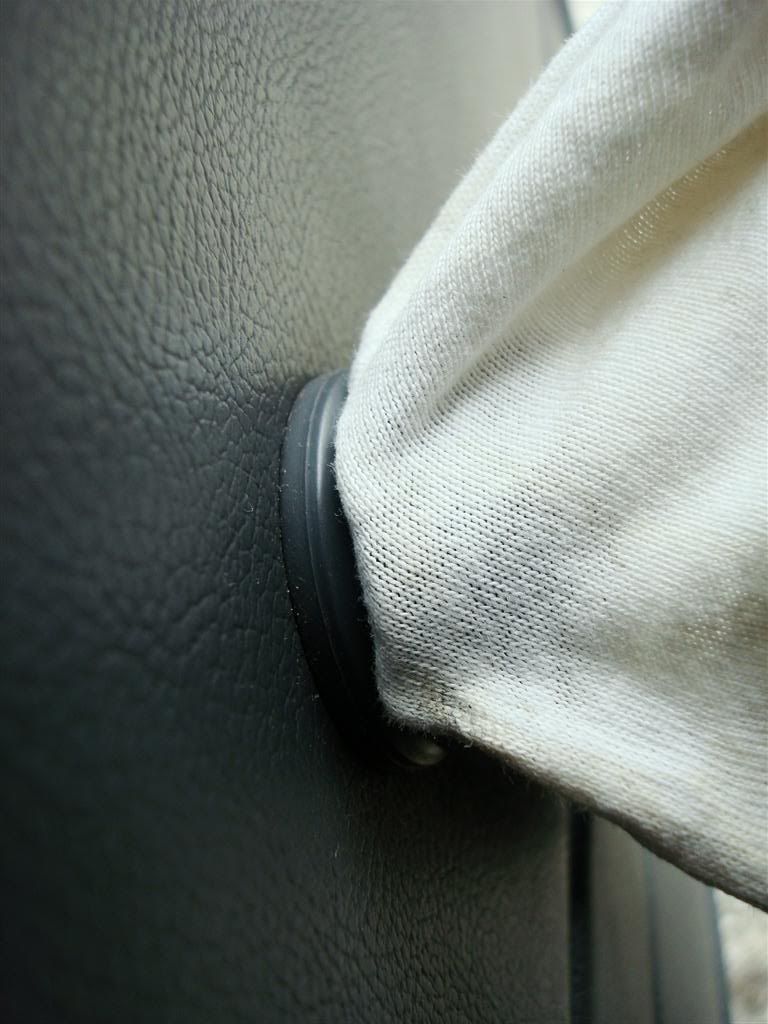
It's time to remove the window winder, with our awesome friend the circlip. You can get a circlip tool if you want, but I find using a rag very simple and easy. It may take you 5 minutes the first time, but you'll get used to it. Insert a rag in between the spacer and the winder, and pull from side to side until it grabs the circlip and pulls it out. It shouldn't fly very far, because the rag will catch it. If you can't get it, turn the winder and try again (it depends which side the circlip was put on, facing the handle or away from it. View next picture to understand how a circlip works).
If you don't understand the circlip, this picture will explain it for you. The circlip has 2 indents which keep it in place on the rod which has a channel for it. Visualise pulling the rag from left to right, and the rag grabbing an end of the circlip and pulling it off.
Now you can pry away the door trim. Get your flathead and stick it in between the door and the trim and pry it off all the way around the door. Take care not to break the pins.
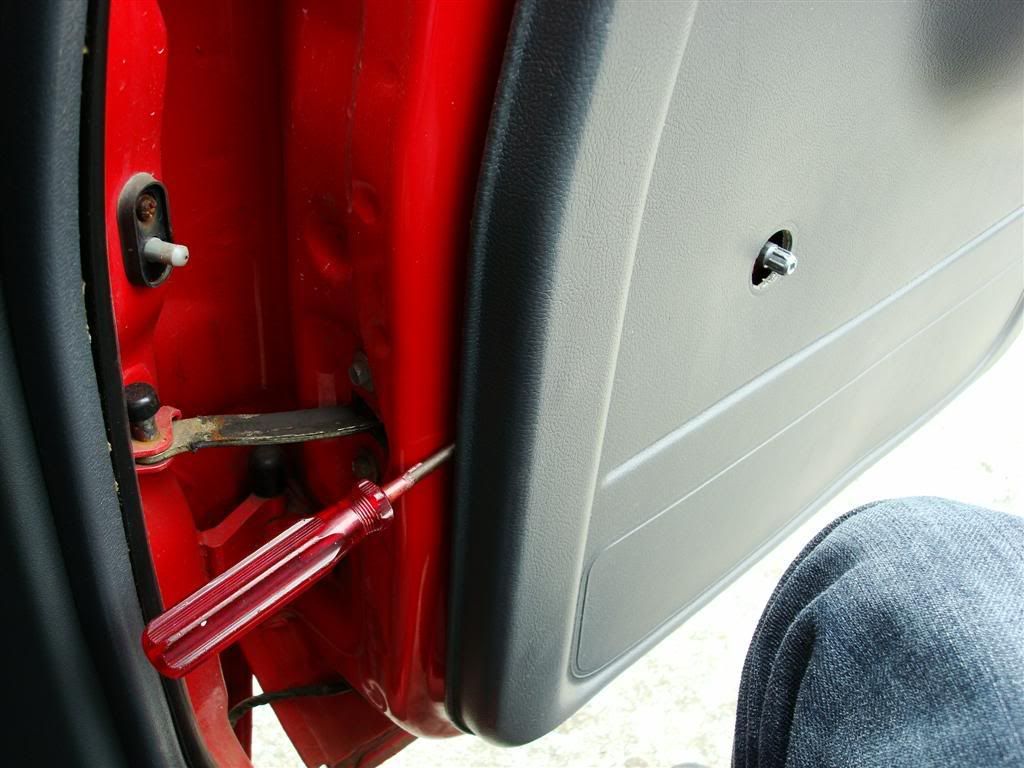
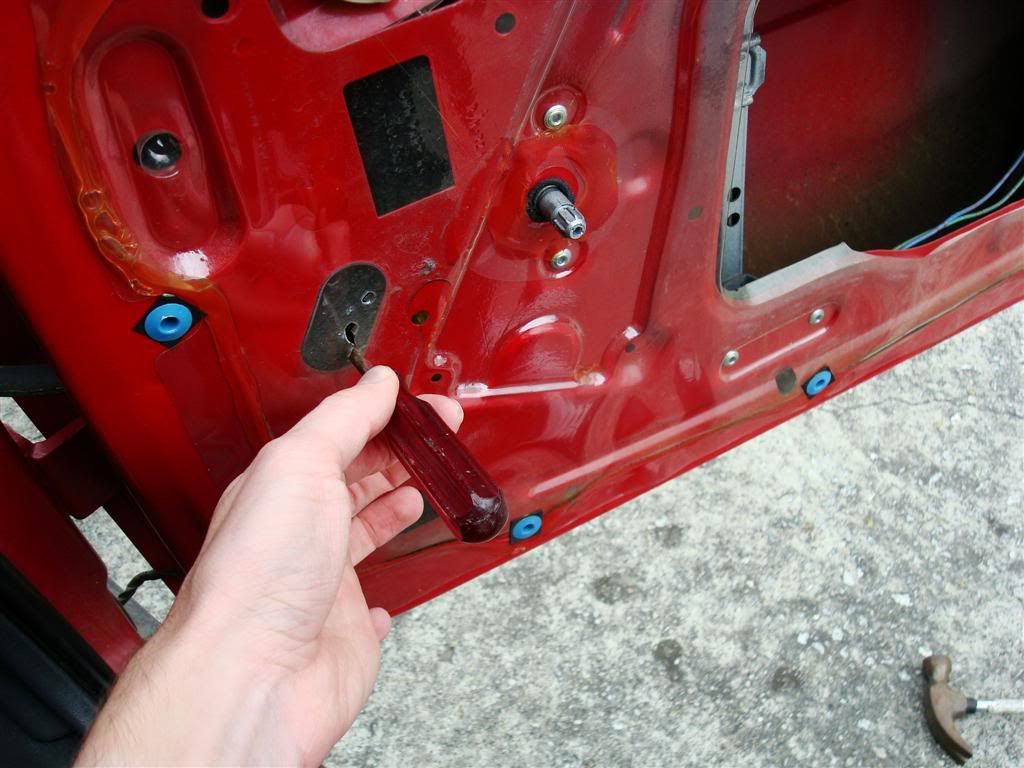
Ah, great. The dent is exactly where I can't reach with a hammer. Don't worry, most of the dent will pop out easily. There are many holes in the metal, and I don't mind poking a hole through the plastic to get to them. You can remove the plastic if you want, but it doesn't do much, especially not in my door because someone has already cut a huge hole in it anyway. Poke your flathead through the hole you need, and bang on it with the hammer until the dent pops out. If there are certain bits that didn't come back far enough, just bang them with the flathead and hammer until they are near enough to where they should be. You can now understand why the drill and pull method works a lot better.
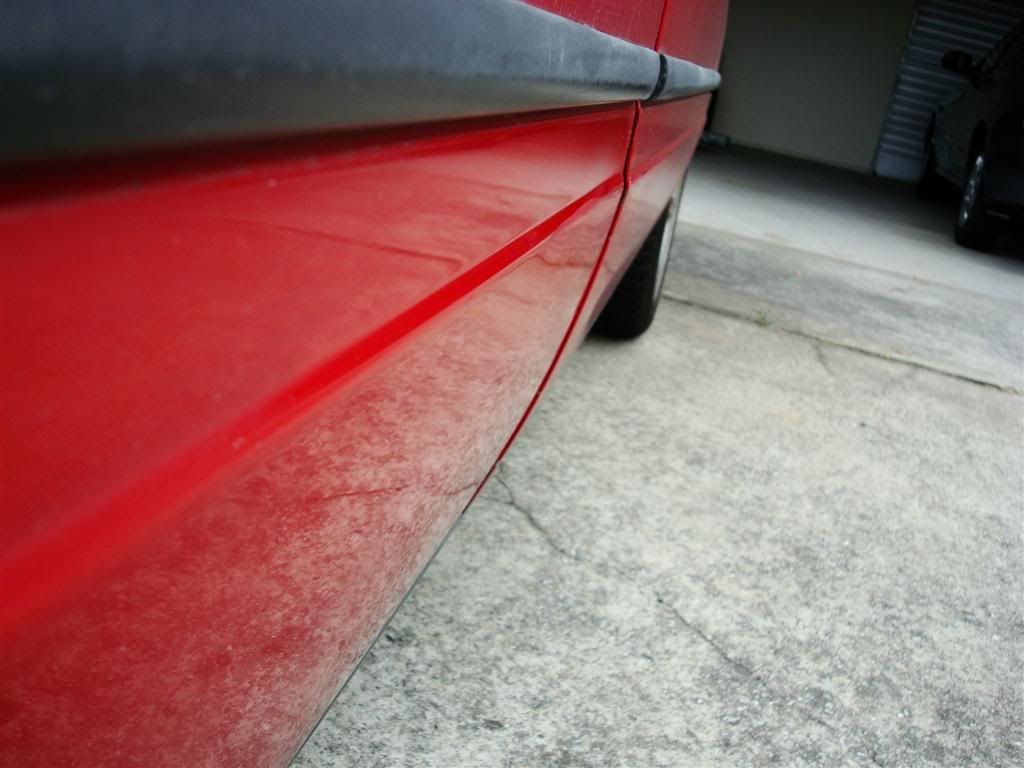
You can do a pretty good job like this, as you can see mine is not perfect but I am happy with it. From other angles you'd never notice it was there, only this one because you can see the reflection of the trim on the ground. Note: From this angle, that line that goes all the way down the door actually has paint on it which makes it look like a huge dent. I assure you, it's not. It just needs a cut & polish. View the next picture to understand what I mean.
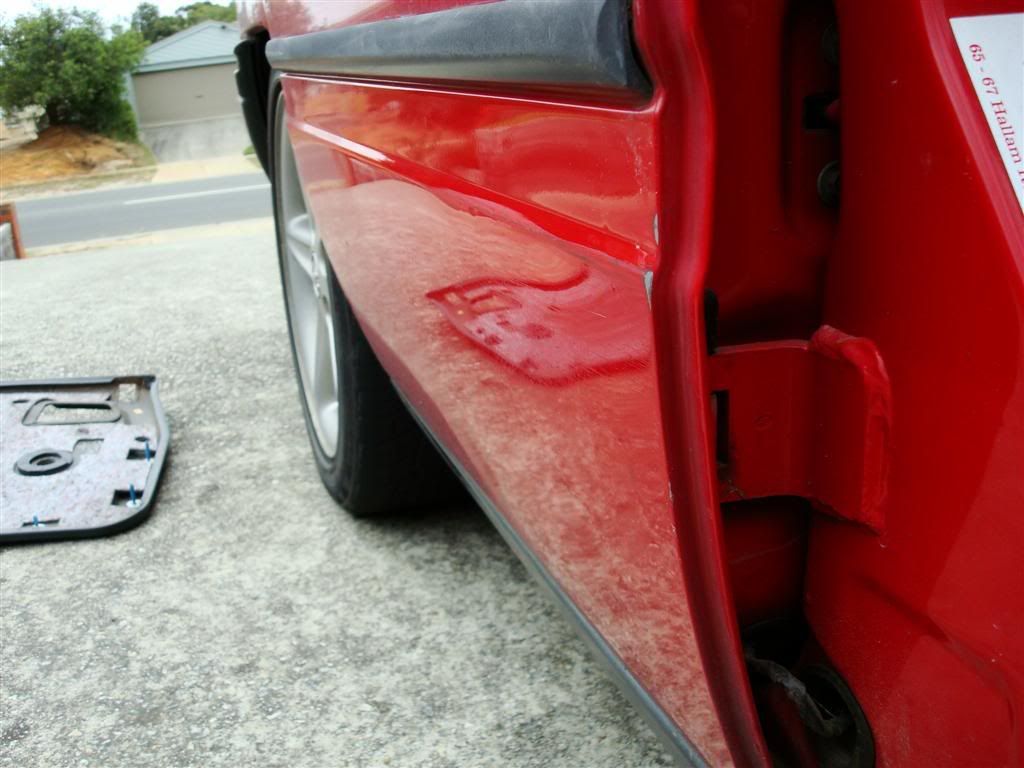
See? No dent any more, only someone elses paint.
Reverse your process to get it all back together. A note for the window winder: Attach the circlip to the winder as shown in the following picture. Then simply push it on to the rod until it clicks into place! Don't forget the spacer though...
Before you start reading, please note that this does not fix your dent perfectly. It is not a suitable way to fix dents in cars that you need to look perfect. My car is old and has probably been in many accidents, it has scratches all over, poor paint, other minor dents... So I wasn't worried about making it look perfect. Just better than it was before. This is suitable for the common VN-VS owner who can't be bothered drilling, pulling, filling, sanding, then painting.
YOU WILL NEED:
Flat Head screwdriver
Philips Head screwdriver
Hammer
Rag
So this is what you arrive to see. The lovely person who hit you couldn't even be bothered leaving a "Sorry" note.
First thing we are going to do is to remove the door lock. Pry apart the orange tab from the side, as shown in the picture. Once it is out a little bit, start prying from the top of it until it pops out. The lock will then slide off.
Here I have attempted you show you how it works so you better understand how to get it off. The orange tab grabs onto the thread to stop it from moving. Undo the screw behind the thread then lift out the bracket and save for later.
Now remove the tab on the arm rest using your flathead and take out the 2 screws behind it. Remove the arm rest completely.
It's time to remove the window winder, with our awesome friend the circlip. You can get a circlip tool if you want, but I find using a rag very simple and easy. It may take you 5 minutes the first time, but you'll get used to it. Insert a rag in between the spacer and the winder, and pull from side to side until it grabs the circlip and pulls it out. It shouldn't fly very far, because the rag will catch it. If you can't get it, turn the winder and try again (it depends which side the circlip was put on, facing the handle or away from it. View next picture to understand how a circlip works).
If you don't understand the circlip, this picture will explain it for you. The circlip has 2 indents which keep it in place on the rod which has a channel for it. Visualise pulling the rag from left to right, and the rag grabbing an end of the circlip and pulling it off.
Now you can pry away the door trim. Get your flathead and stick it in between the door and the trim and pry it off all the way around the door. Take care not to break the pins.
Ah, great. The dent is exactly where I can't reach with a hammer. Don't worry, most of the dent will pop out easily. There are many holes in the metal, and I don't mind poking a hole through the plastic to get to them. You can remove the plastic if you want, but it doesn't do much, especially not in my door because someone has already cut a huge hole in it anyway. Poke your flathead through the hole you need, and bang on it with the hammer until the dent pops out. If there are certain bits that didn't come back far enough, just bang them with the flathead and hammer until they are near enough to where they should be. You can now understand why the drill and pull method works a lot better.
You can do a pretty good job like this, as you can see mine is not perfect but I am happy with it. From other angles you'd never notice it was there, only this one because you can see the reflection of the trim on the ground. Note: From this angle, that line that goes all the way down the door actually has paint on it which makes it look like a huge dent. I assure you, it's not. It just needs a cut & polish. View the next picture to understand what I mean.
See? No dent any more, only someone elses paint.
Reverse your process to get it all back together. A note for the window winder: Attach the circlip to the winder as shown in the following picture. Then simply push it on to the rod until it clicks into place! Don't forget the spacer though...
")