Don't worry about prep? Are you serious? The better the prep, the better the outcome. Note: when prepping and painting, don't put wax, gel, hairspray in your hair, wear a hat, as there is silicone in shampoo, wear dust free and thinner resistant gloves or prepsol your hands before you start working, don't wear perfume or body spray. The cleaner you are and the environment you are working in and the parts you are working on, the better the result. If done properly, you won't need to cut or polish it at all.
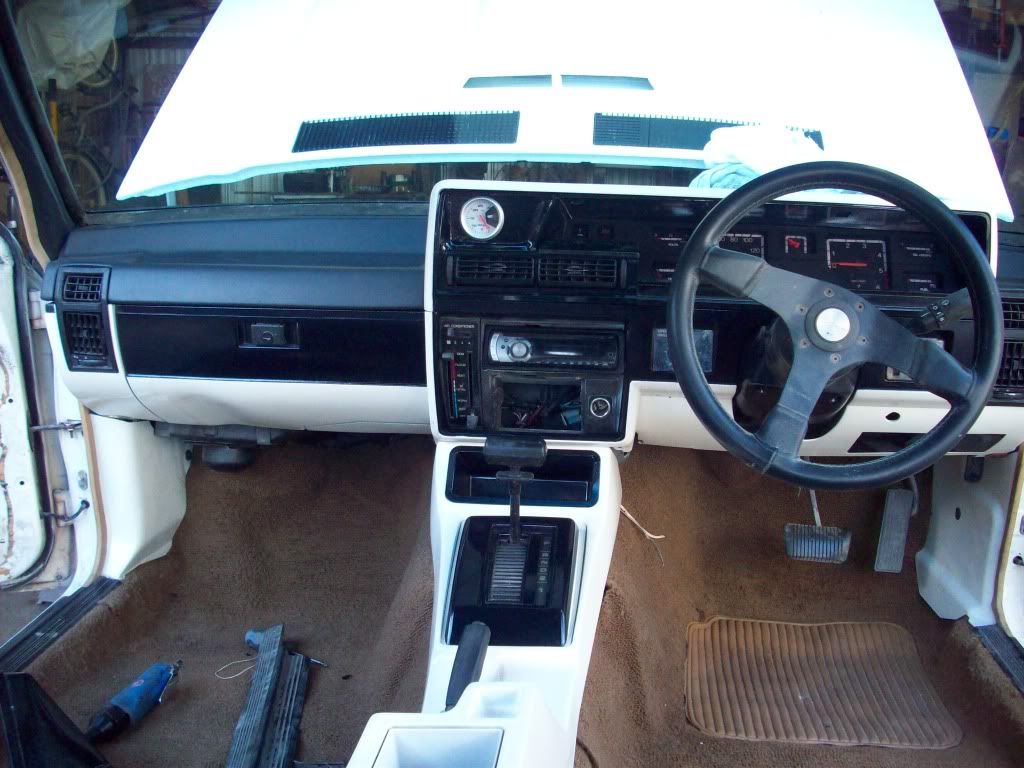
Step 1. Dismantle what you want painted.
Step 2. Prepsol (Wax and Grease Remover) everything.
Step 3. Use Red Scotchbrite or 1200 wet to sand the parts. Make sure there are no shiny bits, as paint will flake off.
Step 4. Blow all dust off with a compressor whilst rubbing lightly with a blue tack rag. (Don't use yellow tack rags, they are too sticky and leave residue behind)
Step 5. Prepsol again. Personally, I would use Thinners instead of Prepsol as it's better at removing contaminants, but be careful it doesn't eat the plastic, test on the underside of it first if you're going to do this.
Step 6. Mask up anything you don't want paint on. Don't be tight when purchasing masking tape, you don't want it peeling off as soon as paint touches it.
Step 7. Prepsol again.
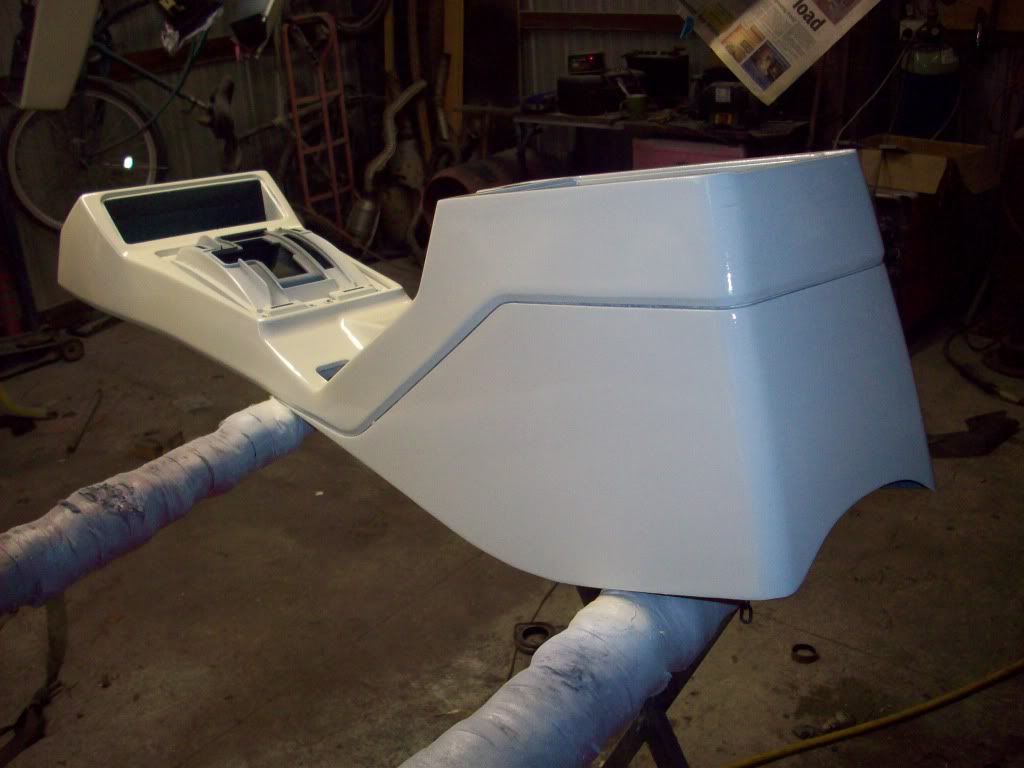
Step 8. Spray everything you want painted with Plastic Primer, pay close attention to edges, let it flash off (dry but tacky, if it's 25 degrees with little to no humidity then this would take about 40 seconds) then do it again.
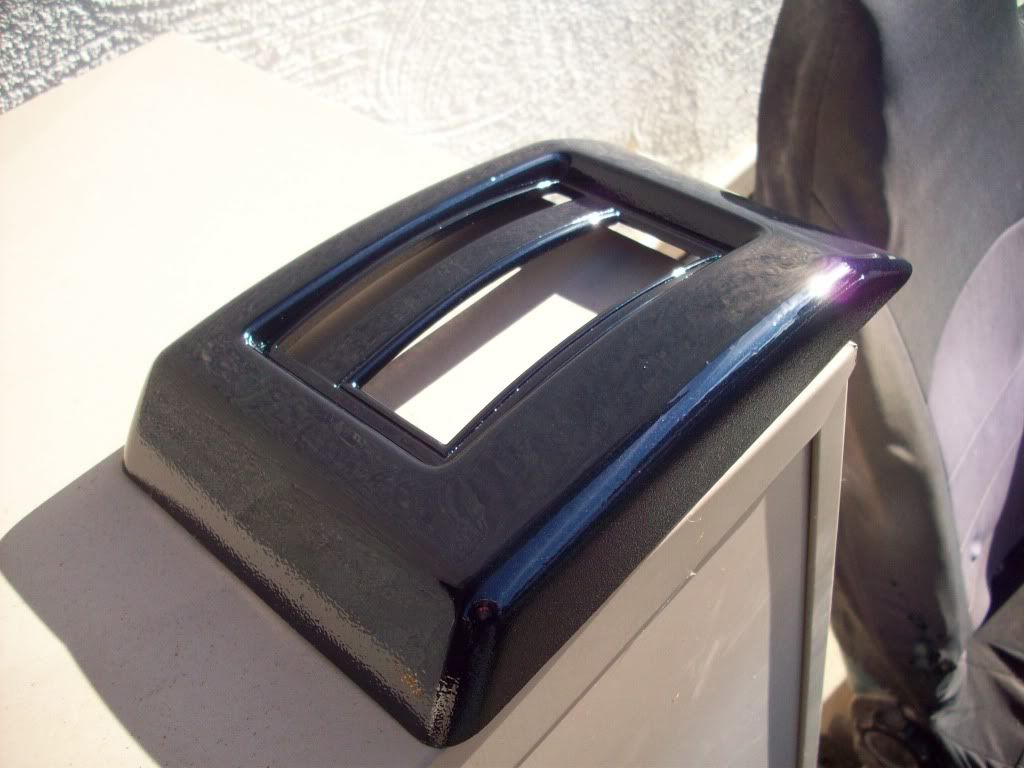
Step 9. Once the Plastic Primer is dry you apply your basecoat (colour), spray evenly, make sure your overlapping is about 70%, don't be afraid of putting it on, basecoat should be applied fairly wet. Let it flash off, when it's still sort of wet apply the second coat. Once second coat is applied, immediately turn the pressure down on the gun a smidge and apply a 'half coat' by pulling half the trigger, this will get rid of mottle or patchiness. 2 and a half coats, if done properly, is all you need, the more paint you have on your part, whether it be plastic or a panel, the more likely it will bubble, separate, crack, fade and/or flake off.
Step 10: Once the basecoat is dry, apply the clear coat. Let it flash off, apply another coat. Try not to get any runs.
Step 11: Bake it. (If you have a bathroom with those heat lights, sit them under that, otherwise place them somewhere not humid for 24 hours. I wouldn't sit them in front of a heater due to the fact that it will blow dust and **** on to your freshly painted work.)
You don't need to add Plasticiser to the basecoat or the clear. Plasticiser is designed for bumper bars and flexible parts. Plasticiser makes the paint flexible, it does this by not letting it dry completely. It's crap stuff. I would only use plasticiser on my front bumper bar to prevent stone chips.
You get what you pay for when it comes to materials regarding painting. Don't use Motorspray. I recommend Standox, it's the most user friendly and is moderately priced. Only use 2k products. Stay away from acrylic, it's outdated for a reason. Before painting stuff, I recommend you practice application, get a large area, ie. an old door or a large bit of cardboard and practice your overlapping and speed. By doing this you will less likely get runs and dry patches.
Hope that helps. Sorry for the essay.
")