rch-13z
Former Photoshop Whore
- Joined
- Jan 15, 2008
- Messages
- 626
- Reaction score
- 261
- Points
- 63
- Age
- 38
- Location
- South-West Sydney
- Website
- www.karcreations.com.au
- Members Ride
- VT Exec
VL-Commonwhore asked for this tutorial a while back & I finally managed to get around to it....
There are two different ways to do it.... If it's directly from the side then this is option 1, and if option 2 is when its not directly from the side and required some extra effort....
Hope it makes sense, I've had half a bottom of Jim so not 100% if it makes sense or not...
Regards
Rich
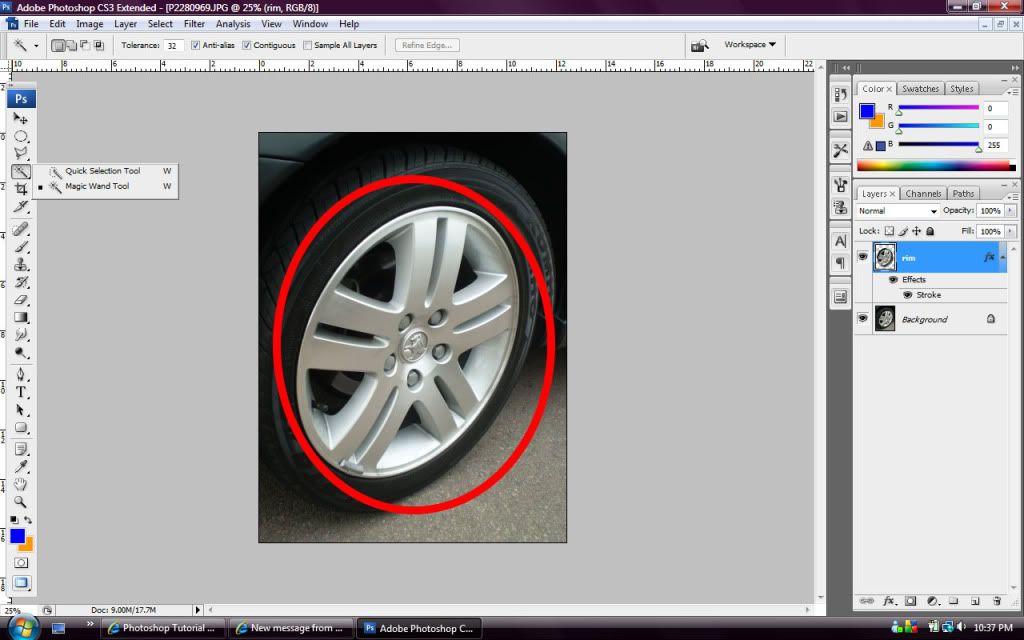
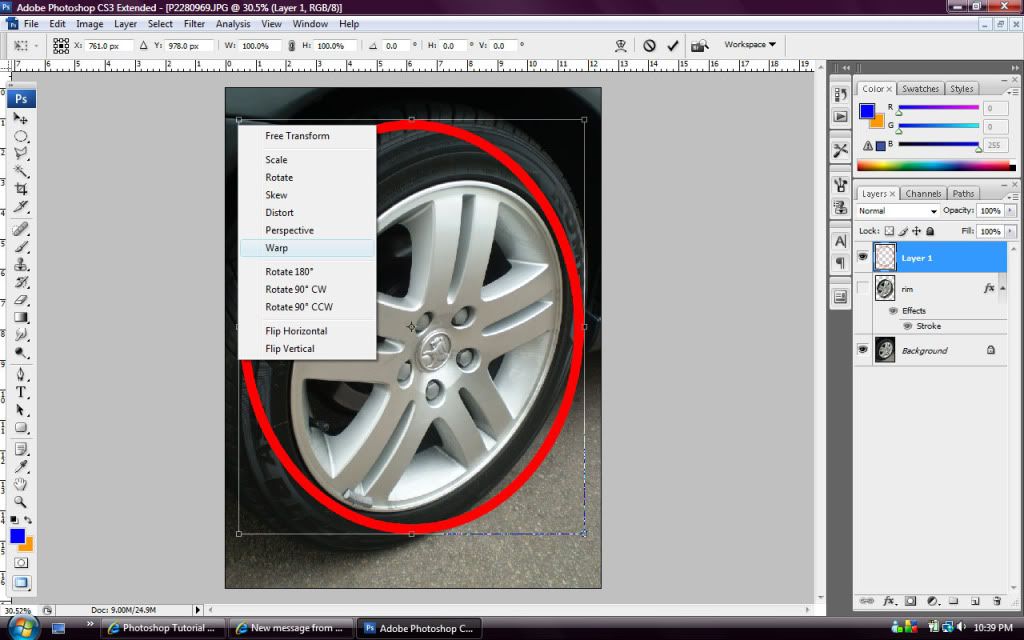
1. Select the ecliptical marquee option (2nd from the top which is indented)
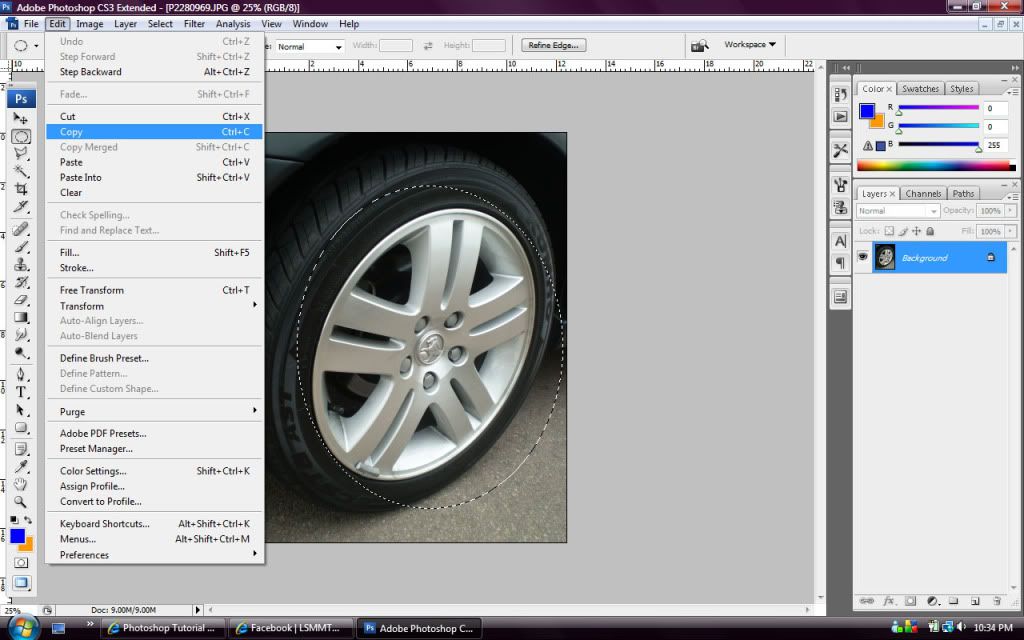
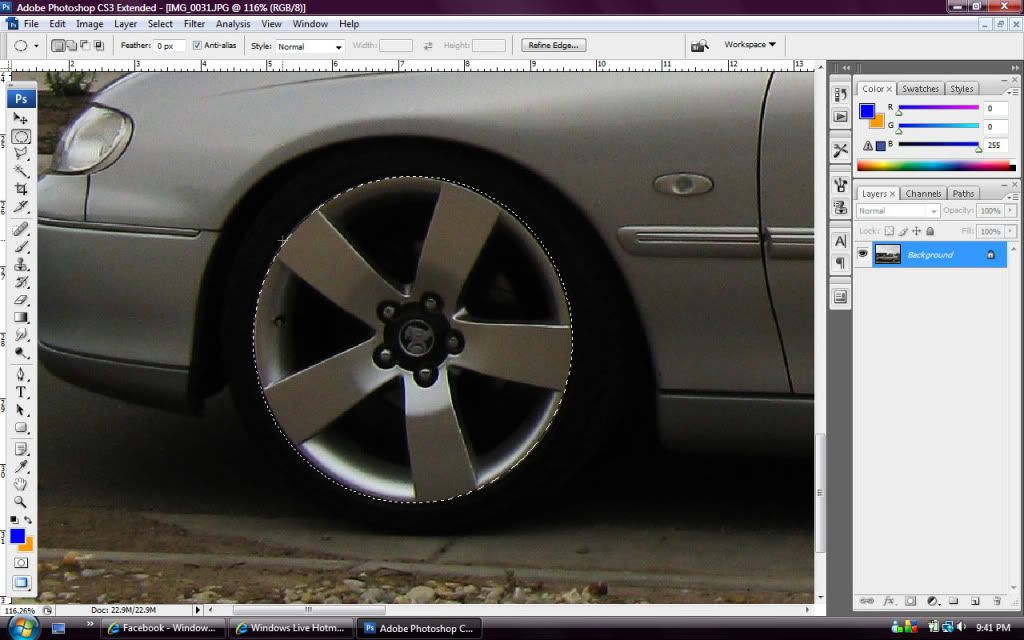
2. Using the ecliptical marquee tool select the rim only.
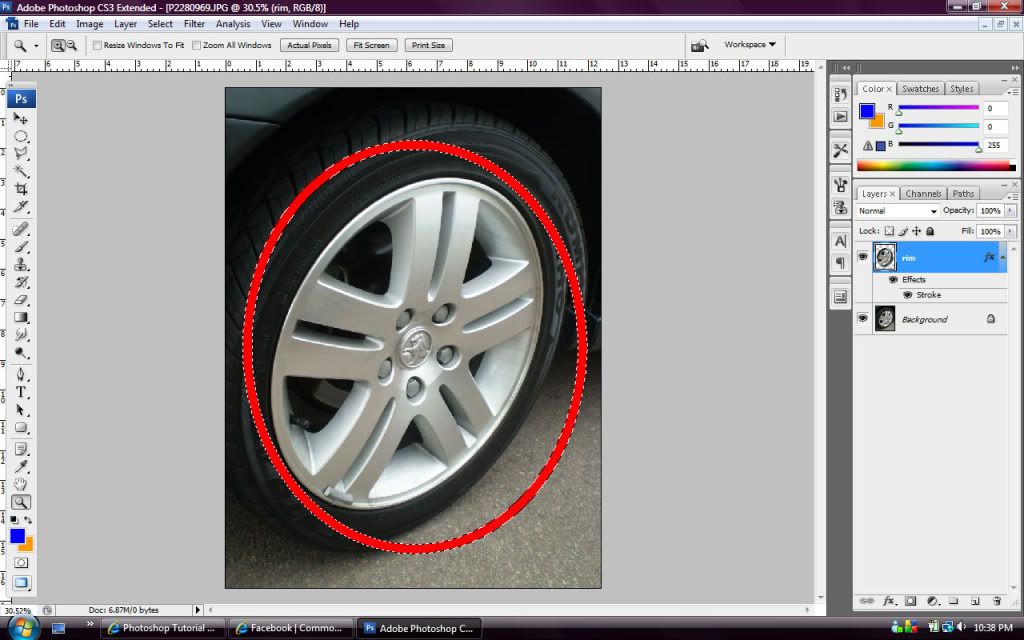
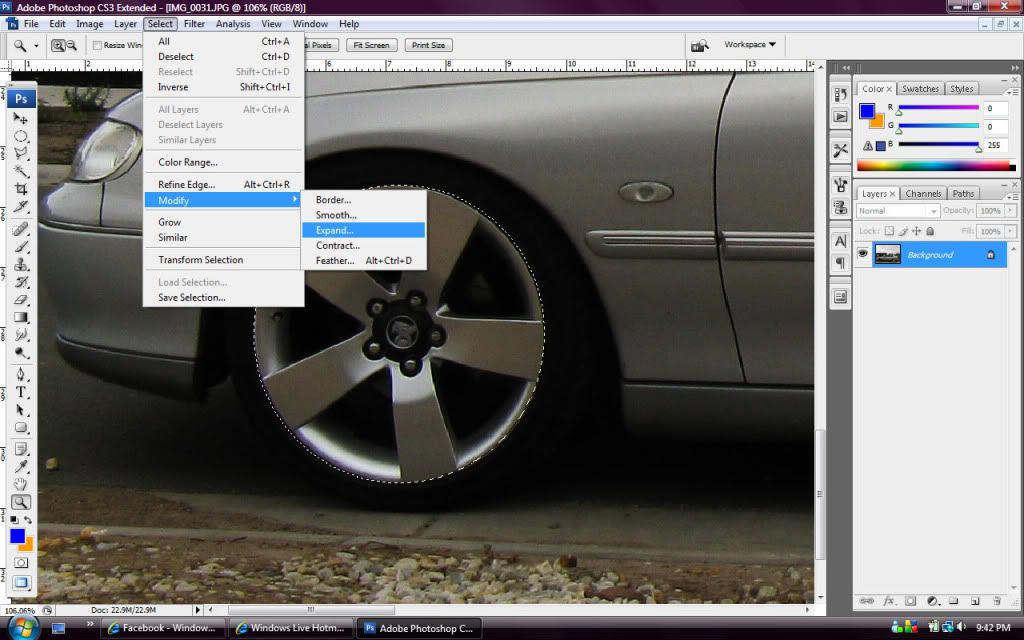
3. Go to the top of the screen and click Select > Modify > Expand
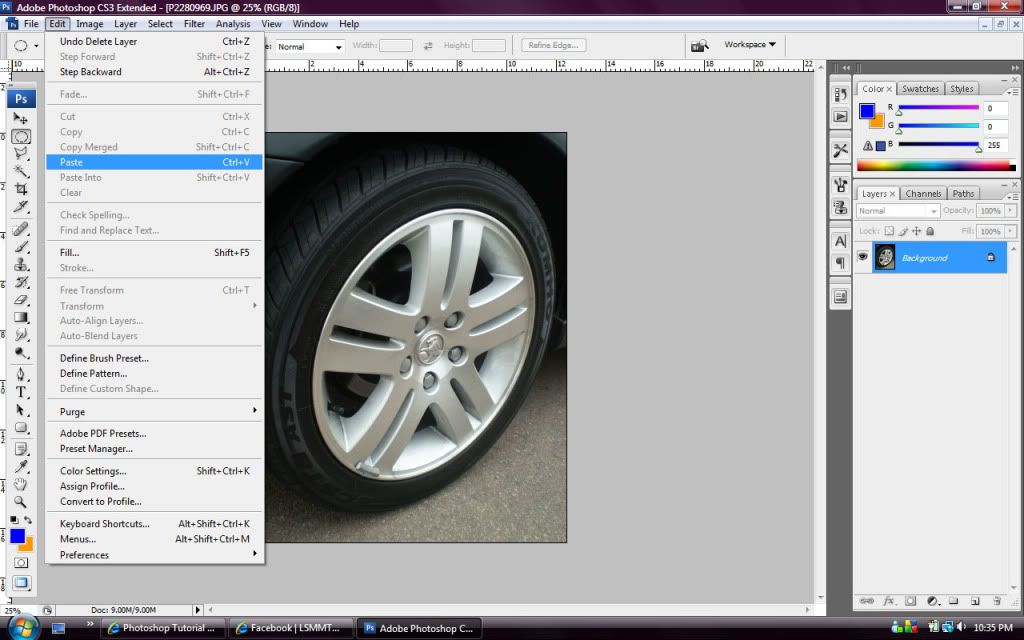
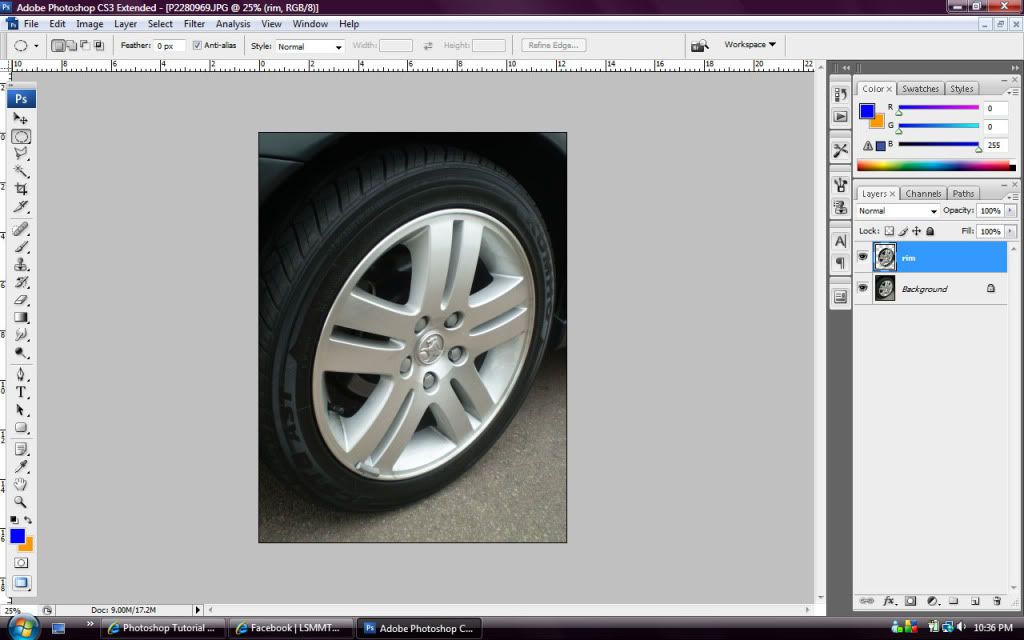
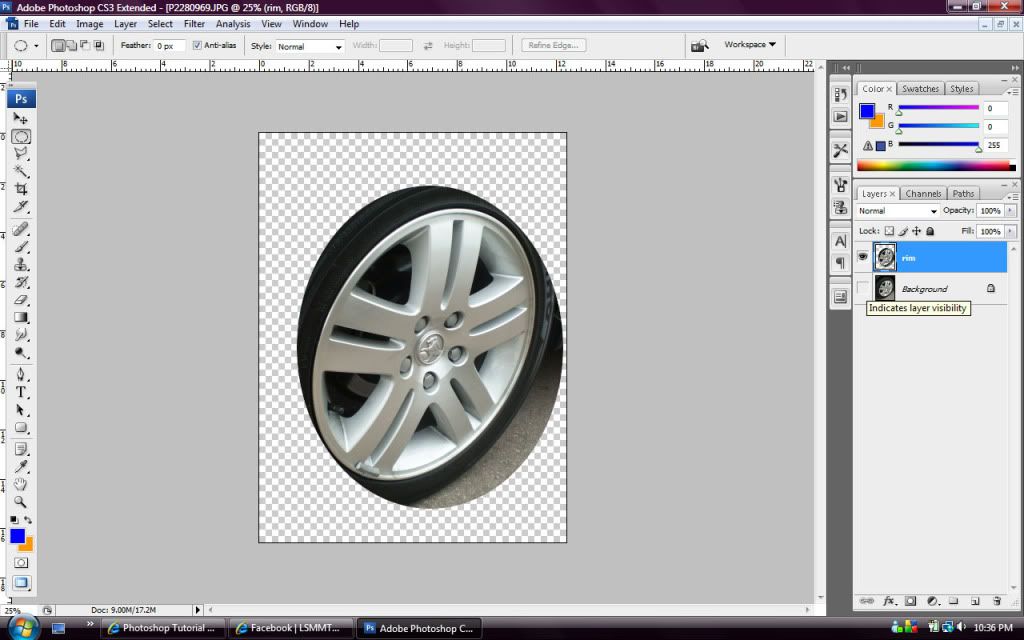
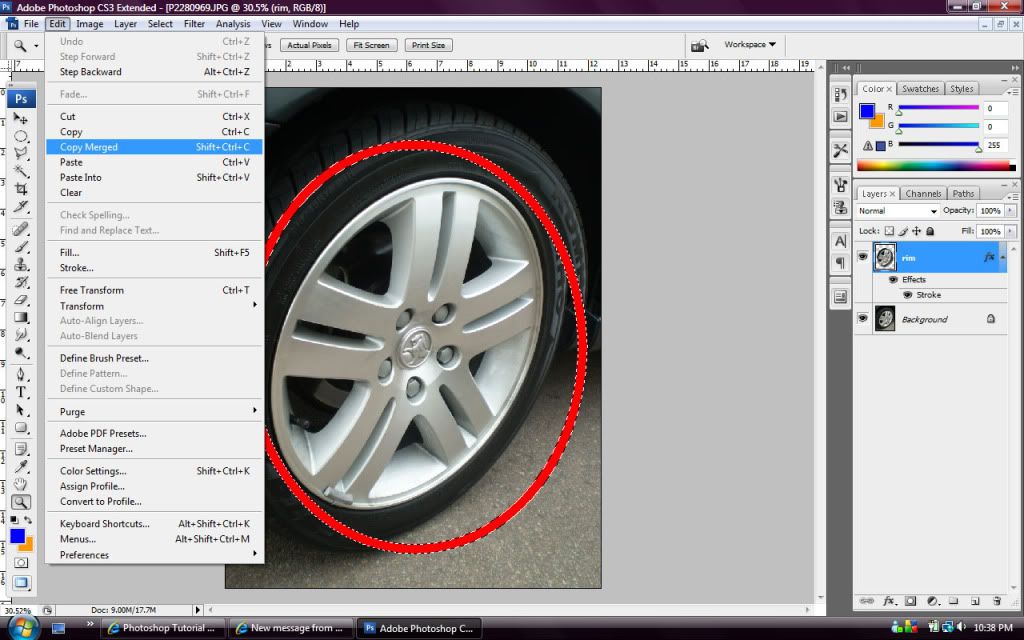
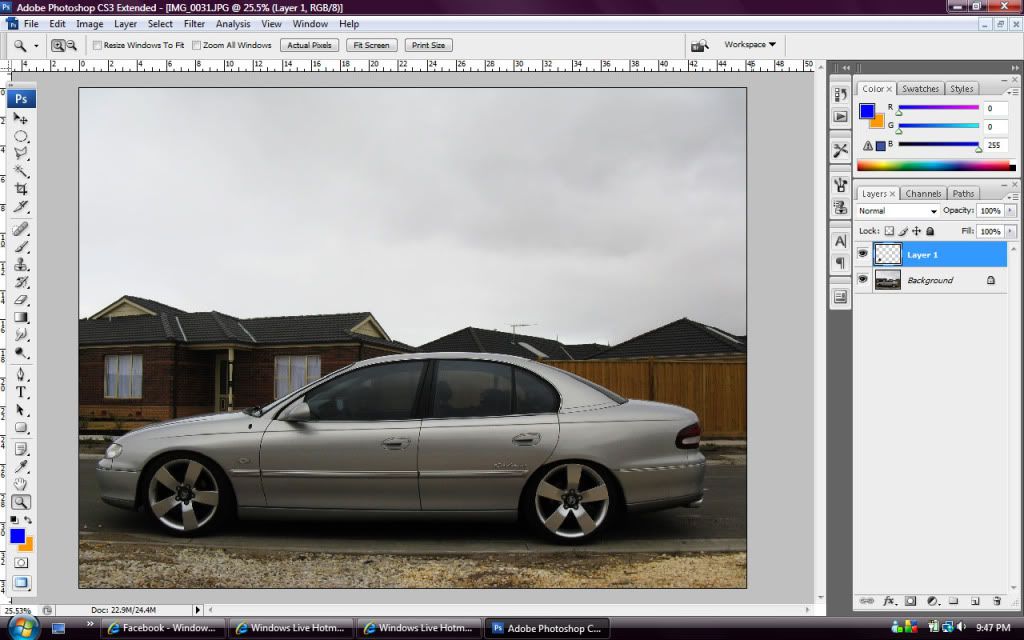
4. Go to the top of the screen and click Edit > Copy. Then Click Edit > Paste which will create a new layer (which can be seen on the right hand side).
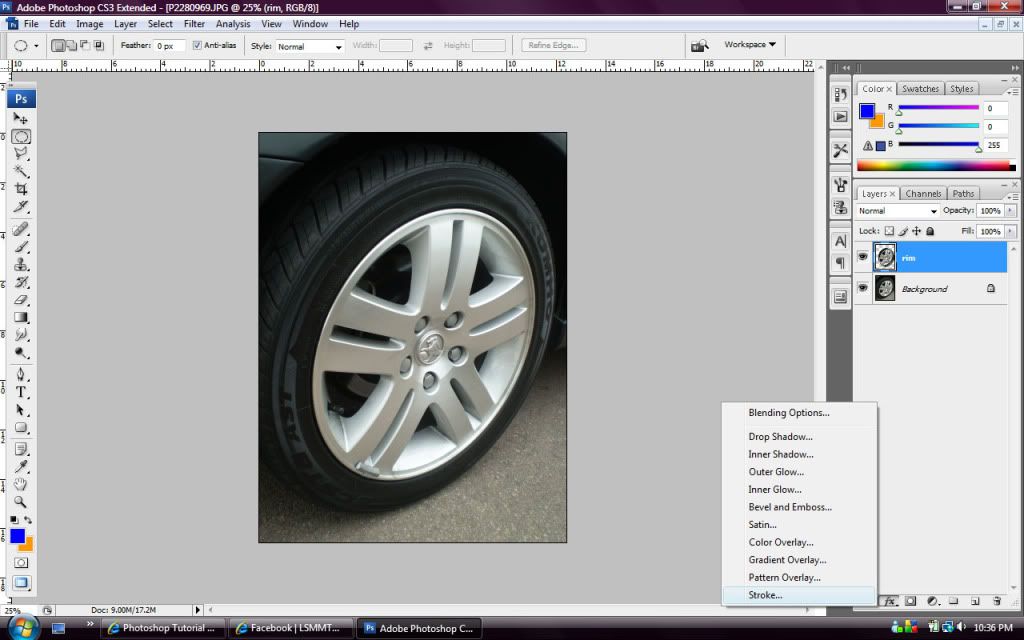
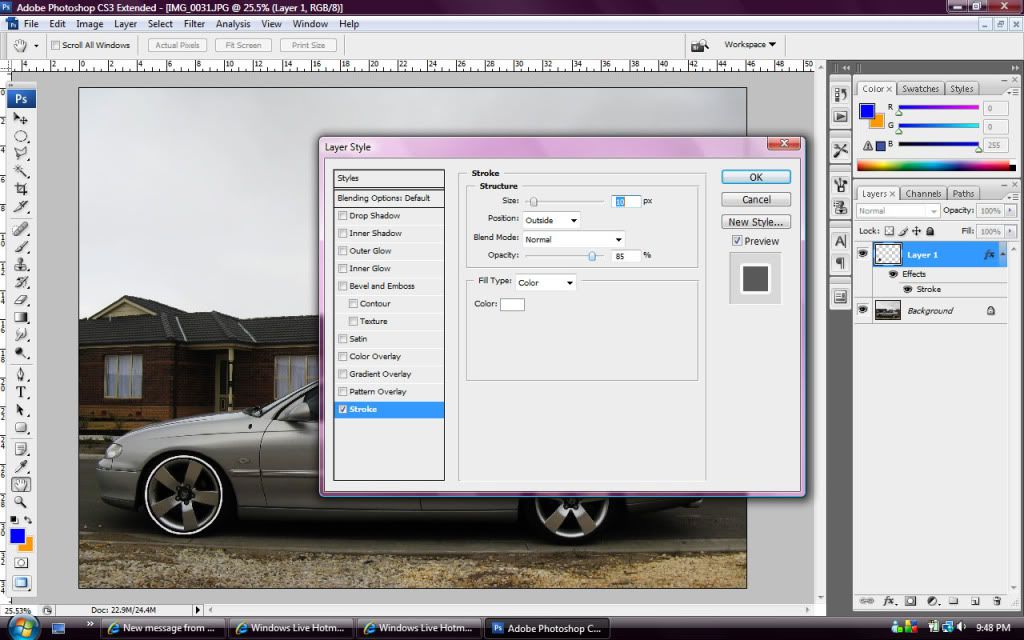
5. Click on the FX button in the bottom right hand corner then Stroke.
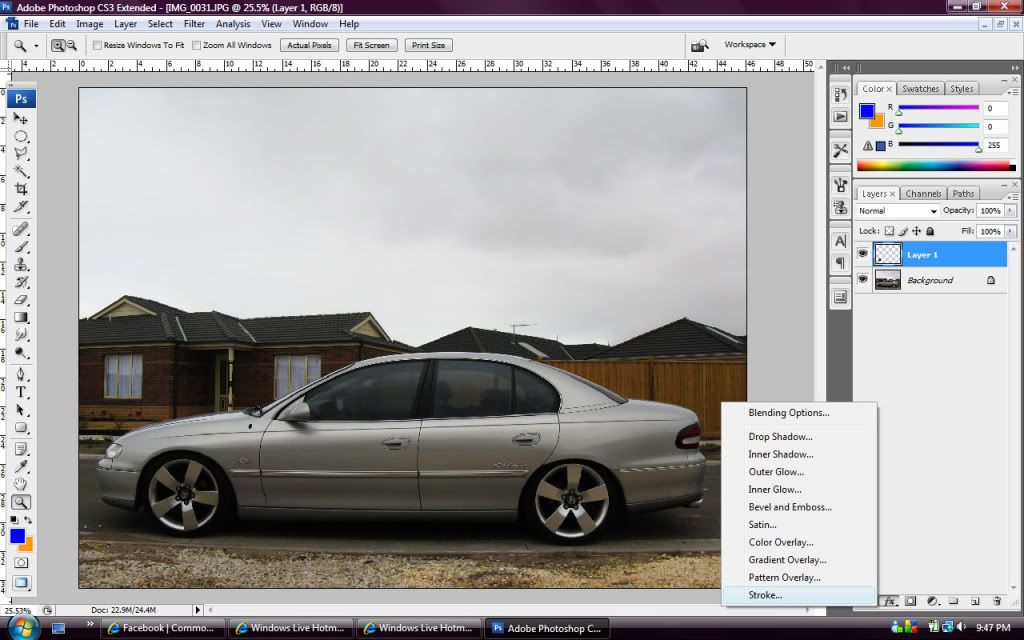
6. Basically once here you need to make changes to 3 things within the stroke screen
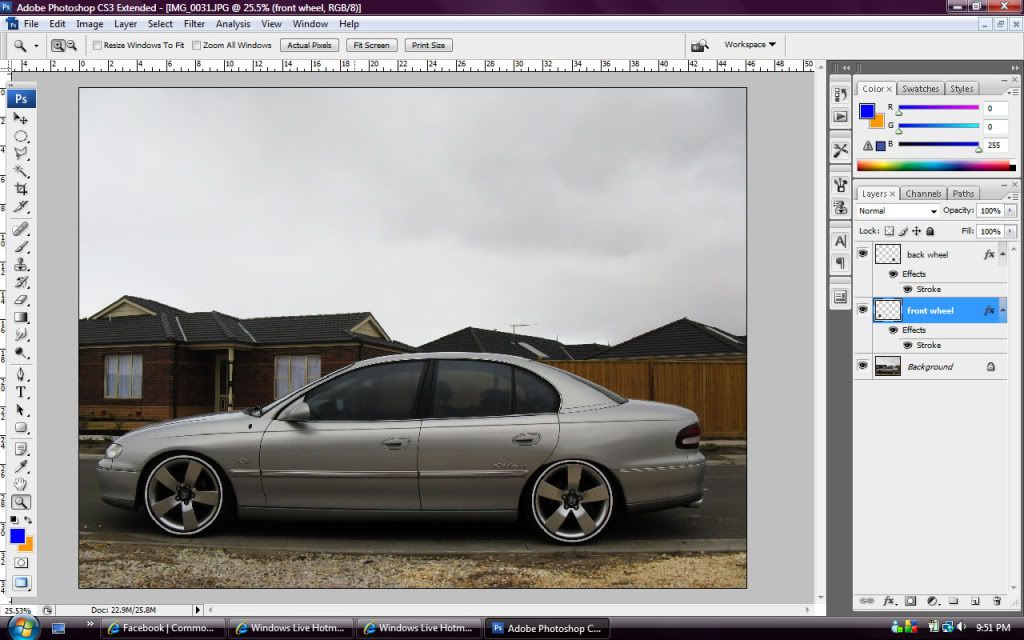
7. Then just copy the same procedure for the rear.... Only difference is that you need to "copy merged" for the rear as there is now more than 1 layer on the document...
8. And your done!
There are two different ways to do it.... If it's directly from the side then this is option 1, and if option 2 is when its not directly from the side and required some extra effort....
Hope it makes sense, I've had half a bottom of Jim so not 100% if it makes sense or not...
Regards
Rich
1. Select the ecliptical marquee option (2nd from the top which is indented)
2. Using the ecliptical marquee tool select the rim only.
3. Go to the top of the screen and click Select > Modify > Expand
4. Go to the top of the screen and click Edit > Copy. Then Click Edit > Paste which will create a new layer (which can be seen on the right hand side).
5. Click on the FX button in the bottom right hand corner then Stroke.
6. Basically once here you need to make changes to 3 things within the stroke screen
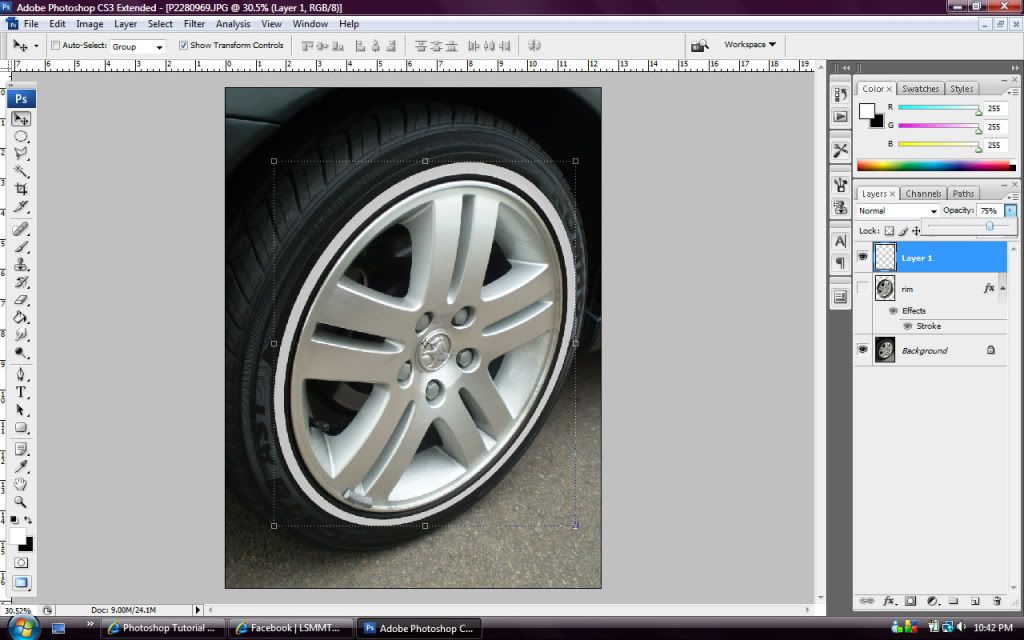
- Size = How big you want the whitewall to be
- Opacity = How bright or see-through you want the whitewall to be
- Colour - Obviously you need to choose if you want the wall to be white, red, yellow blue.....
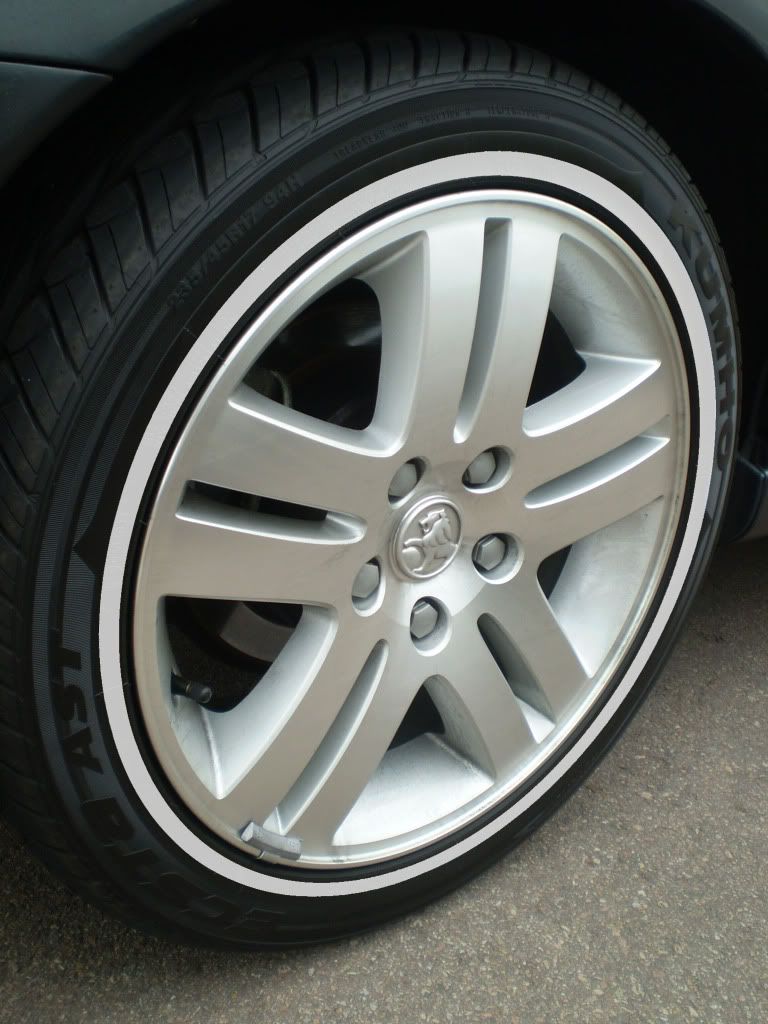
7. Then just copy the same procedure for the rear.... Only difference is that you need to "copy merged" for the rear as there is now more than 1 layer on the document...
8. And your done!