quiksilv3r
New Member
- Joined
- Jul 21, 2005
- Messages
- 184
- Reaction score
- 2
- Points
- 0
- Age
- 39
- Location
- Morayfield
- Members Ride
- VSII L67 Statesman
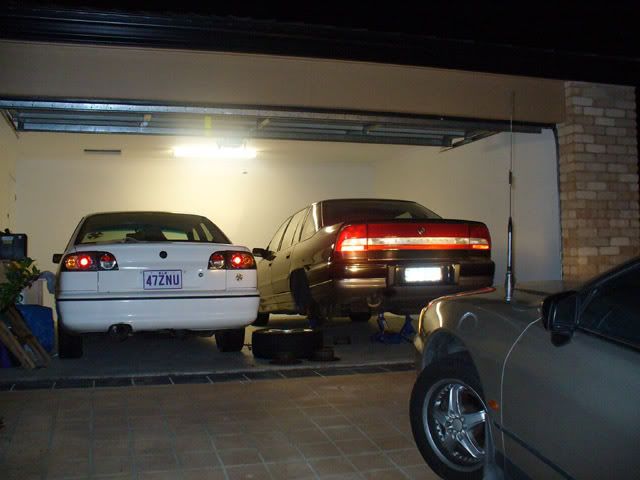
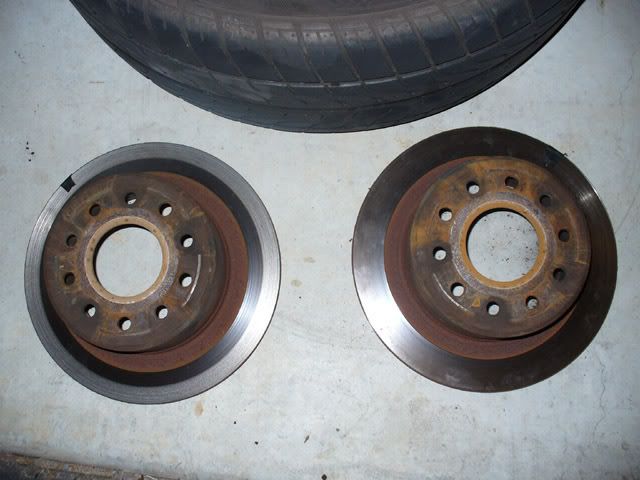
Well I needed to get my rear rotors machined the other day, so I thought I'd throw up a basic DIY on removing them to take them in to get machined. Saves a big lump of cash by doing it this way ($22 per rotor for machining, compared to $200+).
Tools needed:
Trolley Jack
Axle Stands
Wheel Brace
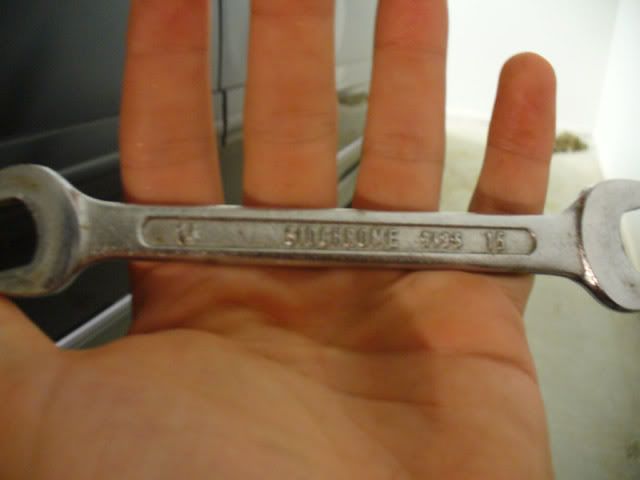
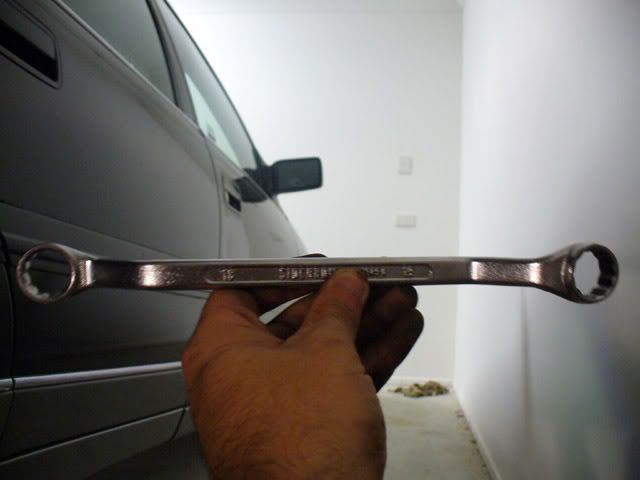
15mm Spanner
17mm Spanner
18/19mm Spanner
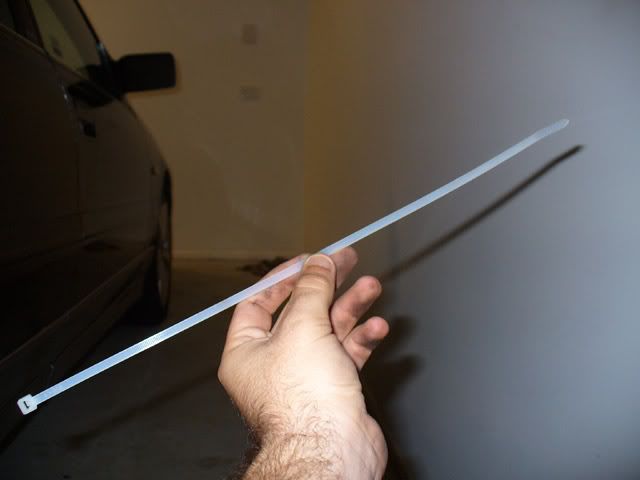
Zip Ties
G-clamp/piston tool
Step 1.
Park car on an even surface and slightly undo wheel nuts for the rear wheels.
Step 2.
Jack the rear of the car up (I used a trolley jack under the diff) and place axle stands under each side for extra support. Also, go inside the cabin and release the handbrake (important for later).

Step 3.
Remove wheels. Undo nuts in a diagonal pattern and put wheels somewhere out of the way.
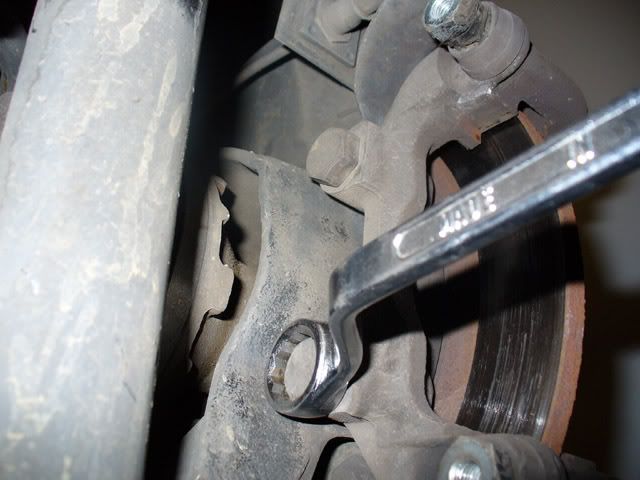
Step 4.
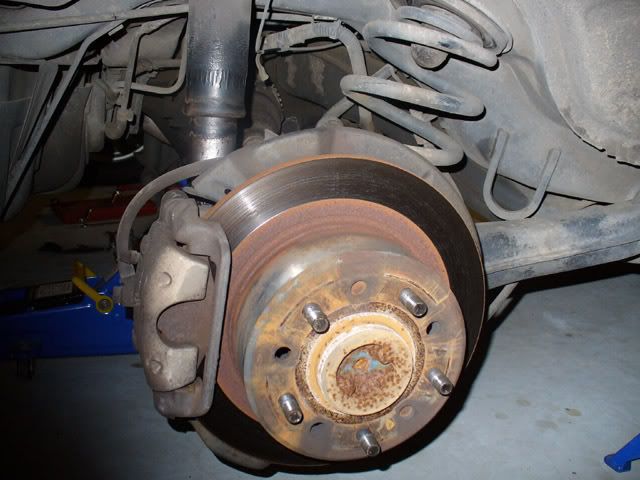
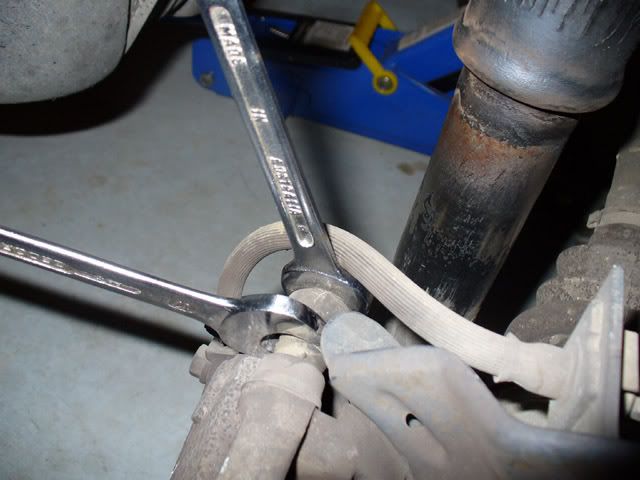
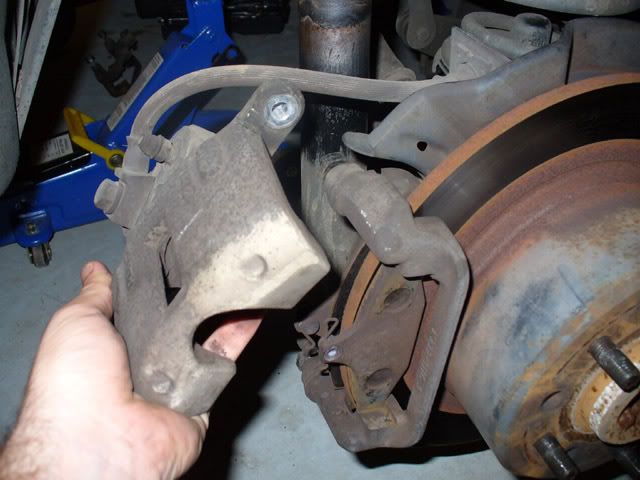
Removing the caliper. If you look to the inside of the caliper you will see two bolts holding it in place. A 15mm Spanner and a 17mm spanner were used here - the 15mm for the most inside, and the 17mm to hold the inside nut in place. I removed the bottom bolt first, then the top.
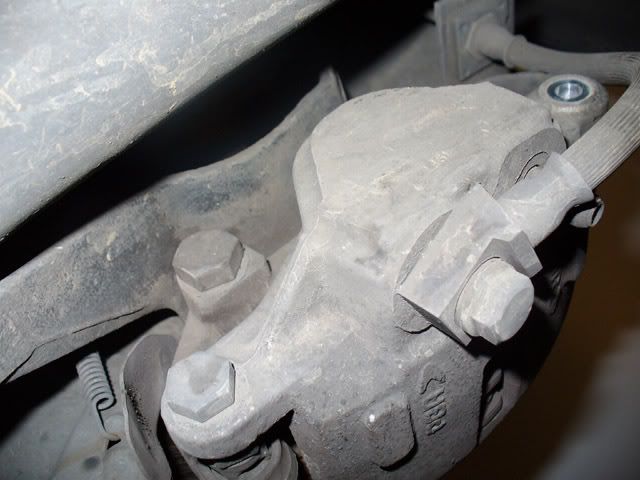

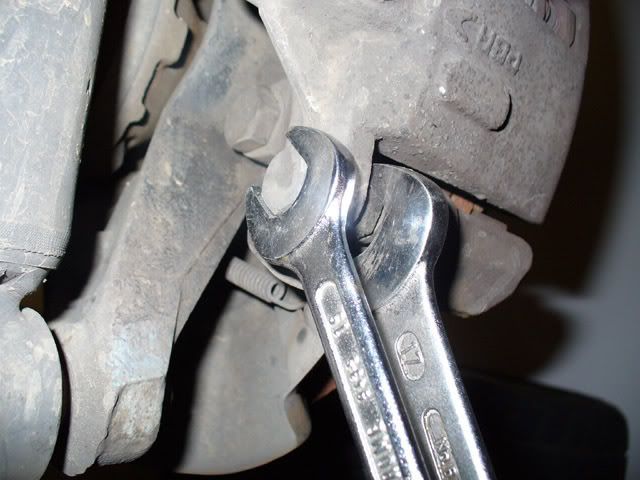
This is what it will look like now
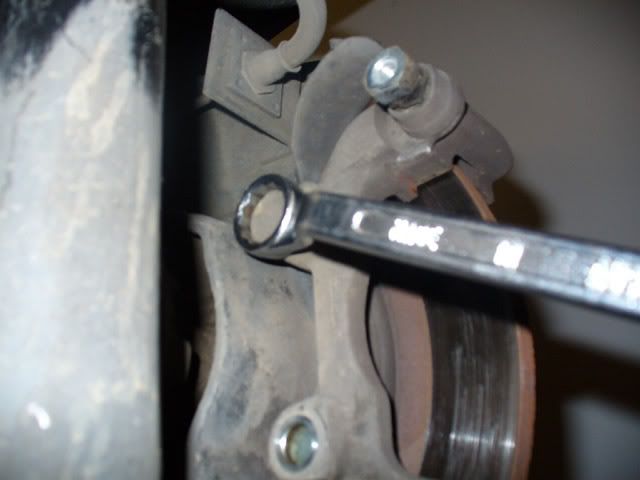
Step 5.
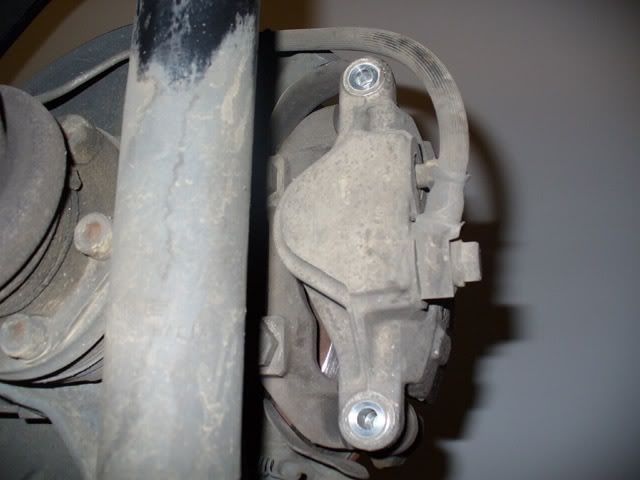
The caliper is now completely loose - with the only thing holding it to the car being the brake line. Making sure not to pull or kink the line, zip tie the caliper to part of the suspension so it is not hanging by the brake line (I used the coil). Also, remove the brake pads and place them somewhere safe.
Step 6.
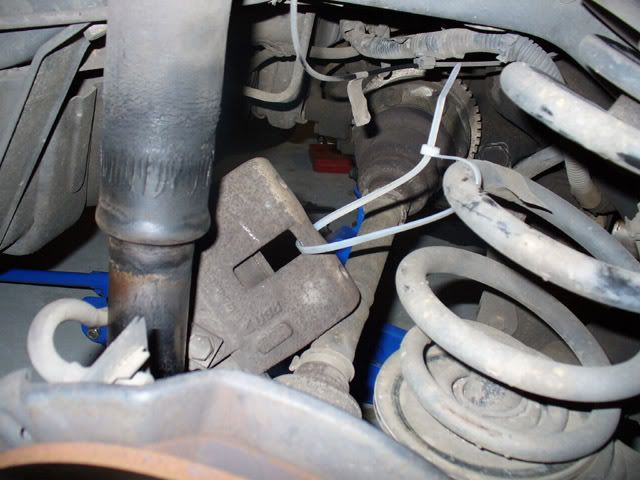
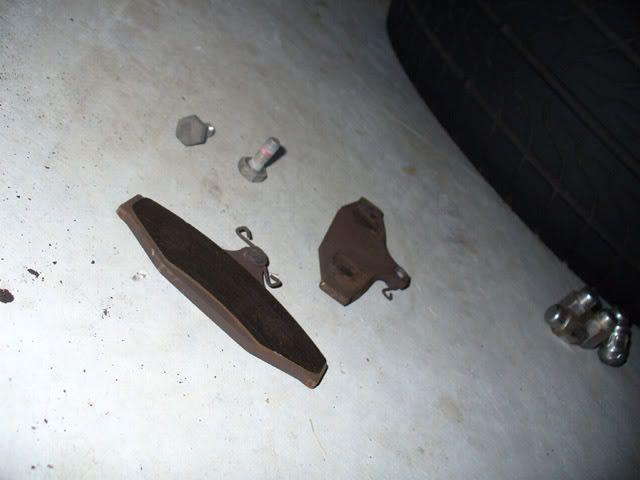
Next part to remove from the hub is the anchor plate (the part that holds the caliper in place). THis was either an 18 or 19mm bolt so grab the 18 or 19mm spanner and undo the two bolts from here (can't remember which one it was, was a while ago now). Once removed, place the anchor plate somewhere safe.
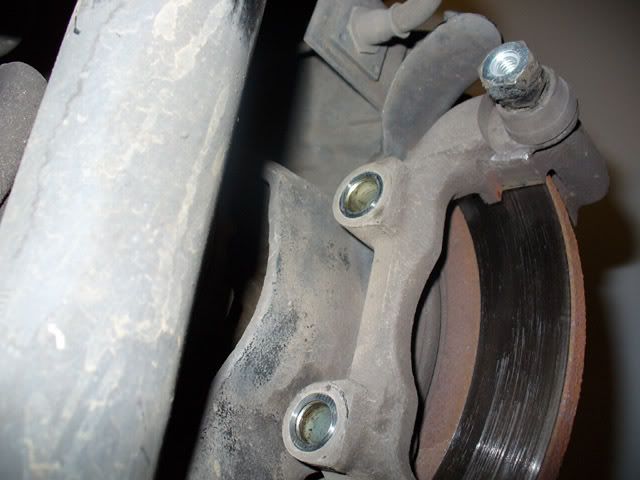
Step 7.
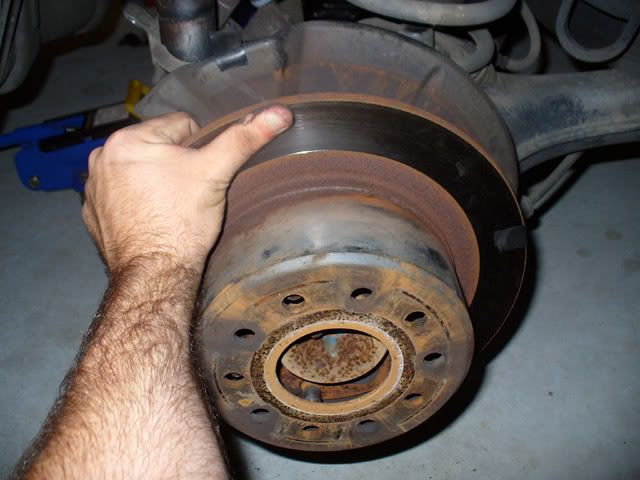
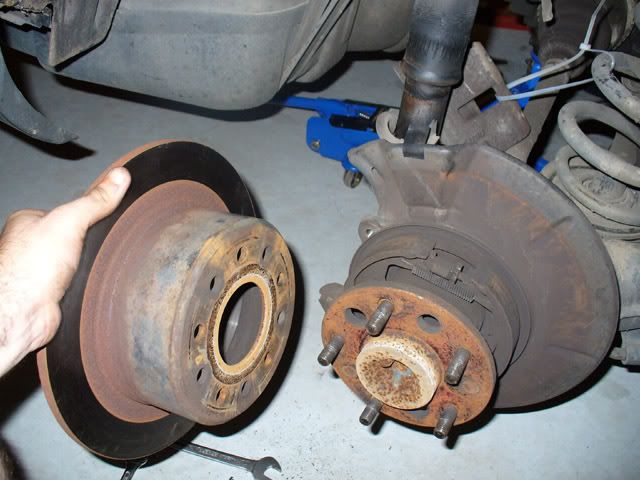
Now the only part left on the hub is the rotor itself. Giving it a slight pull will loosen it and it will slide off the wheel studs. One side was a bit harder than the other, but some moderate force got it off. This is where taking the handbrake off is important - as the rotor will be near impossible to remove with the handbrake locked on.

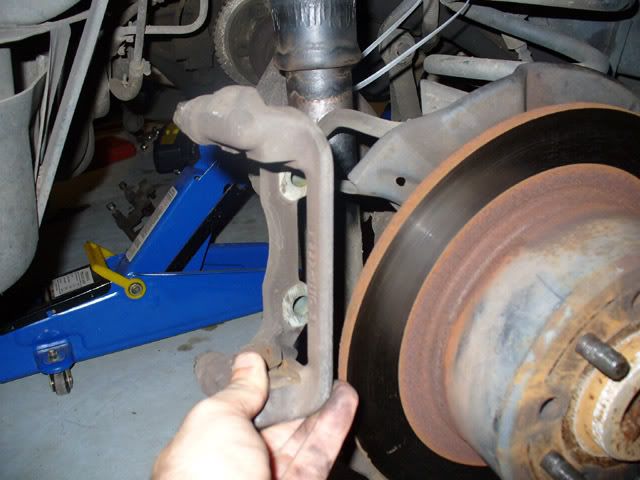
Step 8.
Reassembly is the same in reverse order. Refer to other guides to installing brake pads to get the piston in and what not ((Here).
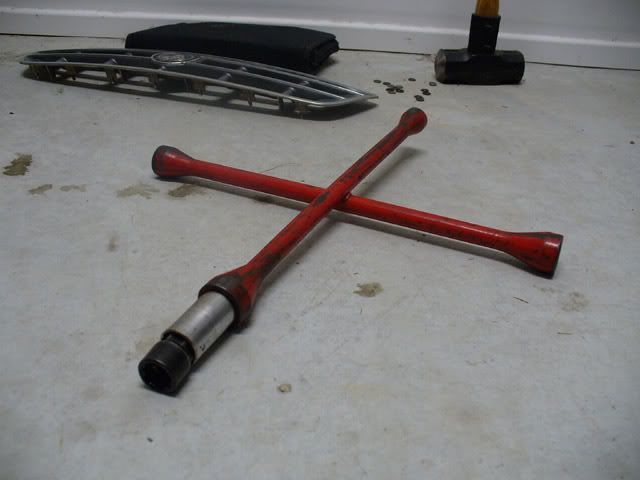
My wheel brace - complete with spark plug socket to fit into the holes for the wheel nuts, and lock nut bit.
Dodgy uneven sticker h34r:
h34r:

Beer also helps

I'm no expert so there is probably some bits that I have missed. Feel free to add anything if you see fit.
Tools needed:
Trolley Jack
Axle Stands
Wheel Brace
15mm Spanner
17mm Spanner
18/19mm Spanner
Zip Ties
G-clamp/piston tool
Step 1.
Park car on an even surface and slightly undo wheel nuts for the rear wheels.
Step 2.
Jack the rear of the car up (I used a trolley jack under the diff) and place axle stands under each side for extra support. Also, go inside the cabin and release the handbrake (important for later).
Step 3.
Remove wheels. Undo nuts in a diagonal pattern and put wheels somewhere out of the way.
Step 4.
Removing the caliper. If you look to the inside of the caliper you will see two bolts holding it in place. A 15mm Spanner and a 17mm spanner were used here - the 15mm for the most inside, and the 17mm to hold the inside nut in place. I removed the bottom bolt first, then the top.
This is what it will look like now
Step 5.
The caliper is now completely loose - with the only thing holding it to the car being the brake line. Making sure not to pull or kink the line, zip tie the caliper to part of the suspension so it is not hanging by the brake line (I used the coil). Also, remove the brake pads and place them somewhere safe.
Step 6.
Next part to remove from the hub is the anchor plate (the part that holds the caliper in place). THis was either an 18 or 19mm bolt so grab the 18 or 19mm spanner and undo the two bolts from here (can't remember which one it was, was a while ago now). Once removed, place the anchor plate somewhere safe.
Step 7.
Now the only part left on the hub is the rotor itself. Giving it a slight pull will loosen it and it will slide off the wheel studs. One side was a bit harder than the other, but some moderate force got it off. This is where taking the handbrake off is important - as the rotor will be near impossible to remove with the handbrake locked on.
Step 8.
Reassembly is the same in reverse order. Refer to other guides to installing brake pads to get the piston in and what not ((Here).
My wheel brace - complete with spark plug socket to fit into the holes for the wheel nuts, and lock nut bit.
Dodgy uneven sticker
h34r:
Beer also helps
I'm no expert so there is probably some bits that I have missed. Feel free to add anything if you see fit.