Headlights Repair Part 1
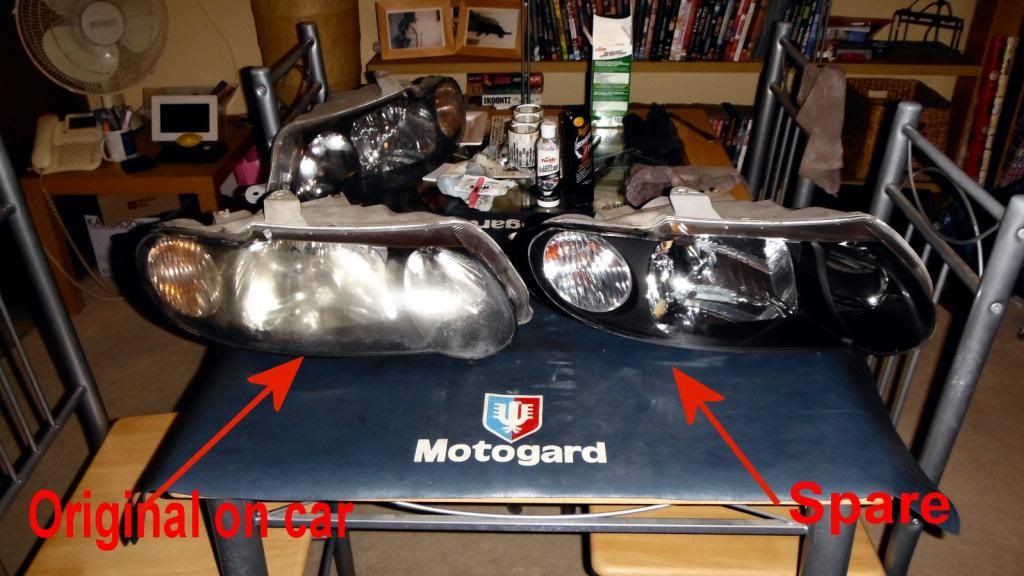
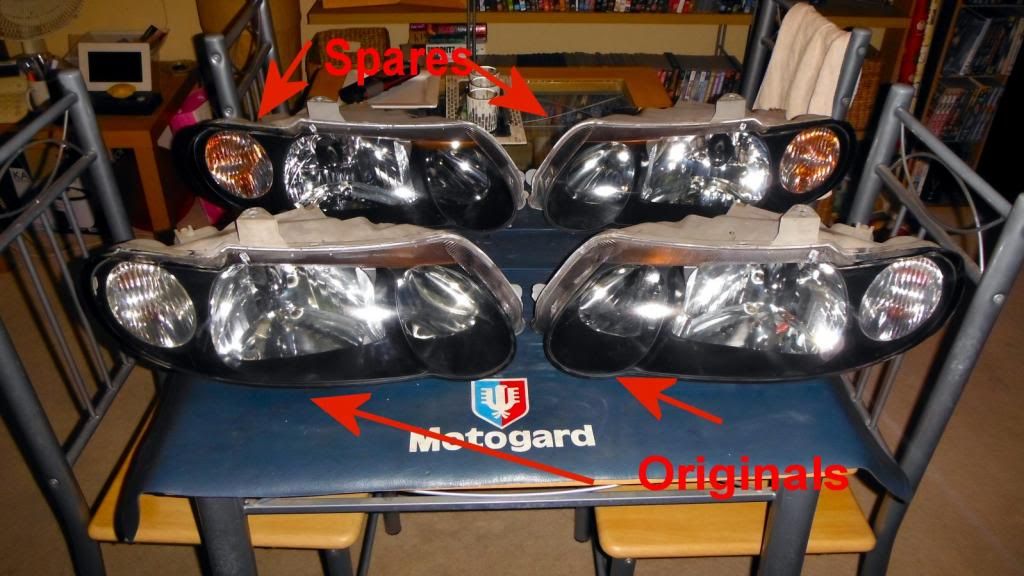
2nd Set spare fixed
Bought these about a week or so ago for about $100
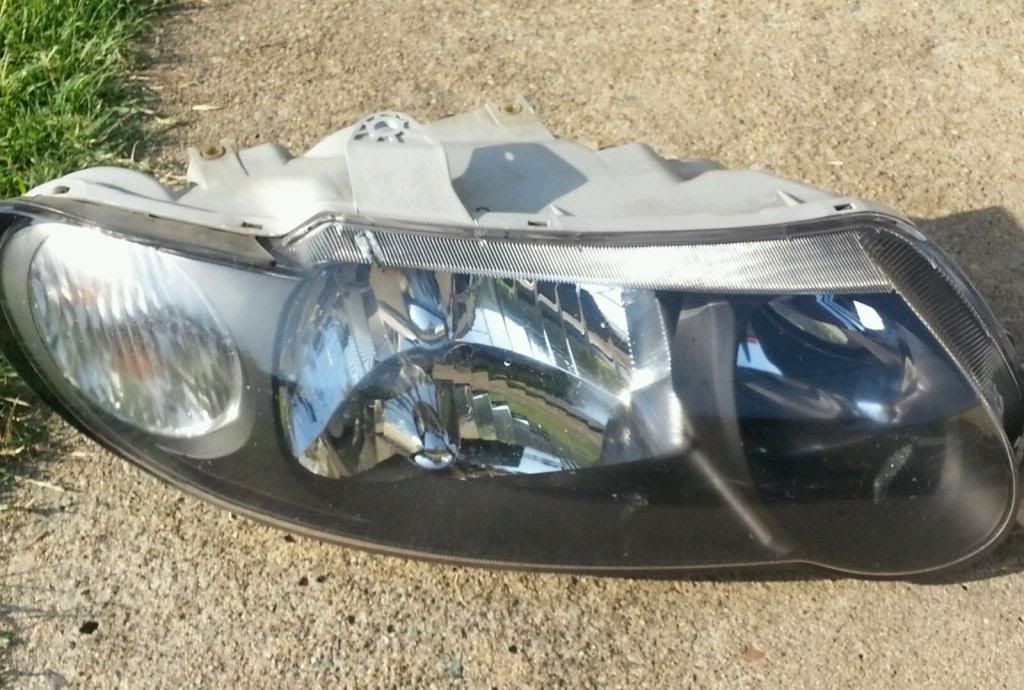
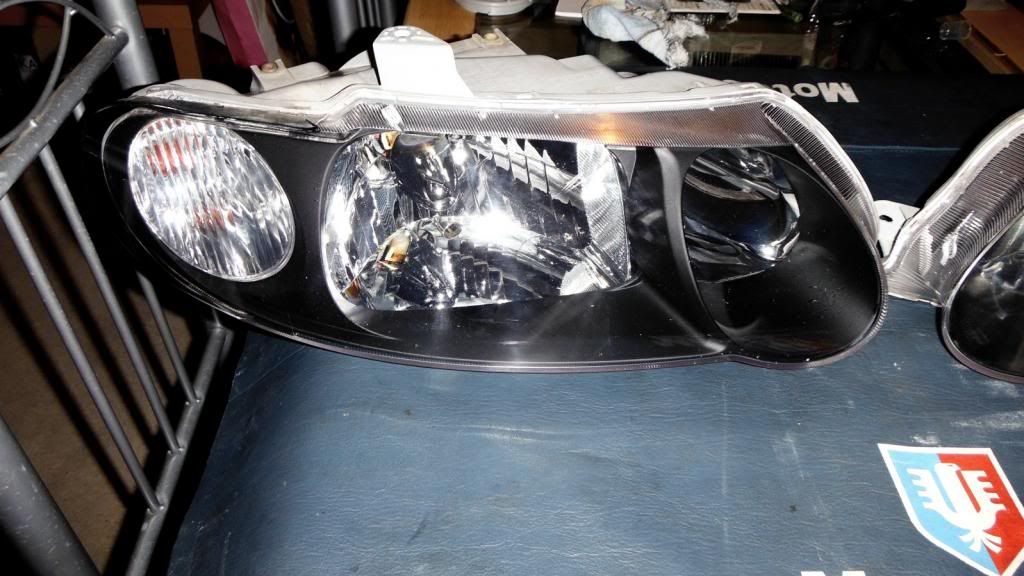
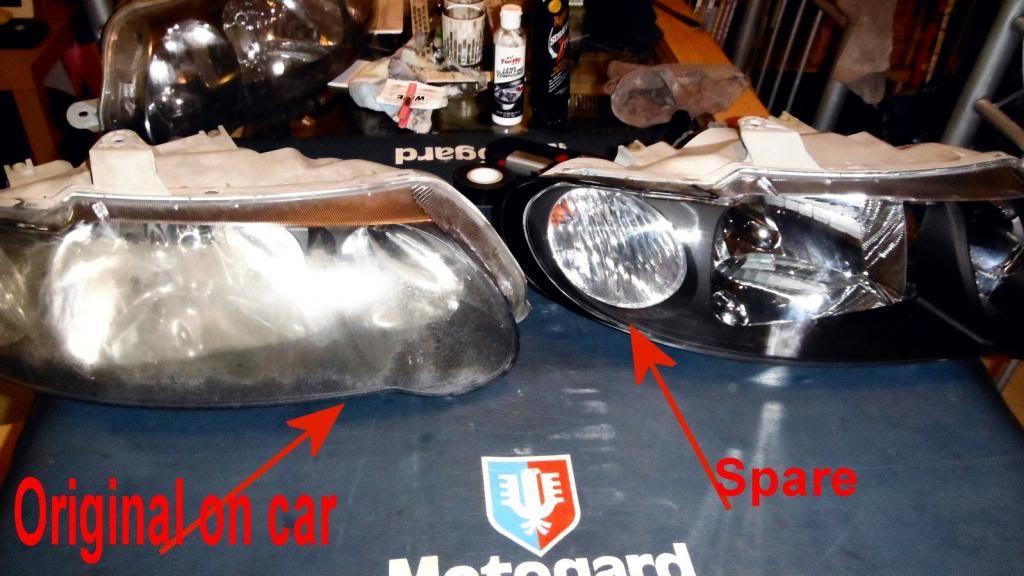
Drivers side stone chipped and internal fogging of lense
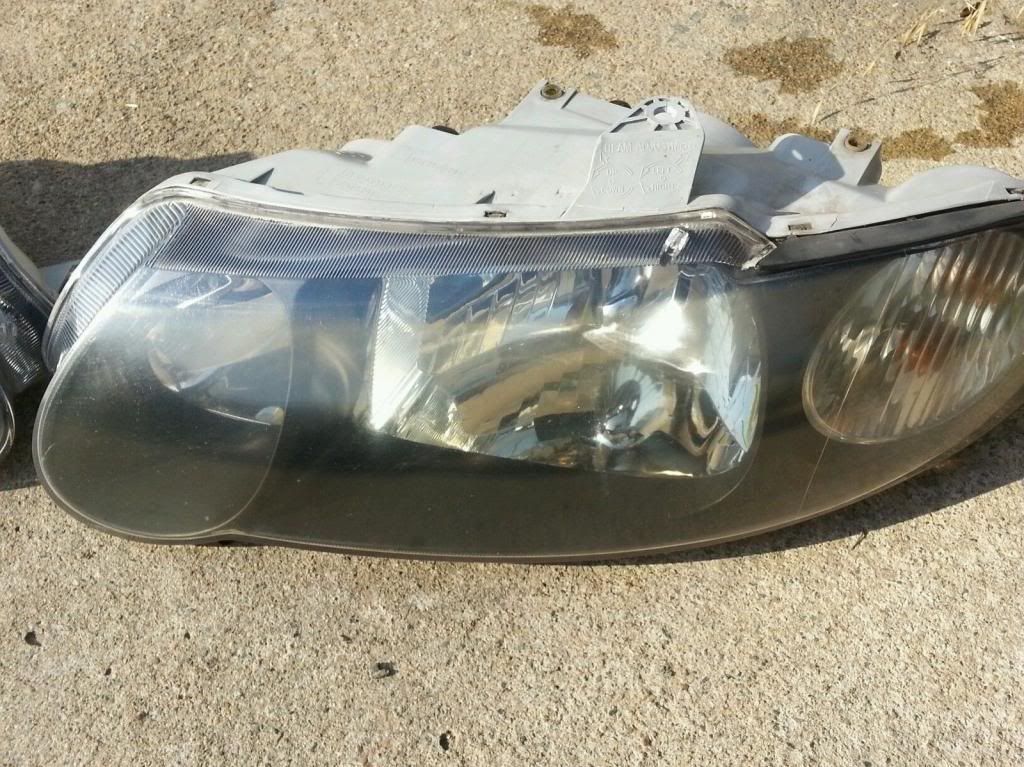
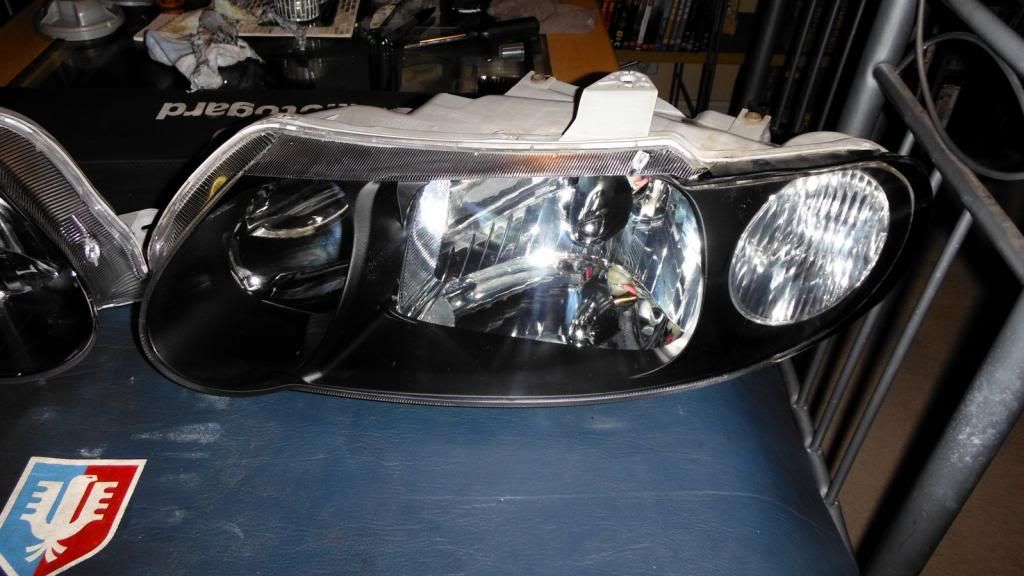
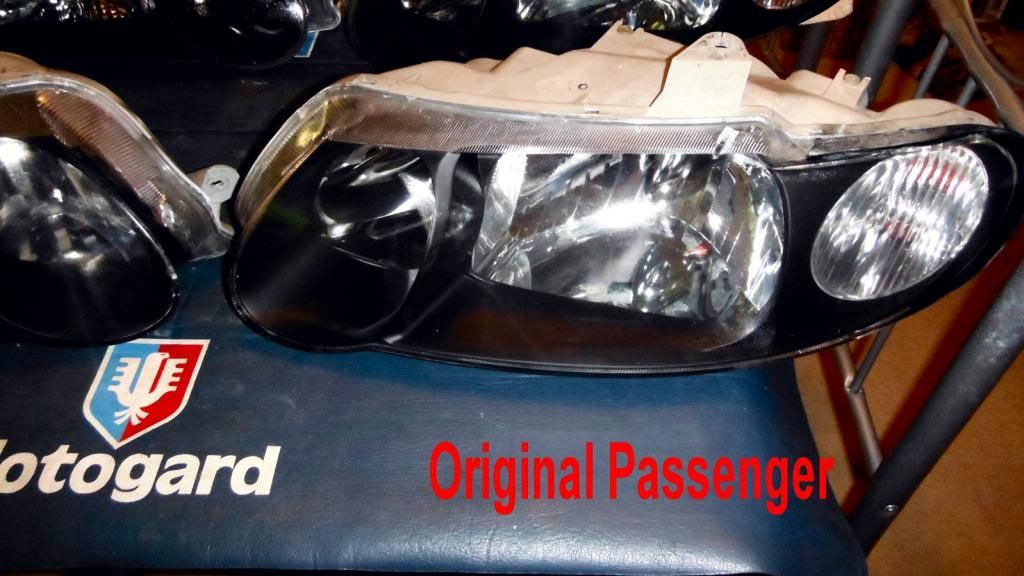
Passenger side - Yellowing of lense internal and external.
So basically after i bought them and got them home, reliased the passenger side was yellow on the inside and decided to resell as had a CBF moment
After brielfy looking at them after i bought them, decided to chuck up on ebay and buy some new ones which were far more expensive
Ebay messages, and some guy (Chad) offered $100 for them as they were, comes round and inspects and then takes out $70 and says due to the passenger side being yellow etc
EVEN though we settled on even $100 and thats what i reckon they were worth, the tosser only brought $70 with him.
Told the the guy off for wasting my time and then i opened the electric gate to let him out.
So removed the headlights off ebay as even though in description stated no postage, people were bidding from interstate as well.
So decided to try and fix them
Using my TurtleWax Headlight Restore kit which i have used on countless things on the car, decided to finally use it on headlights.
Tools and gadgets used
1. Turtle Wax Headlight restore kit - Not essential but you need the headlight polycarbonate sealer to stop yellowing from re-occuring
2. ScratchX 2.0
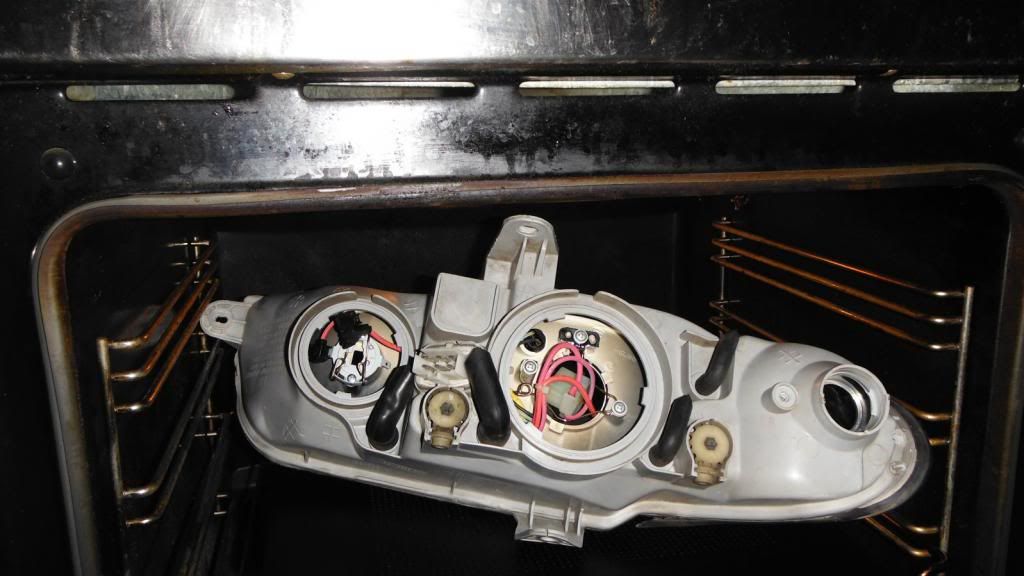
3. Oven
4. Oven mitts
5. Good nerves.
6. Side panel of a desktop computer or something similar as a barrier insulater
Now, the polycarbonate and plastics are designed to handle up to 104degrees of direct heat(from my readings) and higher ambient heat, however make sure you rest the headlight in oven on a temp insulater from the rack by using the computer side panel or something similar
Basically
1. Preheat oven to around 90degrees celcius
2. Make sure light has gone off for about 2 mins so the rack and other parts inside oven are stable
3. Once reached all above, open oven and whack computer side panel onto rack and place clear lense down the headlight onto it (remove globes and rear covers prior)
4. WATCH it and WATCH it. If light on oven comes on, immediately reduce the temp so light goes off.
NOTE - Prediction after leaving oven door open whilst installing headlight will reduce the oven temp by about 20degrees, this is fine.
5. Leave for about 5-10 mins
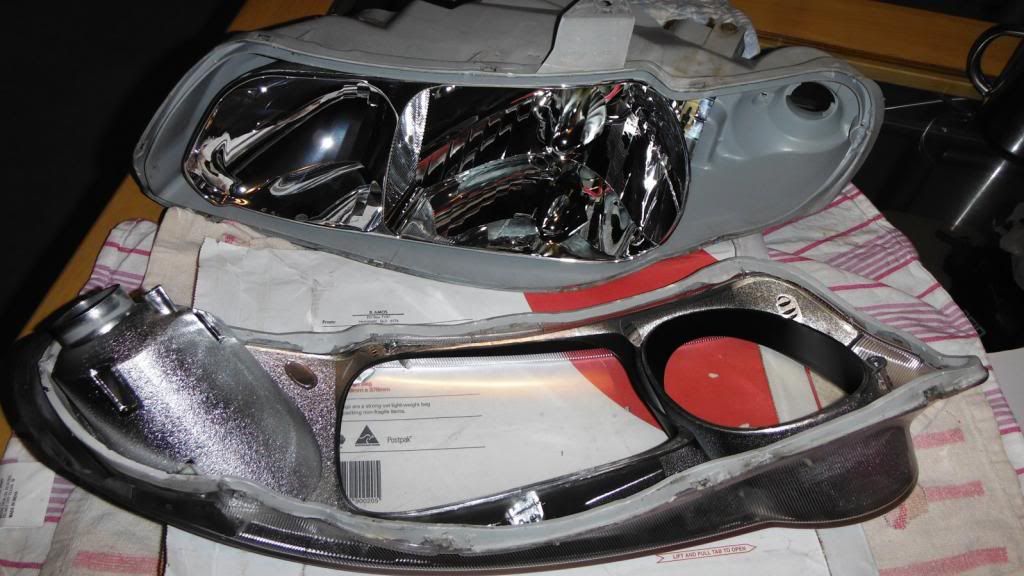
6. Remove with oven mitts and place onto table and pry apart with a butter knife
NOTE - two screws on back grey section need to be removed, one large near edge close to indicator and one small next to edge on side of indictor
Internally, to remove the black shroud, 3 small screws. You will find em.
7. Pending on degree of damage and fogging etc, use and experiment with headlight restore kit and changing grades as per instructions
8. Use ScratchX 2.0 on final polish. Works great on headlights on also both side indicator lense as well.
9. Use the headlight restore sealer on the lense as instructed. I used one coat on insides as this stage
NOTE - IT IS ESSENTIAL to use this sealer. Stops yellowing and fills in lil imperfections and swirls etc.
10. Let cure for 24 hrs as it states.
11. Reheat oven again as before in steps 1-3 and place both parts of headlight onto computer side panel and let it sit again for 5 mins in oven
12. Remove both parts using lovely mitts and press both sides together and whilst cooling make sure all panels lined up and back in proper clips and placing.
13. Whilst cooling down, use the headlight sealer on the outside this time, i did 2 coats within 60mins of each other.
Currently headlights are resting and curing.
Im kinda glad I did it, and will be doing the set on the car as well over the weekend approaching
The drivers side on the car has become increasingly and rapidly worsening so will try to fix it anyway and prob post up a good before and after pics.
Once all done, will decide on which ones to keep and if to have a spare set or sell off the spare set
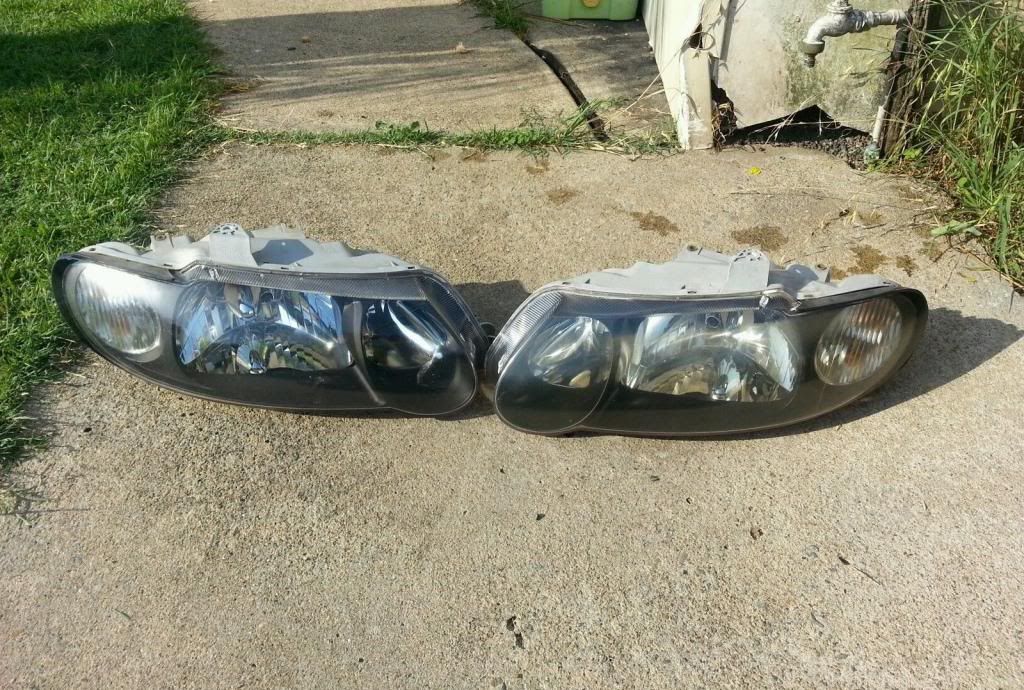
First 3pics is the original ebay pictures
The rest are from my fixer up of them.
Hope this helps someone
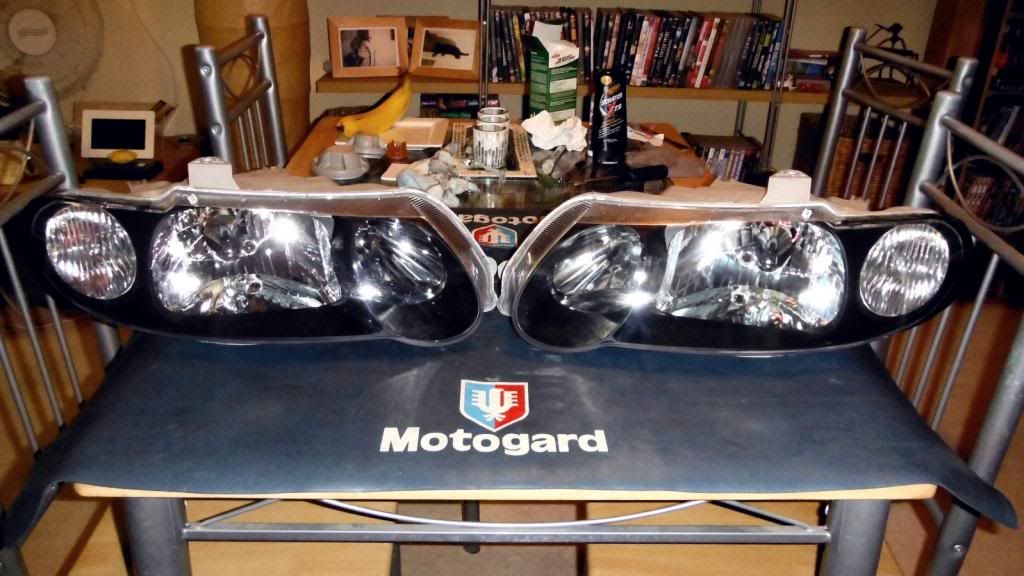
Ebay Pic 1
Both drivers and passenger
Ebay Pic 2
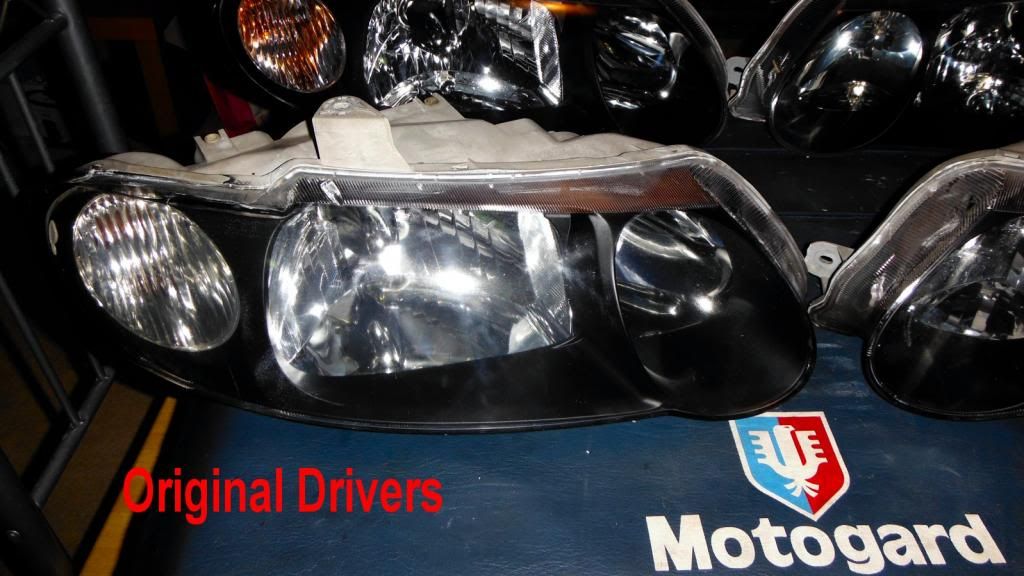
Drivers side fog
Ebay pic 3
Passenger side yellow and fogging
Oven
Apart
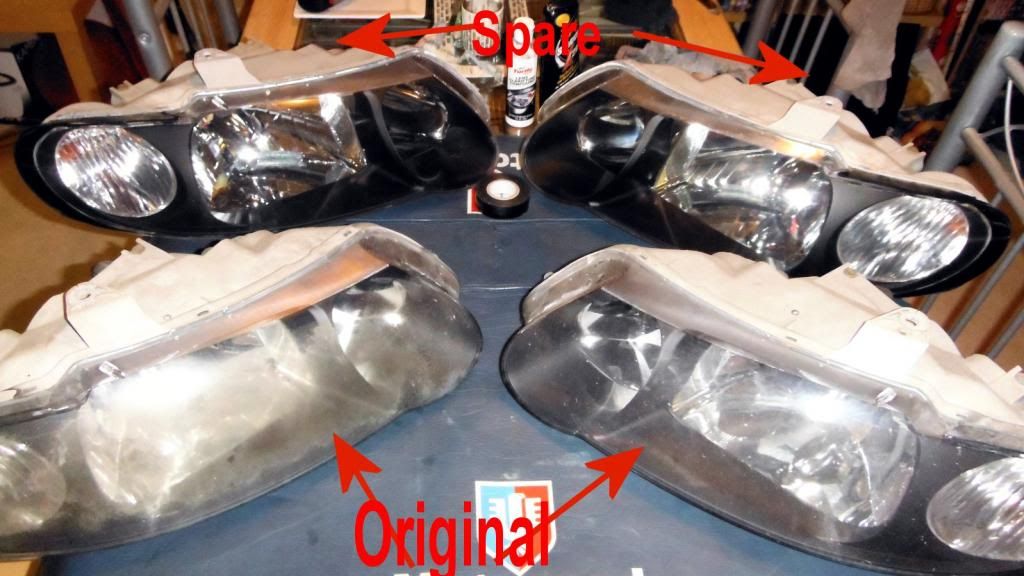
Both
Drivers Side
Passenger side
")