ALL RE-UPLOADED, I TAKE NO CREDIT THESE ARE THE ORIGINAL PICTURES! ENJOY!
-Introduction
Welcome to the illistrated guide on a VR and VS parcel shelf removal guide. this guide may also apply to a VN - VP but I am not sure. ( Anyone in perth want me to pull theirs out? ) The main reason someone would want to follow this guide is because they have a new set of speakers and want to fit them.
Because my new speakers were put in some time ago i wont go into there, the car audio forum is the place to ask about that, I'm just showing how I remove my shelf.
My car ( used in guide ) is a Series one VS Executive, I am confident that other levels, Acclaim, Berlina Calais Statesman etc are very similar in their general makeup, the major difference would be the materials used.
-Tools
The tools required for this work are simply,
+A 10MM spanner or socket with small extension
+A 13MM spanner or socket.
+A Pair of hands ( one pair will suffice )
-Before you start!
Be wary I remove my back seat's lower part by lifting it from the back, to unhook it normally is tricky, by removing and replacing the rear seat my way there is a change that the rear of the seat will scrape at the backs of the seat, be careful that you do not tear your fabric or cut your leather!
-Onto the guide!!
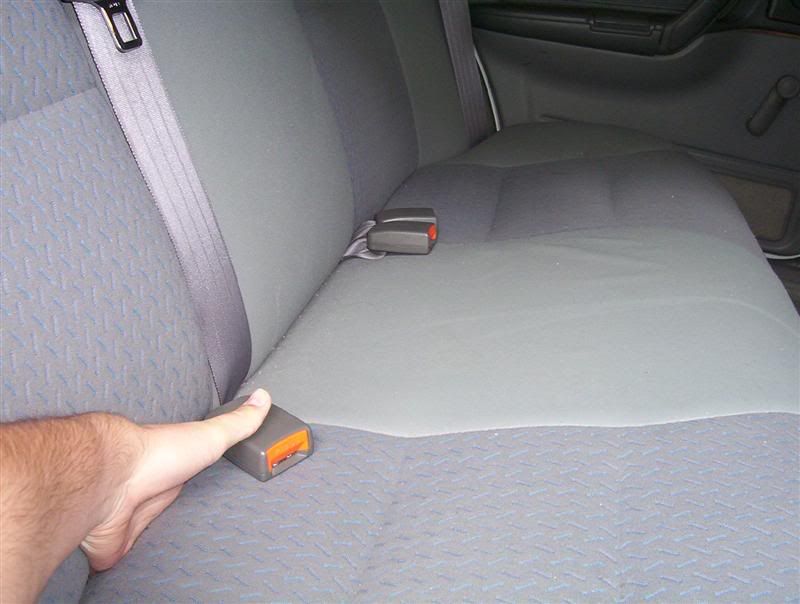
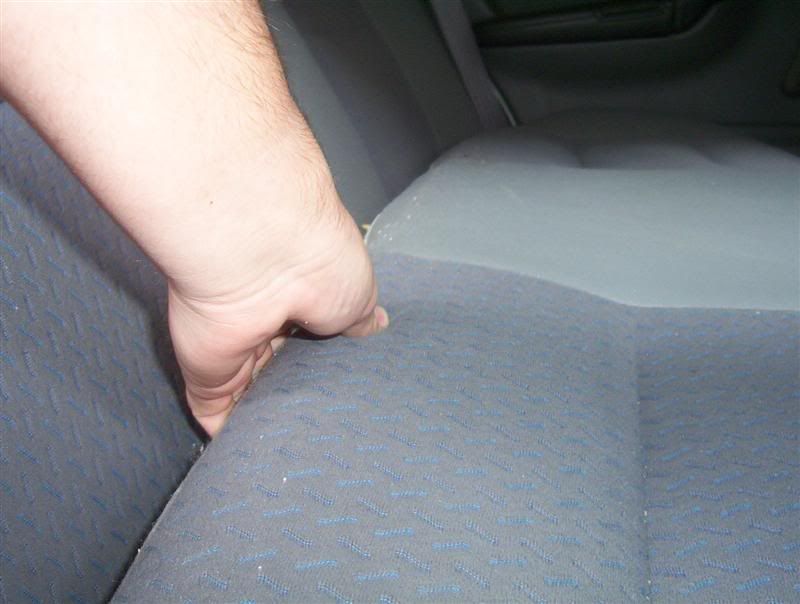
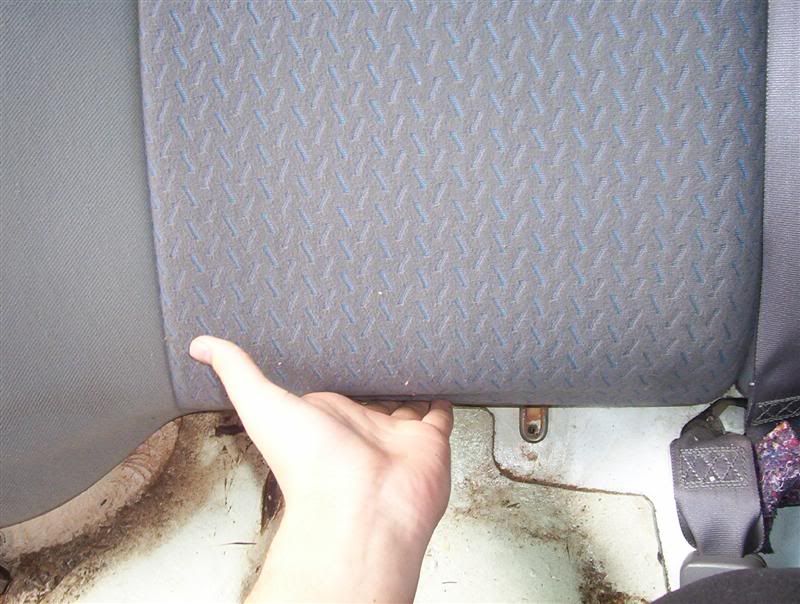
Ok first you will need to remove the bottom section of the seat ( the "ass" bit ) This is done by placing your hand down in and under it then simply lifting it up, from there the seat should be able to be pryed from the hooks that retain it
and lift!
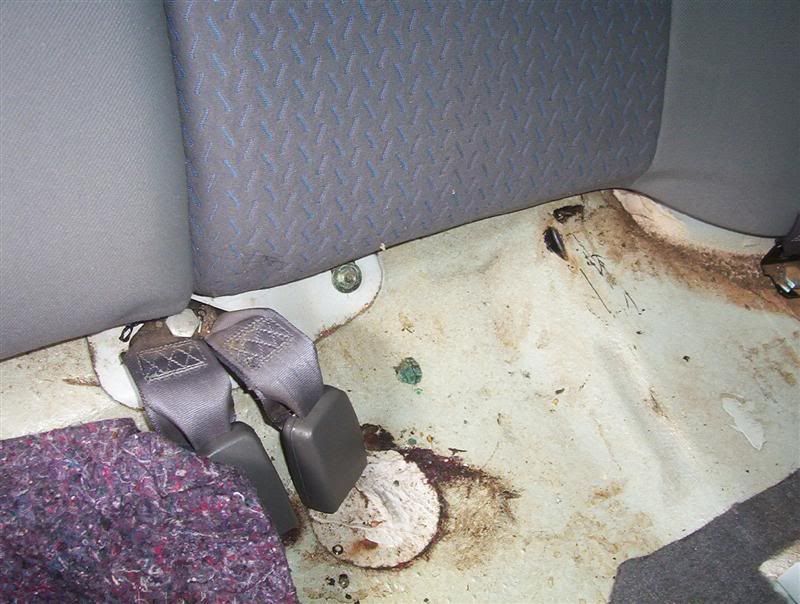
Once the seat has been removed, you will see that the "backs" are made up three main parts, the Left and Right sides, and the normal Center "hatch / flip down"
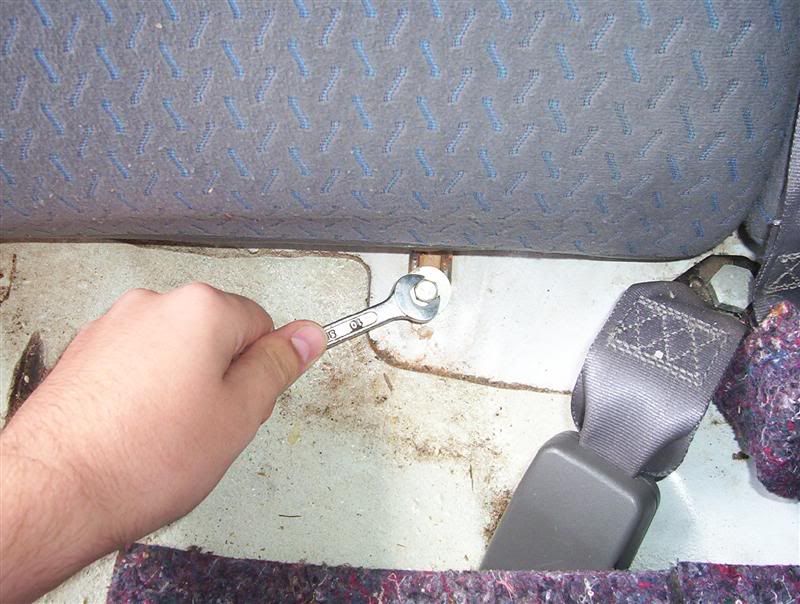
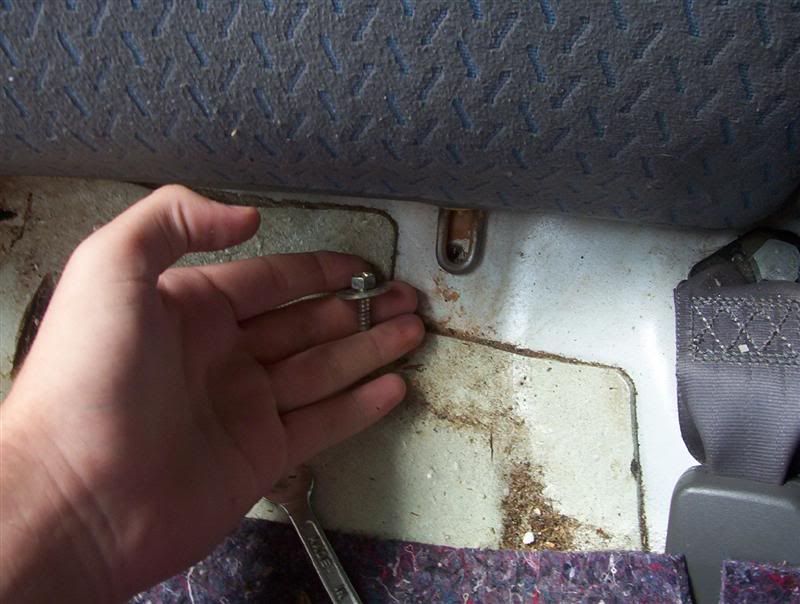
At the bottom of the left and right sides are 10mm bolts with a washer, simply undo these and remove the bolts
Hah! got it out!
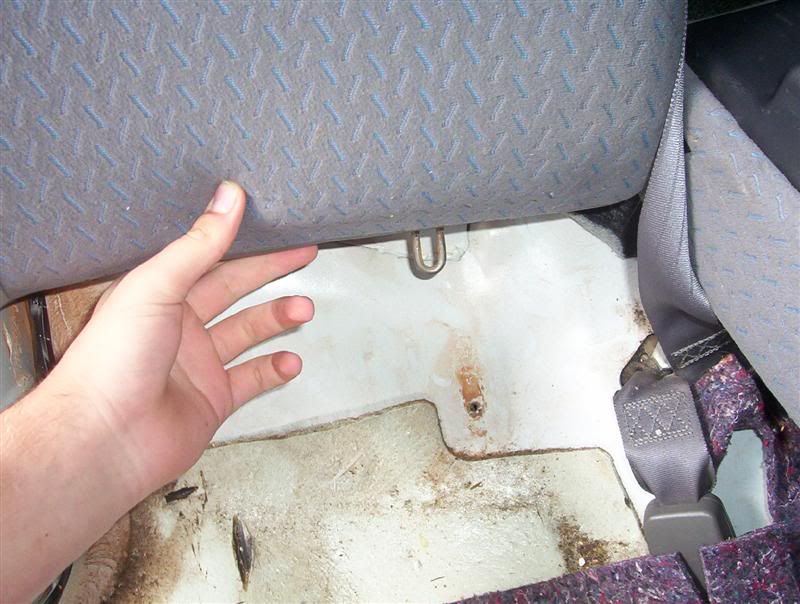
Once the bolts have been removed the seat backs are ready to be taken out. To do this, they need to be lifted off their hooks by about one inch. Place your hand underneath the back and lift it up, it may need a little coaxing to come away
Please note, in the above picture, i have lifted the seat far more than Needed, once the seat is about one inch up, you should be able to grasp the top and pull it towards you.
At this point, lower the middle section, there is no need to remove it as we are able to work around it.
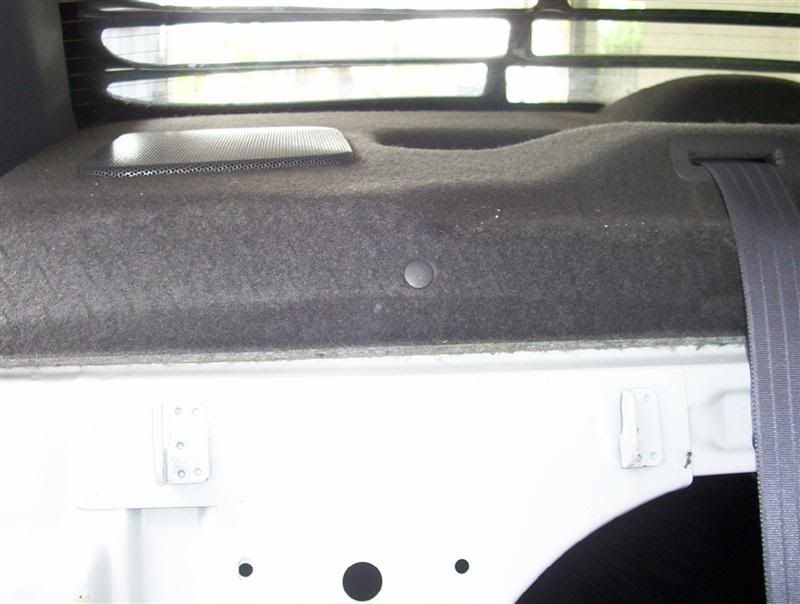
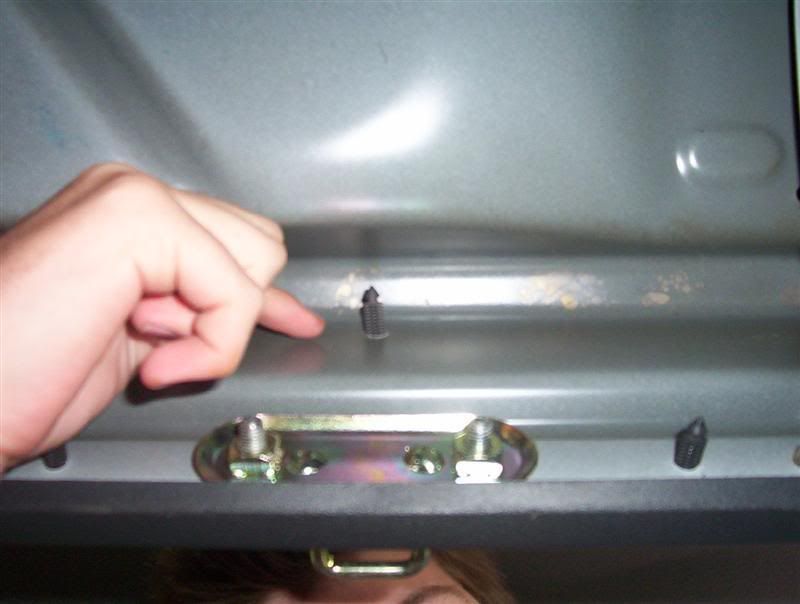
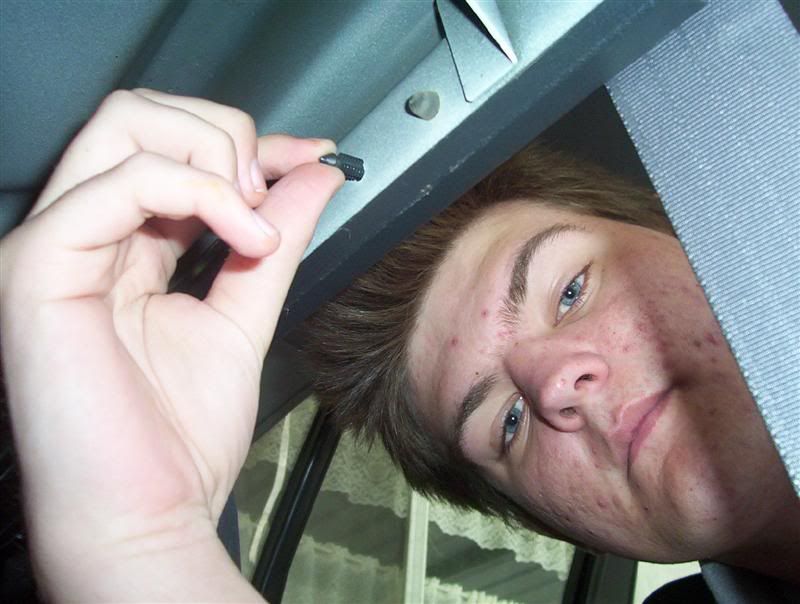
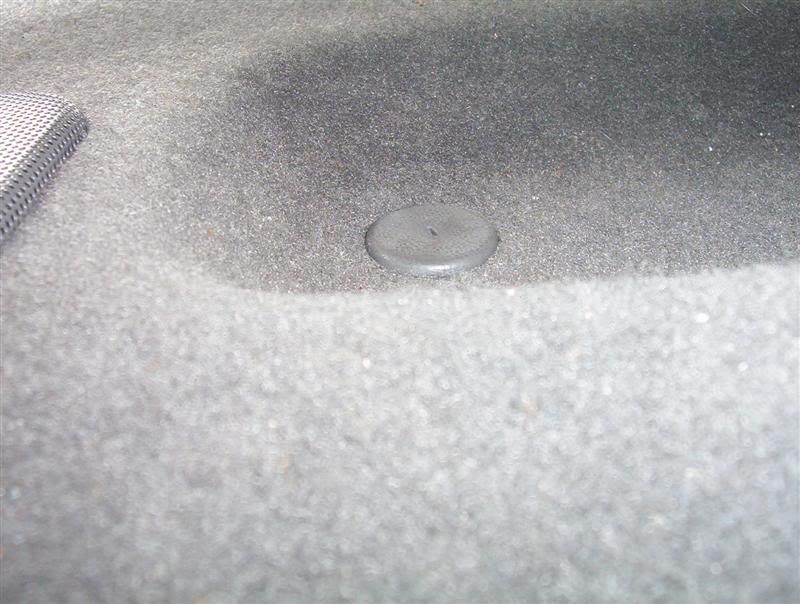
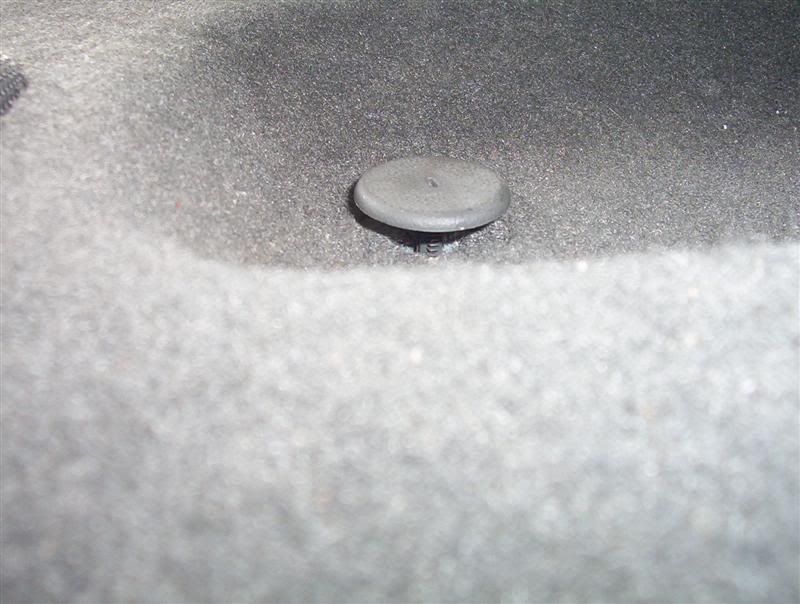
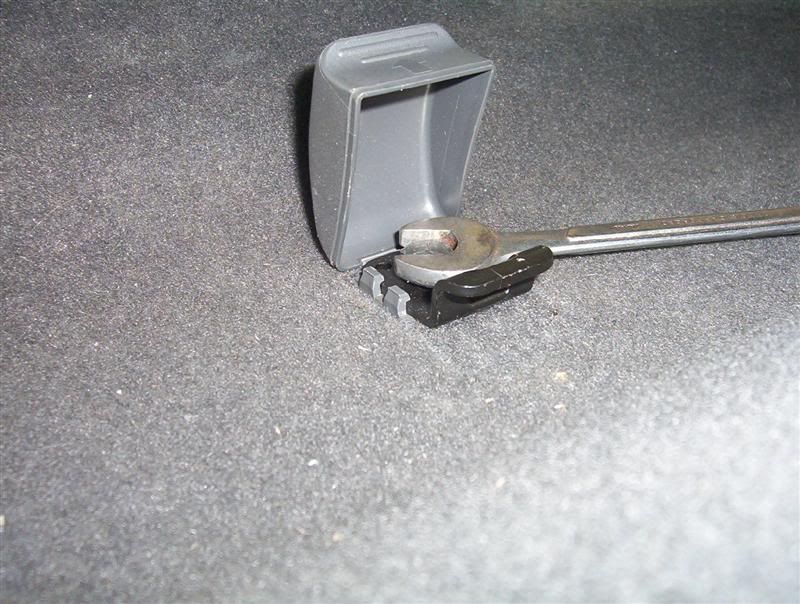
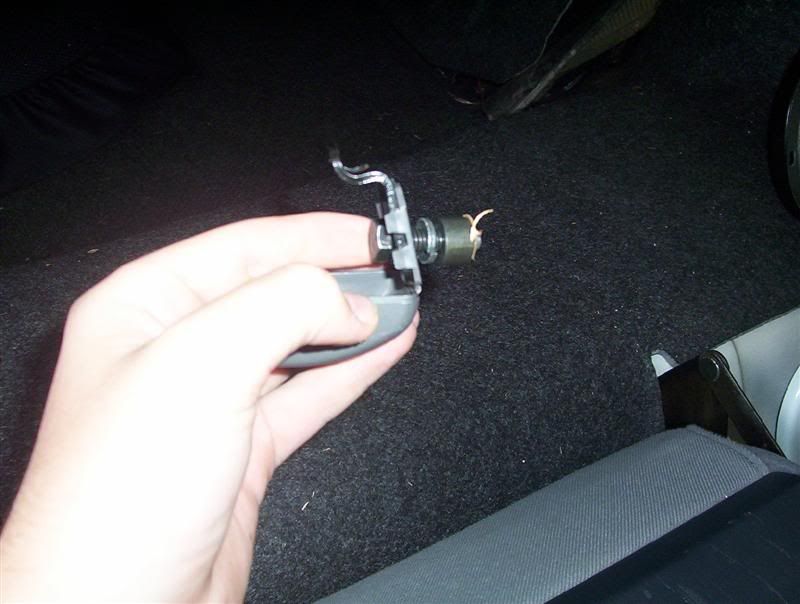
In total, accross the face of the shelf is 5 "push lugs", the simplest method to remove these is to twist and push from behind them untill you have enough room to either pull them free or lever them with a spanner, forked item or screwdriver, there are 3 in the shelf itself and two retaining a "Dress face" plastic cover.
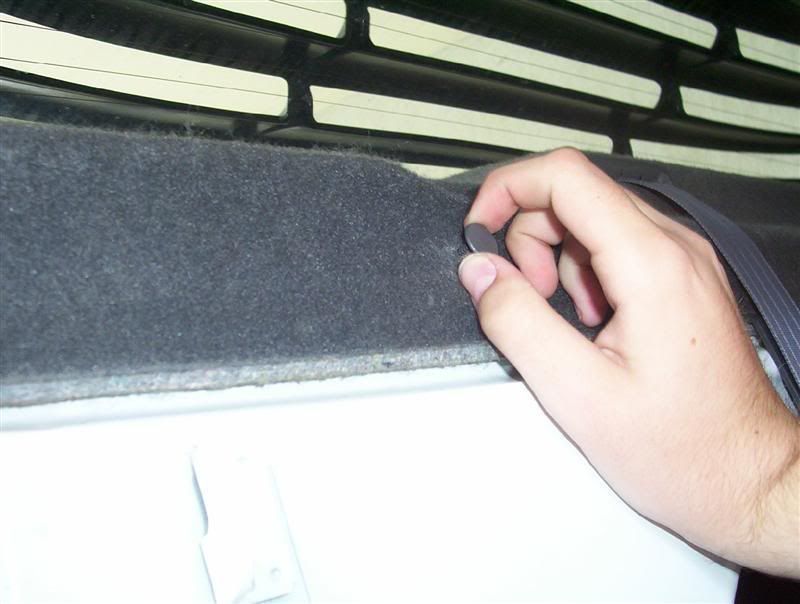
Next, ontop of the shelf, there are two more lugs, the removal procedure is the same, twist and push from below, once you have enough, pry it out.
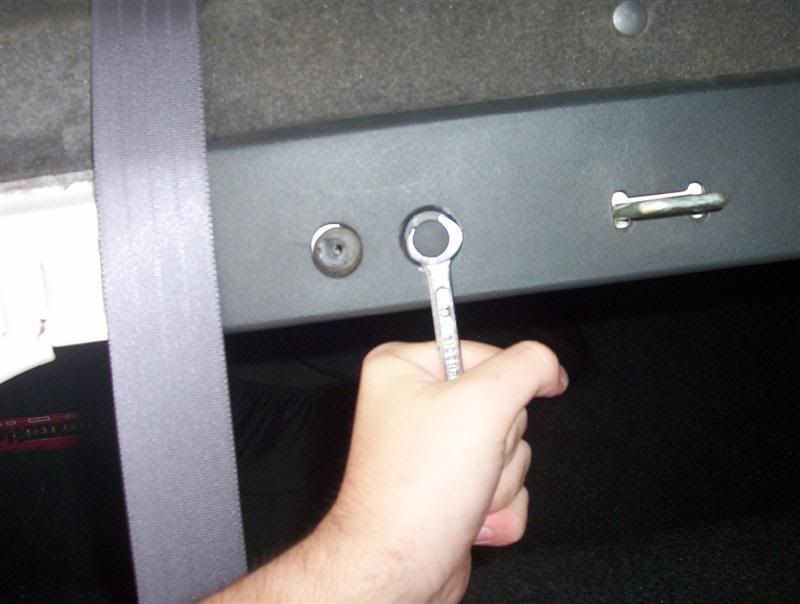
Next we have the "Baby Bolt" ( Baby capsule/seat anchor point ) This is a 13mm bolt which is quite easy to remove. Note: some people have this upside down for use as a earthing point for their audio system.
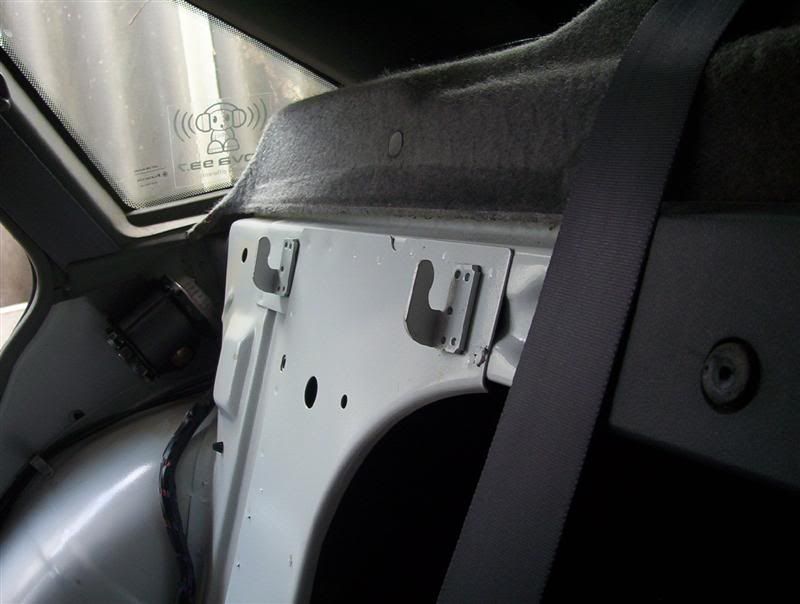
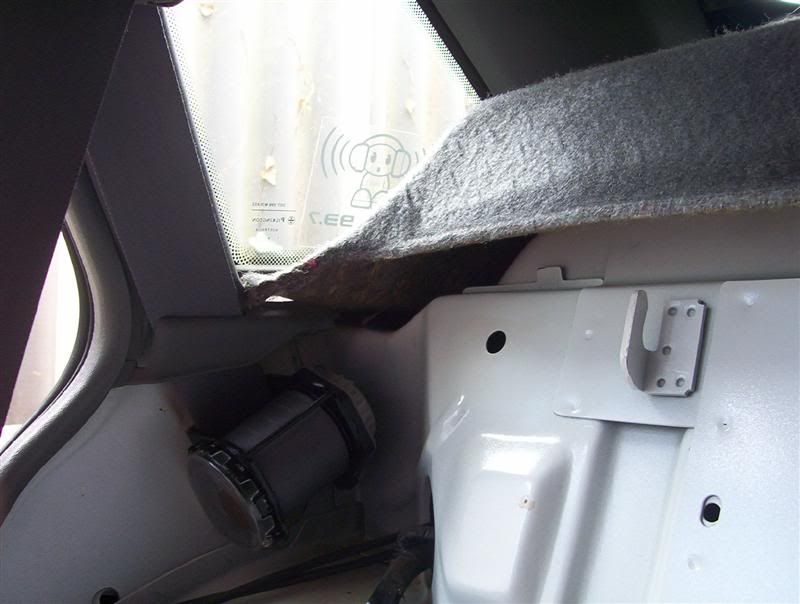
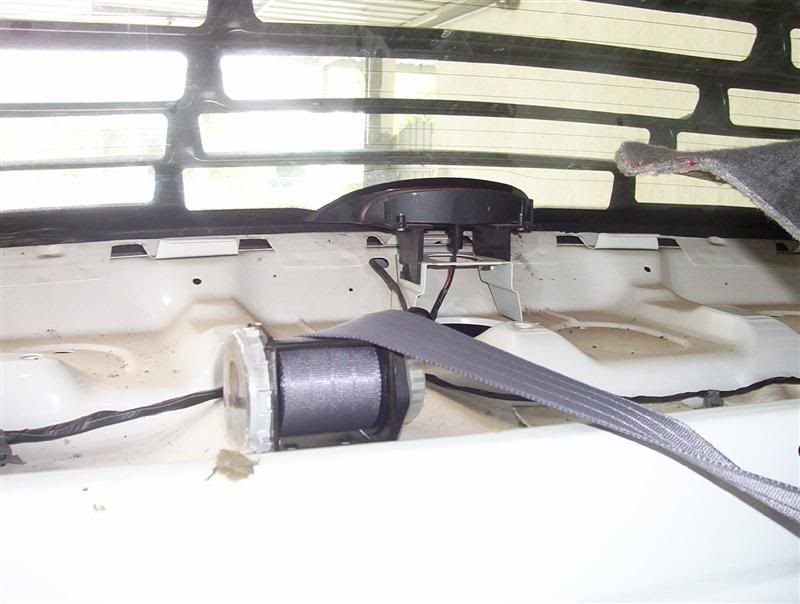
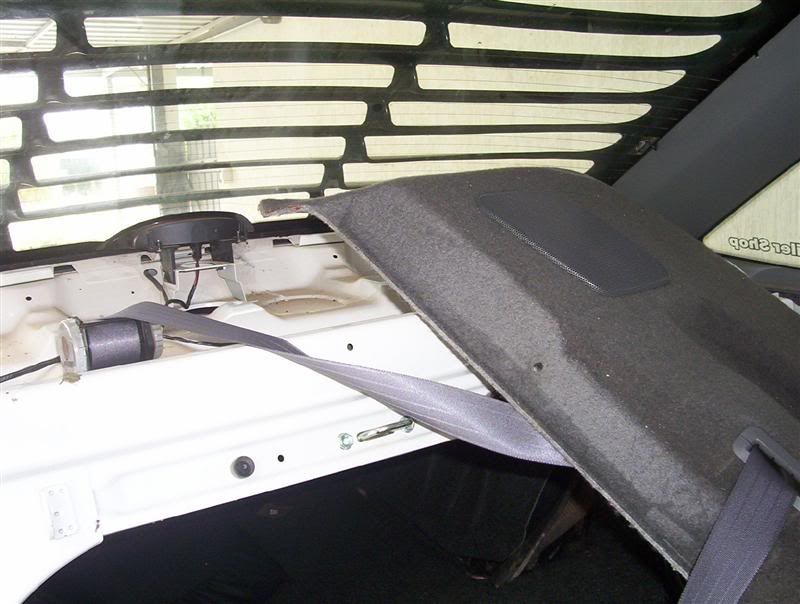
Now finally the shelf is ready for removal. to do so, simply pull it towards yourself but be wary that it may get caught on the edges where the seat belts are, you may also need to flex the shelf a little ( push the outer edges together and allow the middle to raise ) to aid the removal.
you may either remove the centre seat belt assembly or simply place the shelf to one side allowing you access to the rear speakers.
the re-installiation is pretty much reversed removal. of note, be sure that you do not get the seatbelts caught with the shelf as you put it back, and the shelf may again need flexing to ensure it "drops" below the C-pillar rear quarter glass.
When replacing the seat backs, the outer side hook ( closest to seat belt ) is the one that normally has troblve clipping in, the best method is to align it and apply pressure to the seat as you tap it down. if the seat still freely pulls toward you, pop it up and try it again.
When putting the bottom section of the seat back in, place the seat so that its wire part is over the opening of the spiral clip, retieve the seat belt connecters and push the back down. from here applying presure to the front of the seat ( I.E. sitting on it ) should make it pop back into normal position.
-Conclusion
Well I hope that this guide has helped some people with troubles in removing their rear seats. If you find any errors in my descriptions, please let me know. If you find any spelling or punctuation errors, don't let me know. If you would like more information pertaining to this guide, please do not hesitate to PM Me.
-Bonus Material!-
:dance:
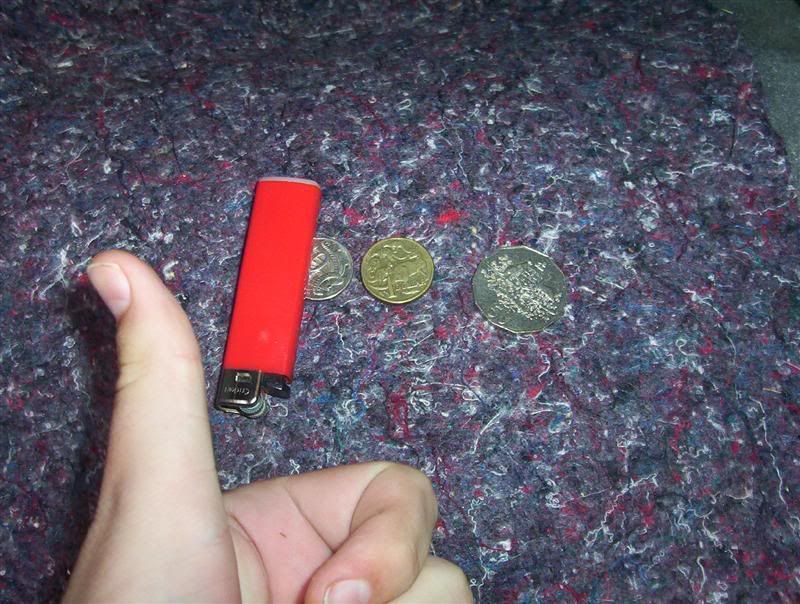
Ok well one of the fun things about removing the rear seat is finding the little treasures that got under there that you dont know how they have.
Such an example is $1.60 and a lighter. now the money i can acocun for, my sister normally rides in my back seat with a friend so they could of eaisly lost the money, the lighter, i have NO idea how that got there, however incidently i know it was one of mine.
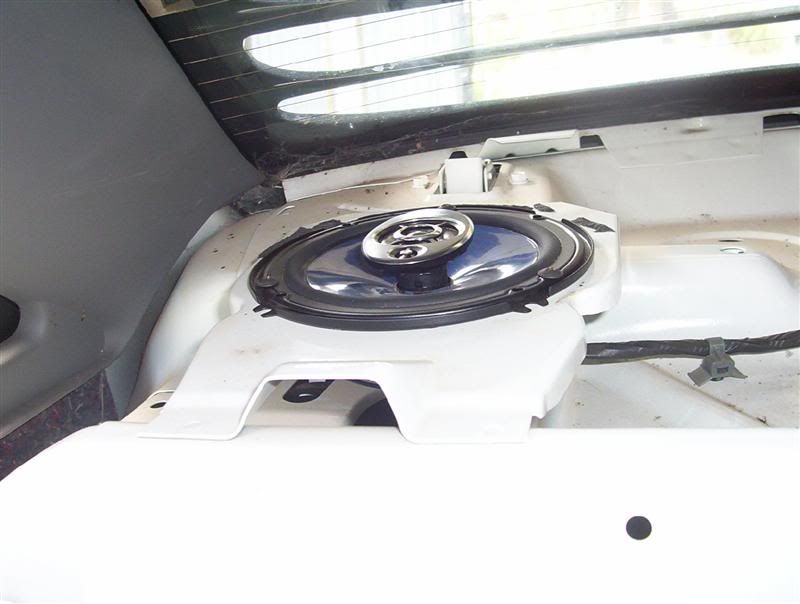
Also I made mention of my speakers already being installed, they are nothing special but i have a pioneer 3-way 6.5" which had the three-screw mounting holes so i could install the speakers without making any modifaction
Thankyou for taking the time to read my guide and I hope it was informitive and enjoyable!