Bowen
New Member
- Joined
- Nov 19, 2011
- Messages
- 1,128
- Reaction score
- 14
- Points
- 0
- Age
- 32
- Location
- Alstonville
- Members Ride
- 2002 VX S manual 3.8L SP
G'day Guys hows it going?
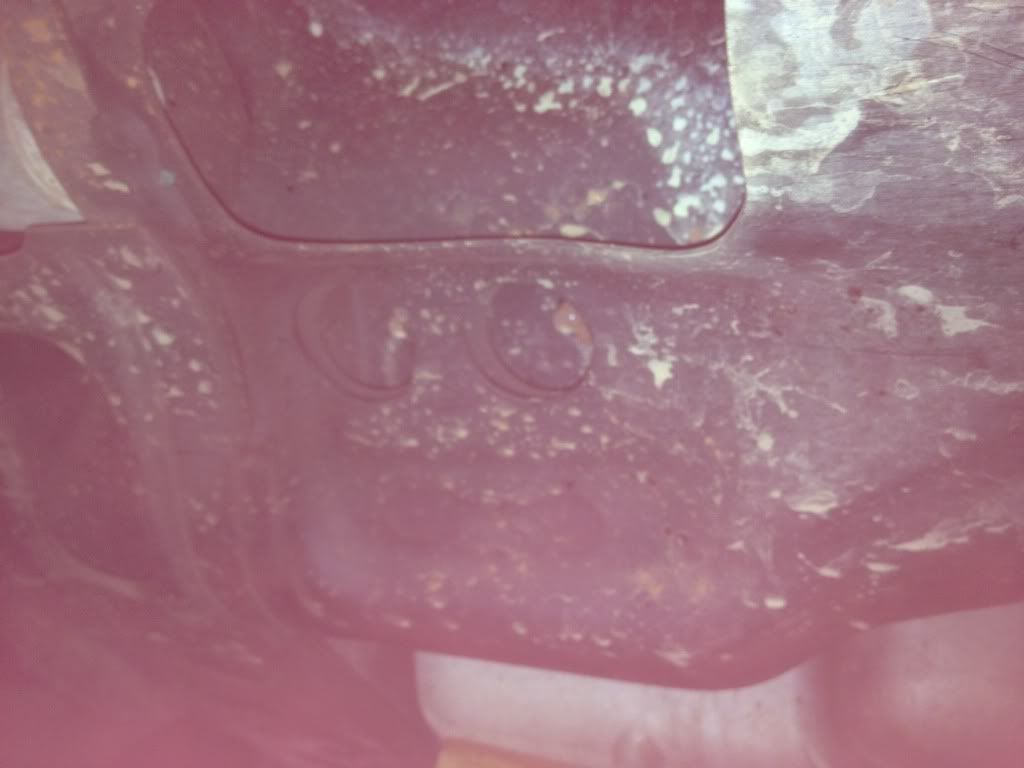
So iv just done changed my engine mounts today, as mine were kinda shitty as you can see:
But after reading all the write ups posted on here, i was HORRIFIED.... things like;
degass air con,
remove a/c compressor,
remove P/S pump,
remove Radiator hoses & catch coolant,
remove oil filter and drain fluid, etc
Anyways this scared me... So after a look at the engine bay, and the locations of the mounts i thought #### IT, cant be that hard, and so i went to prove everyone wrong. and i did!!
THIS IS A COMPREHENSIVE GUIDE FOR BEGINERS OR PEOPLE WHO WANT TO DO THIS THE EASY WAY!!
TOOLS:
decent socket set (cheap ones will strip the bolts / nuts)
ring spanner set
jack
car stands
block of wood
rope
PROCEDURE:
1: Remove serpentine belt (the belt which spins all the pulleys for things like power steering a/c etc)
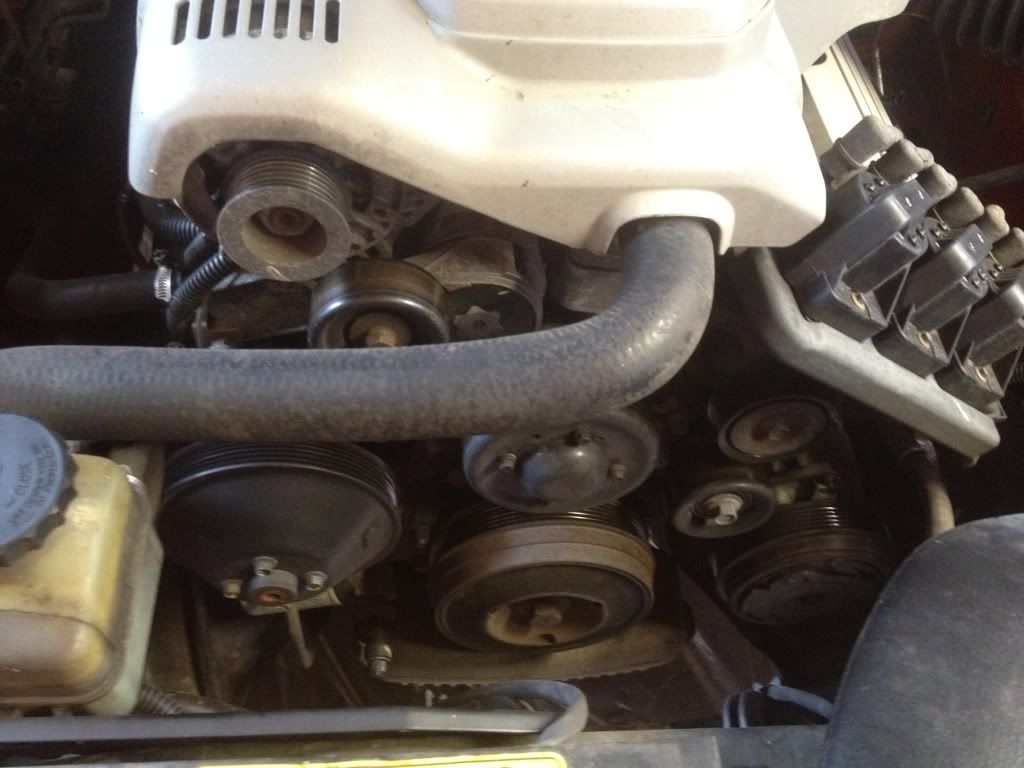
To do this you will need to put a 15mm socket piece on to the nut of the tensioner pulley and rotate the rachet anti clockwise (left) this will move the entire pulley down towards the ground, relieving the tension. The tensioner pulley is located just below the alternator but slightly to the right. its sort of half hidden behing the radiator hose pictured above!
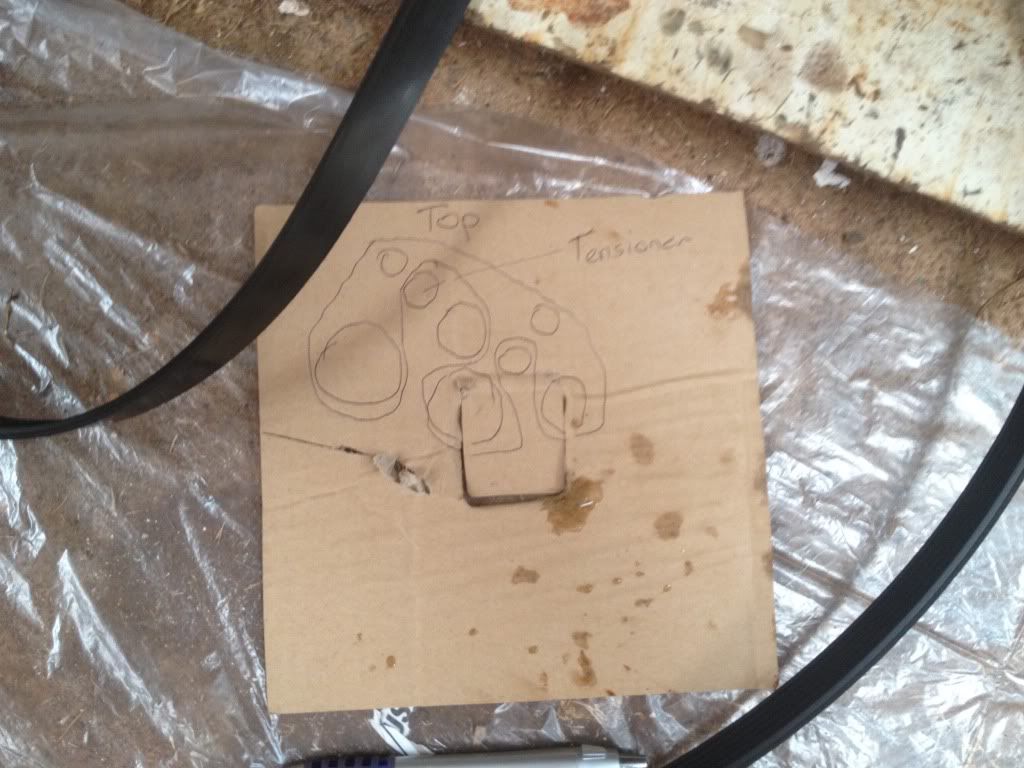
I also suggest making a shitty diagram on a piece of paper so you know how the belt goes back on like this:
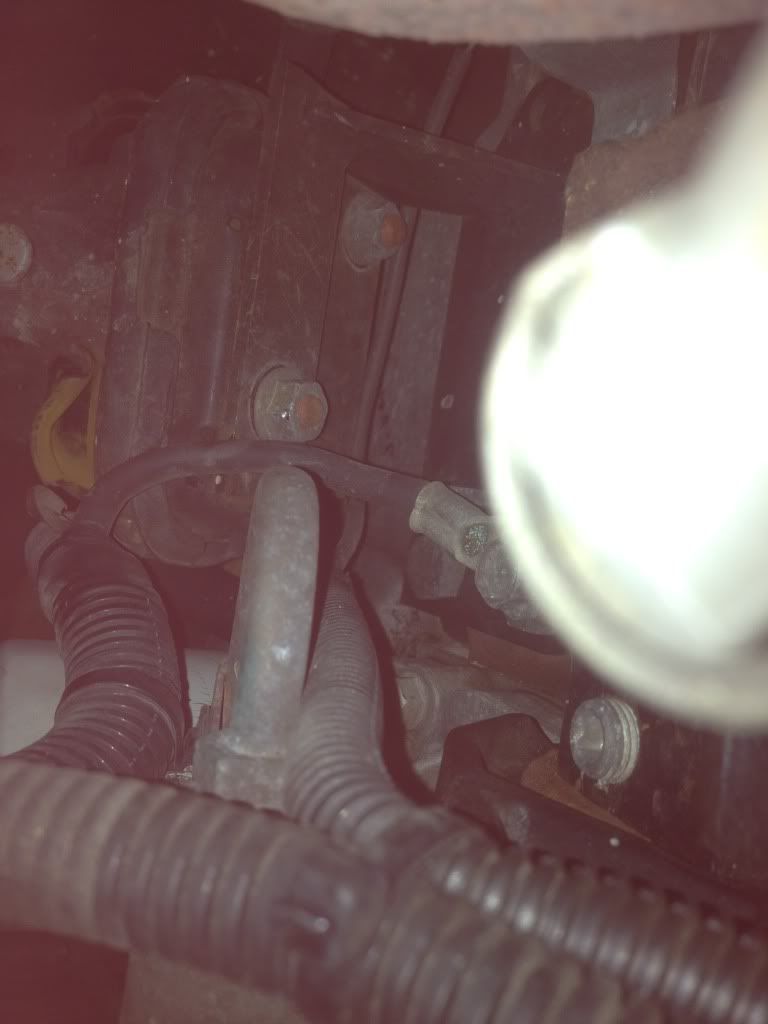
2: Putting asside the A/C compressor (the pulley in the bottom right hand corner, closest to the RHS wheel)
There are 2 nuts and 1 bolt holding the compressor onto the block (DO NOT disconnect the hoses coming off the back / top of the compressor)
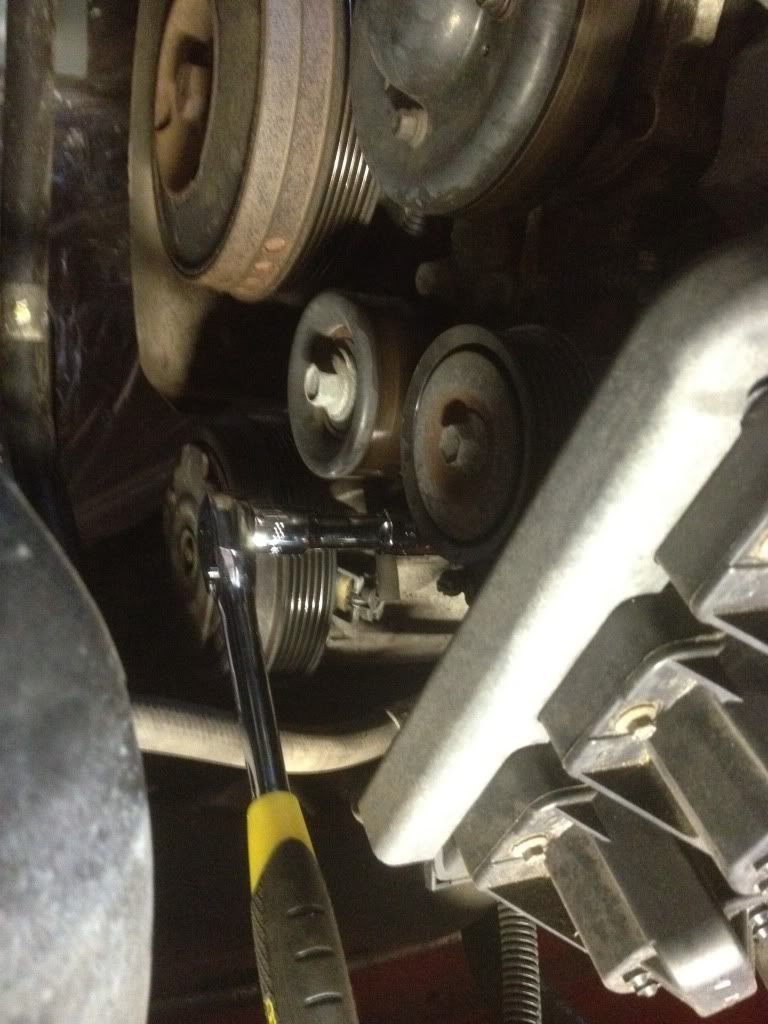
there is one (pictured with the rachet attached to it) and another nut below the small pulley next to compressor. The bolt is located on the side facing the RHS wheel and is located just below the exhaust manifold (the group of 3 exhaust pipes that merge into 1 and head to the back of the engine)
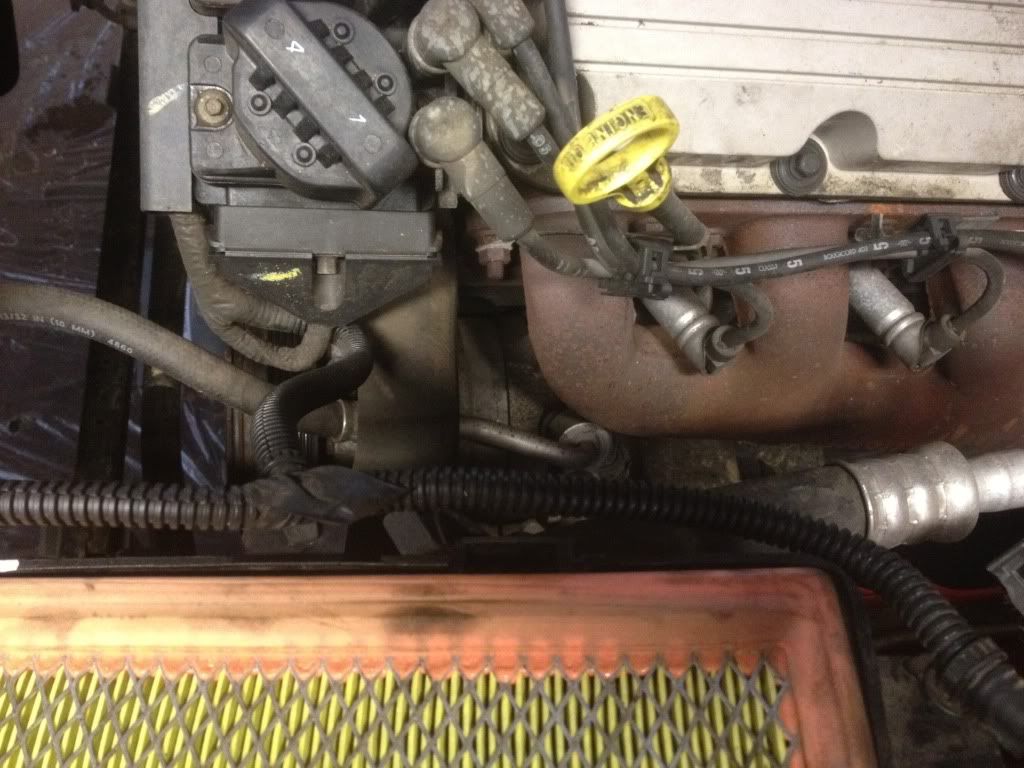
This one is an absolute C#$T of a thing to get to, i had to mix and match 2 sockets together to find the right extension piece and a small 14mm socket piece.
Now all you have to do is let it sit on the sway bar, pushed towards the radiator (very front of the car)
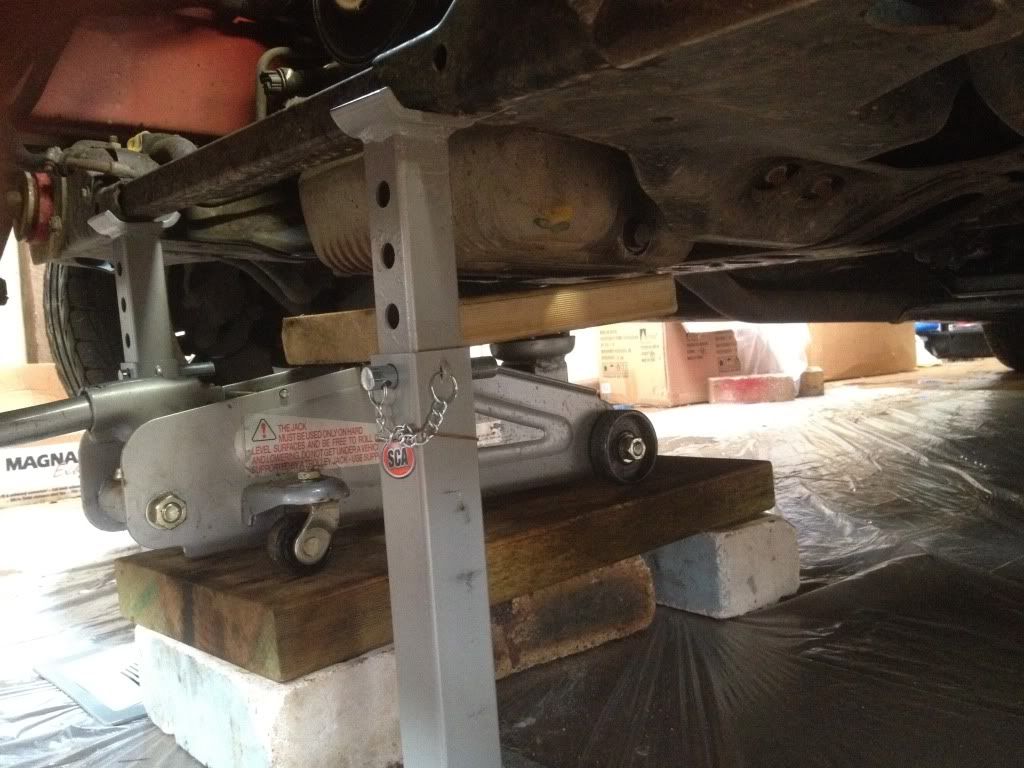
3: place the car on stands at a height easy for access under
4: place the jack underneath the sump with your block of timber (prefferably pine as it is a SOFT timber) and just take the weight of the engine
5: On the DRIVERS SIDE undo the 2 nuts holding the engine mount to the subframe. you will need i think it is a 15mm socket with an extension piece
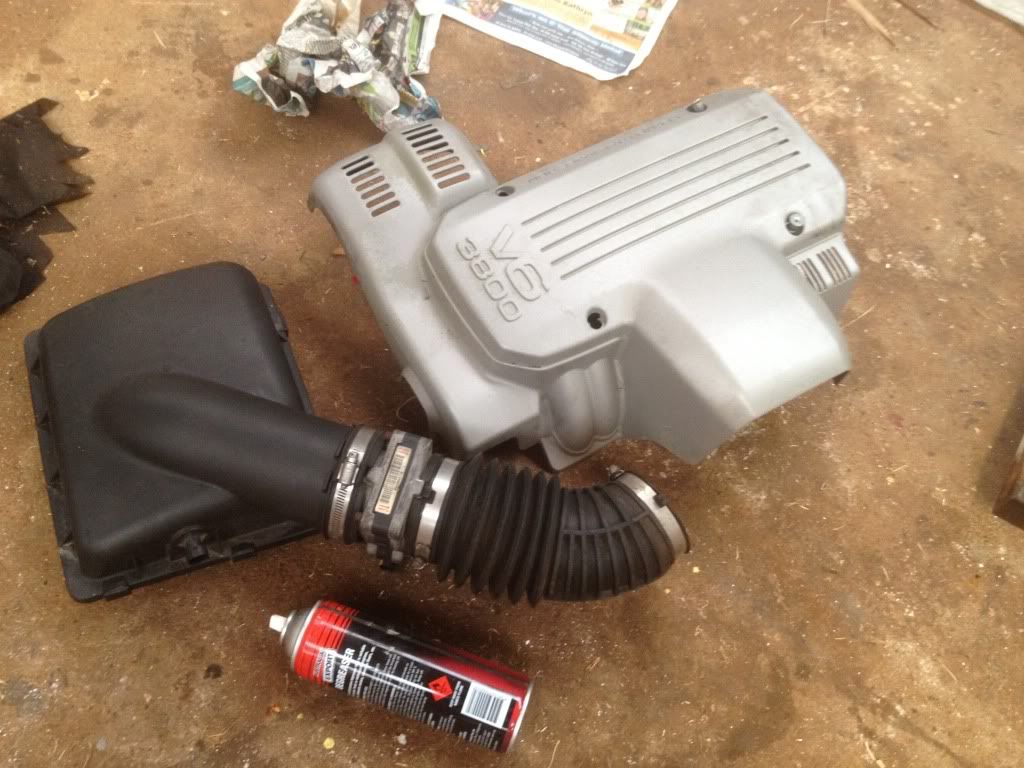
6: now your going to need to remove both the engine cover (4 obvious nuts) and the air box (undo the hose clamp holding the intake pipe to the throttle body)
7: Begin to slowly jack up the engine being very carefal of what the engine is resting against and clearence
8: once the drivers side mounts are visibly out of their holes, undo the the 2 nuts securing the mounts to the bracket and lift out the old mount.
9: now simply place the new mount in and START the nuts on each side of the mount (as in top and bottom) ONLY START this is an important step for later!
10: now you can let the jack down and the engine will simply sit on the new mount, no worries.
11: now for the passenger side. undo the 2 nuts on the bottom of the engine mount (under car into subframe) (same sorta deal as pictured earlier)
12: begin to slowly jack up the engine once again until there is visible clearence between the mount and the frame. START the only nut visible on the top of the engine mount holding it to the bracket.
13: undo the 3 20mm bolts that hold the bracket to the engine (YES you are going to take the whole bracket with the mount still attached to it out)
14: undo the 2 nuts (now you will see the hidden one which is basically unreachable
15: attach the new mount to the bracket ensuring the hidden nut is tightened all the way as you will not be able to tighten this one later and START the other nut.
16: bolt the bracket with the mount back onto the block but once again only START the bolts
17: this is the tricky bit now you have to move the engine and the mounts and the bracket so as the mount lines up with the holes, and slowly release the jack at the same time watching the mounts thread slide into the holes.
18: once thats all in START the nuts on the bottom of the engine mount and jack the engine back up enough to bolt the bracket back onto the block
19: tighten the bracket bolts all the way then lower the engine again so that the engine is once again just sitting on the mounts
20: tighten all the nuts on top and bottom of the mounts, remove jack completely, and re-tighten (with all the extra weight they can sometimes compress the mounts therefore needing extra tightening)
21: take the car off the stands and your basically done
22: re install the compressor
23: re install the serpentine belt and airbox
24: put engine cover back on and BAMMMM your done!!
25: the final step. ROAD TEST. through quick acceleration followed by hard braking test to see if the engine feels like its secured properly. (if your anal like me, re tighten the nuts just incase.)
FIRST POST HOPE U ENJOY.
So iv just done changed my engine mounts today, as mine were kinda shitty as you can see:
But after reading all the write ups posted on here, i was HORRIFIED.... things like;
degass air con,
remove a/c compressor,
remove P/S pump,
remove Radiator hoses & catch coolant,
remove oil filter and drain fluid, etc
Anyways this scared me... So after a look at the engine bay, and the locations of the mounts i thought #### IT, cant be that hard, and so i went to prove everyone wrong. and i did!!
THIS IS A COMPREHENSIVE GUIDE FOR BEGINERS OR PEOPLE WHO WANT TO DO THIS THE EASY WAY!!
TOOLS:
decent socket set (cheap ones will strip the bolts / nuts)
ring spanner set
jack
car stands
block of wood
rope
PROCEDURE:
1: Remove serpentine belt (the belt which spins all the pulleys for things like power steering a/c etc)
To do this you will need to put a 15mm socket piece on to the nut of the tensioner pulley and rotate the rachet anti clockwise (left) this will move the entire pulley down towards the ground, relieving the tension. The tensioner pulley is located just below the alternator but slightly to the right. its sort of half hidden behing the radiator hose pictured above!
I also suggest making a shitty diagram on a piece of paper so you know how the belt goes back on like this:
2: Putting asside the A/C compressor (the pulley in the bottom right hand corner, closest to the RHS wheel)
There are 2 nuts and 1 bolt holding the compressor onto the block (DO NOT disconnect the hoses coming off the back / top of the compressor)
there is one (pictured with the rachet attached to it) and another nut below the small pulley next to compressor. The bolt is located on the side facing the RHS wheel and is located just below the exhaust manifold (the group of 3 exhaust pipes that merge into 1 and head to the back of the engine)
This one is an absolute C#$T of a thing to get to, i had to mix and match 2 sockets together to find the right extension piece and a small 14mm socket piece.
Now all you have to do is let it sit on the sway bar, pushed towards the radiator (very front of the car)
3: place the car on stands at a height easy for access under
4: place the jack underneath the sump with your block of timber (prefferably pine as it is a SOFT timber) and just take the weight of the engine
5: On the DRIVERS SIDE undo the 2 nuts holding the engine mount to the subframe. you will need i think it is a 15mm socket with an extension piece
6: now your going to need to remove both the engine cover (4 obvious nuts) and the air box (undo the hose clamp holding the intake pipe to the throttle body)
7: Begin to slowly jack up the engine being very carefal of what the engine is resting against and clearence
8: once the drivers side mounts are visibly out of their holes, undo the the 2 nuts securing the mounts to the bracket and lift out the old mount.
9: now simply place the new mount in and START the nuts on each side of the mount (as in top and bottom) ONLY START this is an important step for later!
10: now you can let the jack down and the engine will simply sit on the new mount, no worries.
11: now for the passenger side. undo the 2 nuts on the bottom of the engine mount (under car into subframe) (same sorta deal as pictured earlier)
12: begin to slowly jack up the engine once again until there is visible clearence between the mount and the frame. START the only nut visible on the top of the engine mount holding it to the bracket.
13: undo the 3 20mm bolts that hold the bracket to the engine (YES you are going to take the whole bracket with the mount still attached to it out)
14: undo the 2 nuts (now you will see the hidden one which is basically unreachable
15: attach the new mount to the bracket ensuring the hidden nut is tightened all the way as you will not be able to tighten this one later and START the other nut.
16: bolt the bracket with the mount back onto the block but once again only START the bolts
17: this is the tricky bit now you have to move the engine and the mounts and the bracket so as the mount lines up with the holes, and slowly release the jack at the same time watching the mounts thread slide into the holes.
18: once thats all in START the nuts on the bottom of the engine mount and jack the engine back up enough to bolt the bracket back onto the block
19: tighten the bracket bolts all the way then lower the engine again so that the engine is once again just sitting on the mounts
20: tighten all the nuts on top and bottom of the mounts, remove jack completely, and re-tighten (with all the extra weight they can sometimes compress the mounts therefore needing extra tightening)
21: take the car off the stands and your basically done
22: re install the compressor
23: re install the serpentine belt and airbox
24: put engine cover back on and BAMMMM your done!!
25: the final step. ROAD TEST. through quick acceleration followed by hard braking test to see if the engine feels like its secured properly. (if your anal like me, re tighten the nuts just incase.)
FIRST POST HOPE U ENJOY.
Last edited by a moderator: