byrnn09
New Member
- Joined
- Jan 2, 2010
- Messages
- 50
- Reaction score
- 1
- Points
- 0
- Location
- Mornington Peninsula
- Members Ride
- VE SS Sportswagon
Hey guys thought id post a pictorial and diy on ho to pant your engine cover properly so it will last. This was my first time doing anything like this so your welcome to leave comments and suggestions to help out.
Step 1 : Wash the cover to get rid of dirt and grit.
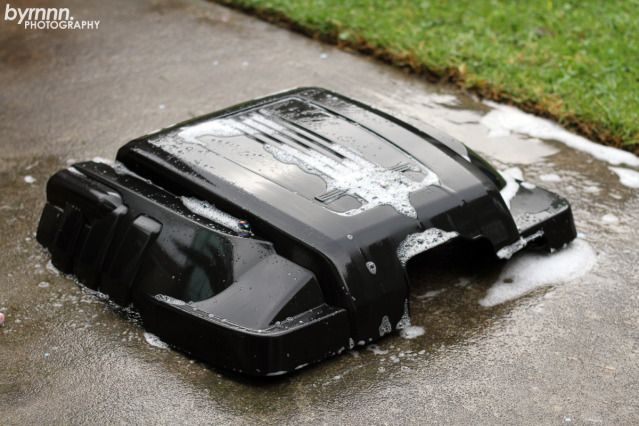
Here i sprayed with degreaser and used a sponge and soap to clean all the dirt out.
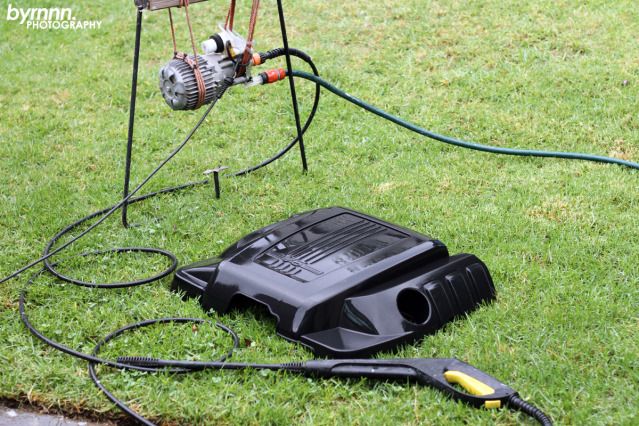
Use a high pressure water cleaner to make sure all the soap and degreaser has washed off.
Dry the cover making sure you get all the water off
If it helps use a air gun to blow out hard to reach spots
STEP 2 : Priming the cover
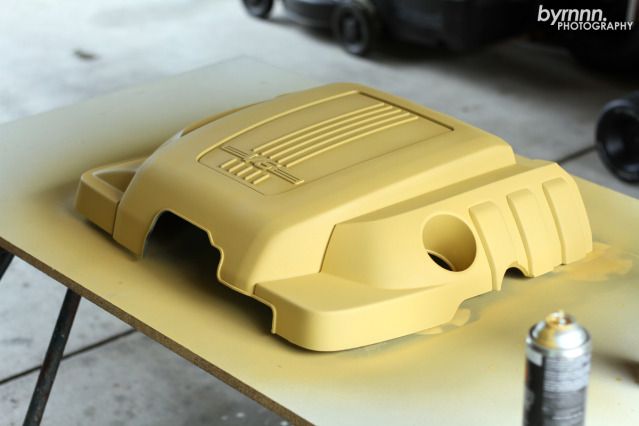
I just used a primer/filler in a spray can, cover the whole cover making sure you get into all the nooks and grannies.
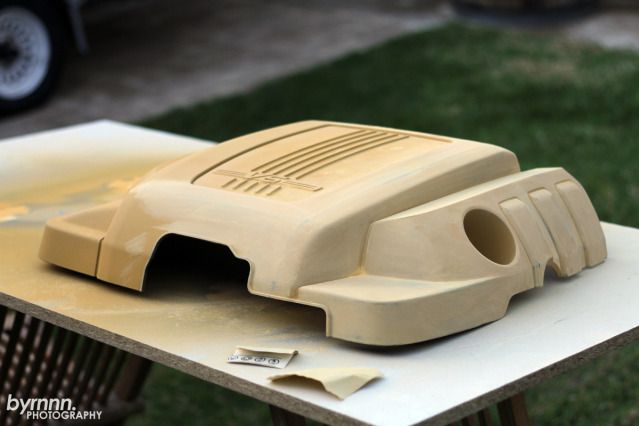
Once its dry rub it back with sand paper i used a 240 - 320 grit to rub back a majority of the primer.
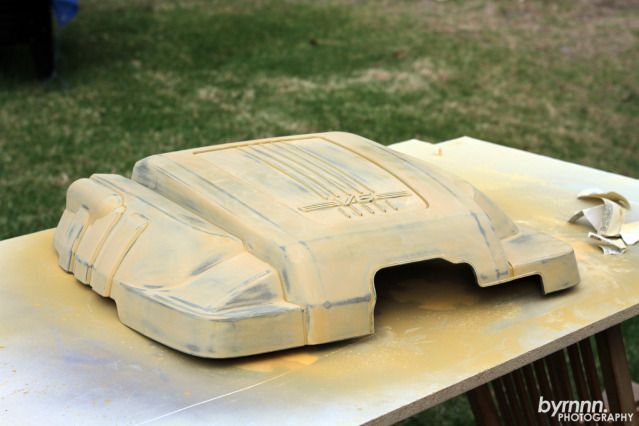
Then use a 800-1200 grit wet and dry to make it ready to be painted, make sure its smooth as the more time you spend preparing the better the result.
STEP 3 : First Coat
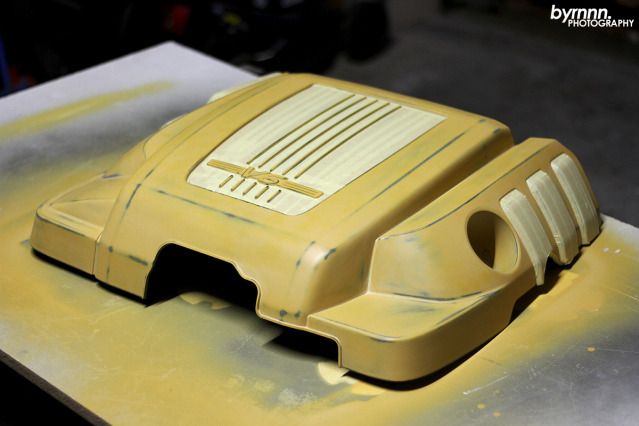
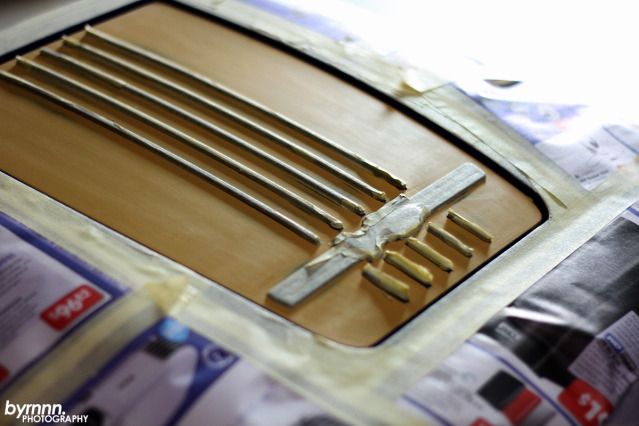
Mask the areas off with masking tap or similar that you don't want to paint
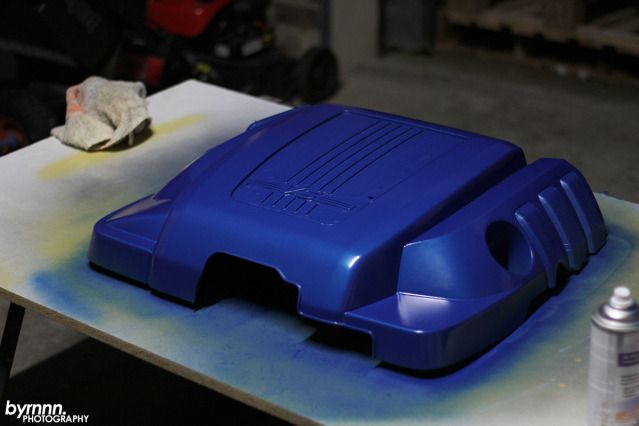
Spray all over making sure you cover the whole cover
Pull the masked areas off leaving the painted and primed areas.
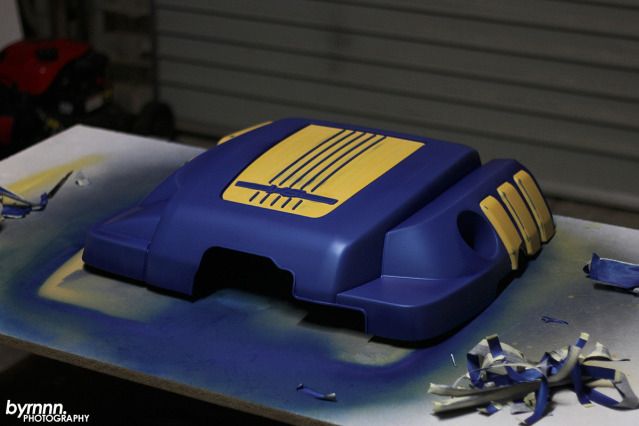
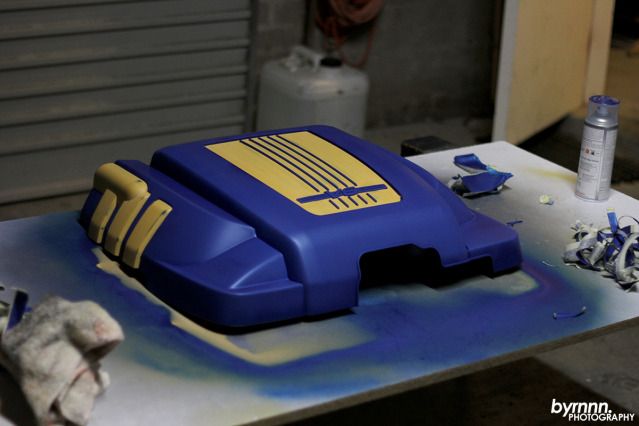
Step 4 : Second Coat

Repeat as previous and mask off all the area you don't want to paint.
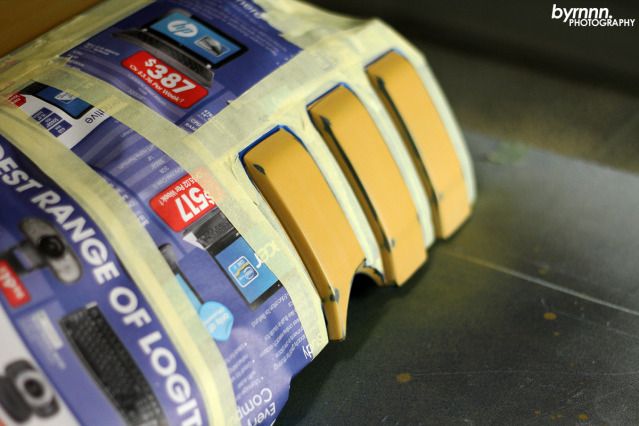
Make sure you are very careful with your masking as if you miss a spot or overlap you will get gaps where you can see primer or your lines with be rough and uneven
Spray the areas that you want painted then pull off the maked areas, Make sure you use a paper that won't seep the paint through and mark your work another wise you will have to respray.
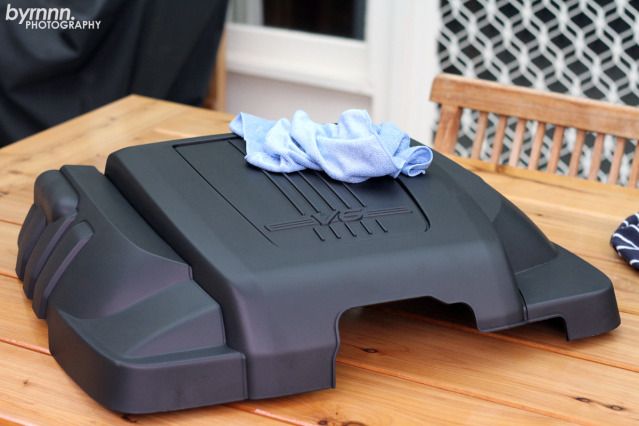
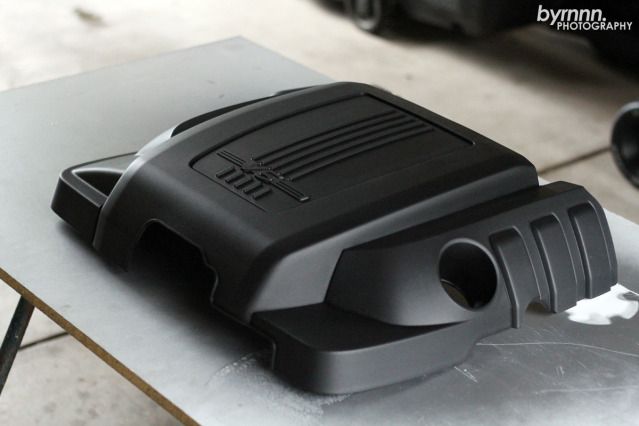
Step 5 : Clear coat
I haven't got an image but once your happ with how it looks spray with a clear coat to protect the paint job, also it give the whole cover a high gloss finish.
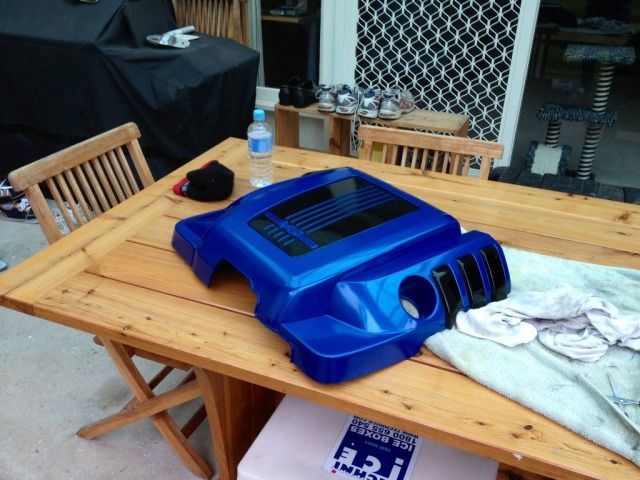
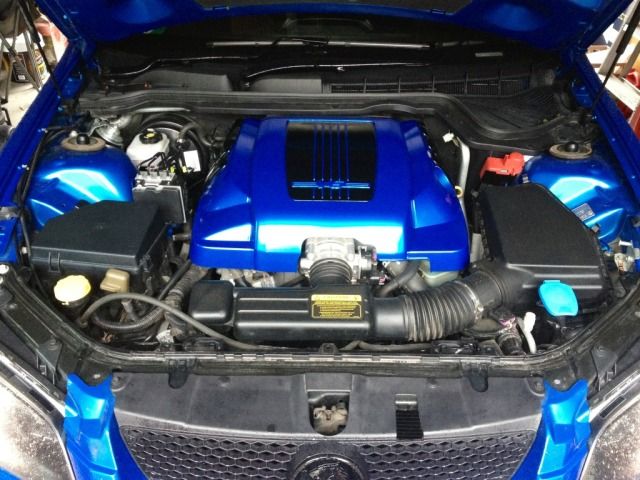
Theres the final.
If you have any questions ask away I'm sure someone will be able to help.
Step 1 : Wash the cover to get rid of dirt and grit.
Here i sprayed with degreaser and used a sponge and soap to clean all the dirt out.
Use a high pressure water cleaner to make sure all the soap and degreaser has washed off.
Dry the cover making sure you get all the water off
If it helps use a air gun to blow out hard to reach spots
STEP 2 : Priming the cover
I just used a primer/filler in a spray can, cover the whole cover making sure you get into all the nooks and grannies.
Once its dry rub it back with sand paper i used a 240 - 320 grit to rub back a majority of the primer.
Then use a 800-1200 grit wet and dry to make it ready to be painted, make sure its smooth as the more time you spend preparing the better the result.
STEP 3 : First Coat
Mask the areas off with masking tap or similar that you don't want to paint
Spray all over making sure you cover the whole cover
Pull the masked areas off leaving the painted and primed areas.
Step 4 : Second Coat
Repeat as previous and mask off all the area you don't want to paint.
Make sure you are very careful with your masking as if you miss a spot or overlap you will get gaps where you can see primer or your lines with be rough and uneven
Spray the areas that you want painted then pull off the maked areas, Make sure you use a paper that won't seep the paint through and mark your work another wise you will have to respray.
Step 5 : Clear coat
I haven't got an image but once your happ with how it looks spray with a clear coat to protect the paint job, also it give the whole cover a high gloss finish.
Theres the final.
If you have any questions ask away I'm sure someone will be able to help.