Shortstuff
Random
- Joined
- May 22, 2006
- Messages
- 692
- Reaction score
- 8
- Points
- 0
- Location
- Melbourne
- Members Ride
- 2016 Golf GTI PP
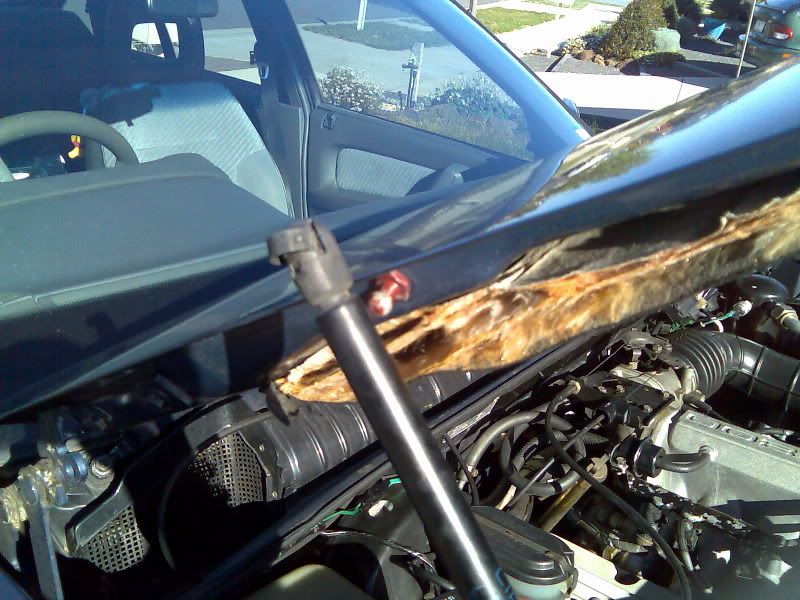
I did this to my car today, and it's very worthwhile! So much better than the standard stay you get on the VN's. The only thing I would say is to be careful of the yellow part of the sound deadening under the bonnet as it can cause irritation of the skin if touched.
1. You will need :-
-A wire coathanger
-A pair of sidecutters
-A flat headed screwdriver
-A philips headed screwdriver
-A 10mm ring spanner
-An adjustable spanner
-VP - VS gas struts and fittings to attatch them to the car
-Two 8mm nuts (if you can find another pair, the ones that hold the bottom mounts for the gas struts on to the car are ideal)
-Lots of patience
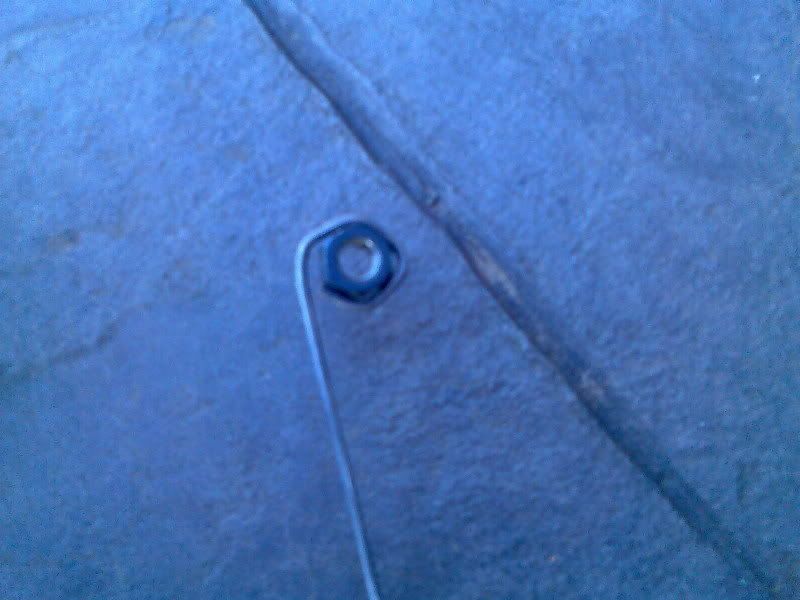
2.First of all you will need to cut the coathanger so you can straighten it out. You then need to bend one end round so it fits very tightly around the 8mm nuts. I found it easiest to get the basic shape I needed by bending it round the nut, then taking the nut out and closing up the coathanger a bit more.
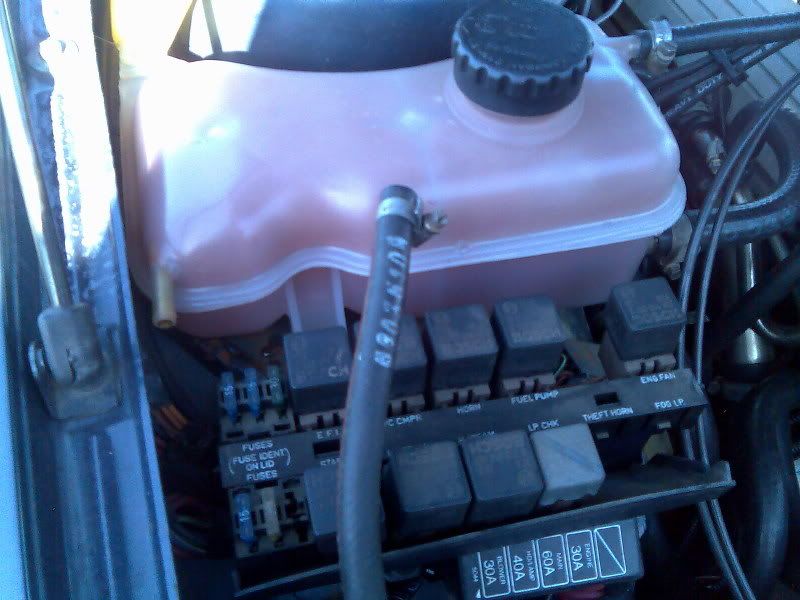
3. Then remove the fuse box cover from the fuse box in the engine bay. If you have an S1 VN, you will need to disconnect the coolant return hose from the surge tank to make a bit more room.
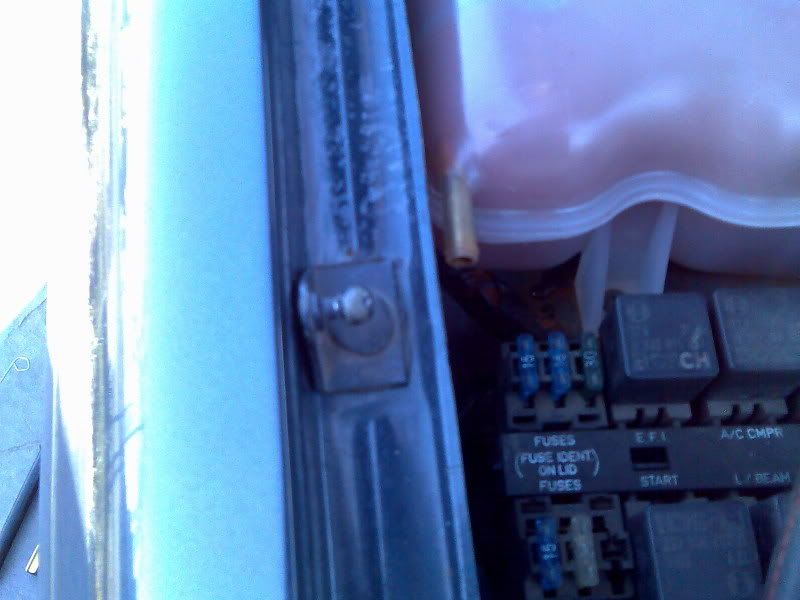
4. Along the inside of the top of the guards there are a series of screws that hold the guards on. You need to remove the one that is 3 back from the front of the car and loosen the ones either side of it so you can then remove the metal plate that the screw fastened in to. Once the small metal plate is out, tighten up the bolts you only loosened.
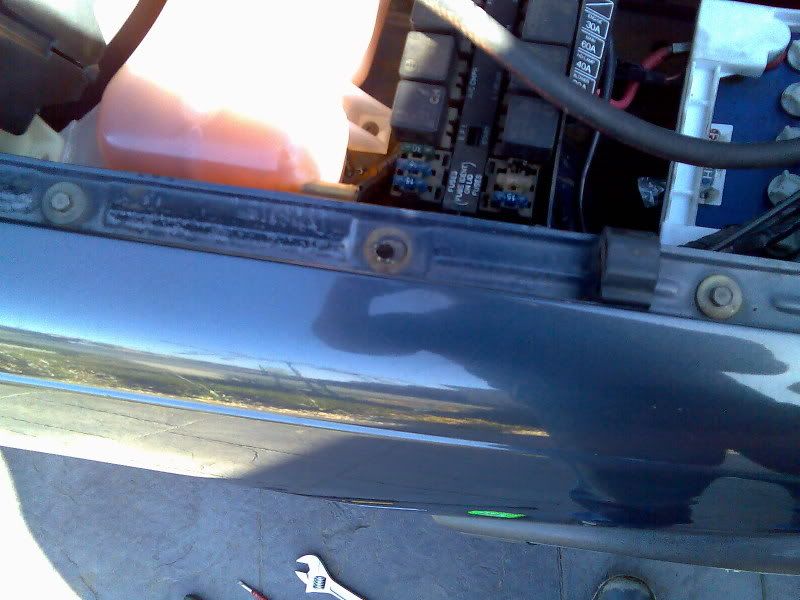
You can then put the bottom mount into the hole that is freed up and bolt it up.
5. Now comes the difficult bit. Putting the mounts into the bonnet. If you don't have holes in the bonnet already,you will need to drill some. The centres should be 185mm forwards of where the plate holding the bonnet hinges ends. If you do have holes, then it's all good.
Get an 8mm nut and put it into the end of your coathanger, then slide it into a hole in the bonnet that is a little way forward of the mounting holes. See pic below.
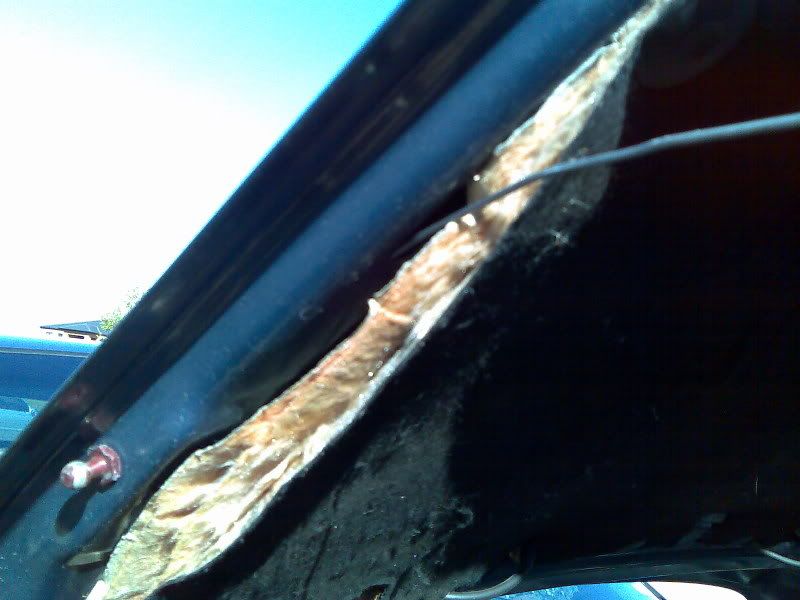
Push it down towards the rear of the bonnet until you can see it through the mounting hole. Line it up well, then very carefully screw your top mount into it by hand. Tighten the mount with a spanner then shake the coathanger loose of the nut and remove it from the bonnet.
6. Now you can attatch the gas strut to the bottom mount.
7. To attatch the gas strut to the top mount you will have to compress it slightly as it will be a little too long.
8. Repeat steps 4-7 on the other side of the car, then unscrew your original bonnet stay and take out the clip that held the other end. Throw away. Re-connect the coolant return hose if you disconnected it and replace the fuse box cover.
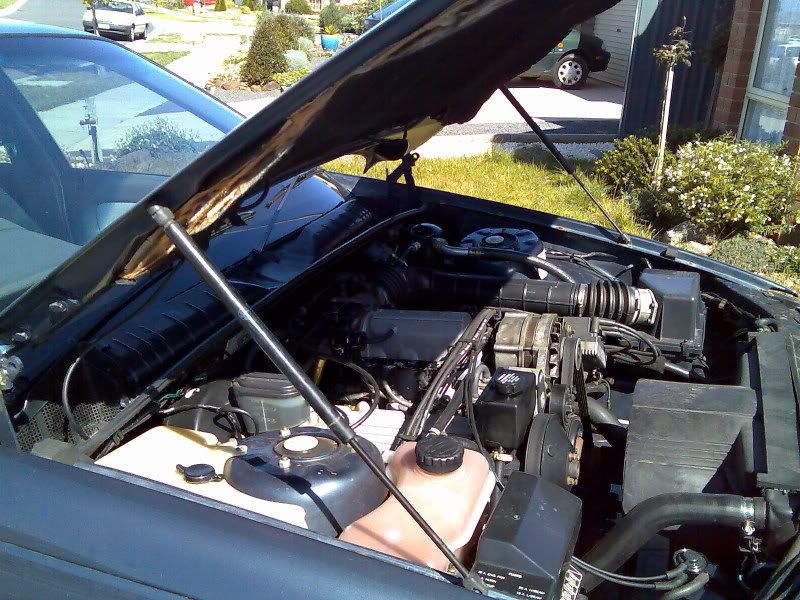
9. Be very pleased as your bonnet now goes 'Tsssssssssshh' when you lift it with minimum effort. You will wonder why you didn't do this cheap effective mod a long time ago!!
1. You will need :-
-A wire coathanger
-A pair of sidecutters
-A flat headed screwdriver
-A philips headed screwdriver
-A 10mm ring spanner
-An adjustable spanner
-VP - VS gas struts and fittings to attatch them to the car
-Two 8mm nuts (if you can find another pair, the ones that hold the bottom mounts for the gas struts on to the car are ideal)
-Lots of patience
2.First of all you will need to cut the coathanger so you can straighten it out. You then need to bend one end round so it fits very tightly around the 8mm nuts. I found it easiest to get the basic shape I needed by bending it round the nut, then taking the nut out and closing up the coathanger a bit more.
3. Then remove the fuse box cover from the fuse box in the engine bay. If you have an S1 VN, you will need to disconnect the coolant return hose from the surge tank to make a bit more room.
4. Along the inside of the top of the guards there are a series of screws that hold the guards on. You need to remove the one that is 3 back from the front of the car and loosen the ones either side of it so you can then remove the metal plate that the screw fastened in to. Once the small metal plate is out, tighten up the bolts you only loosened.
You can then put the bottom mount into the hole that is freed up and bolt it up.
5. Now comes the difficult bit. Putting the mounts into the bonnet. If you don't have holes in the bonnet already,you will need to drill some. The centres should be 185mm forwards of where the plate holding the bonnet hinges ends. If you do have holes, then it's all good.
Get an 8mm nut and put it into the end of your coathanger, then slide it into a hole in the bonnet that is a little way forward of the mounting holes. See pic below.
Push it down towards the rear of the bonnet until you can see it through the mounting hole. Line it up well, then very carefully screw your top mount into it by hand. Tighten the mount with a spanner then shake the coathanger loose of the nut and remove it from the bonnet.
6. Now you can attatch the gas strut to the bottom mount.
7. To attatch the gas strut to the top mount you will have to compress it slightly as it will be a little too long.
8. Repeat steps 4-7 on the other side of the car, then unscrew your original bonnet stay and take out the clip that held the other end. Throw away. Re-connect the coolant return hose if you disconnected it and replace the fuse box cover.
9. Be very pleased as your bonnet now goes 'Tsssssssssshh' when you lift it with minimum effort. You will wonder why you didn't do this cheap effective mod a long time ago!!
Last edited:
")