383 hatch
Well-Known Member
- Joined
- Jun 14, 2005
- Messages
- 3,922
- Reaction score
- 67
- Points
- 48
- Age
- 41
- Location
- Cowes, Phillip Island
- Members Ride
- VG Ute 5.0,Torana hatch 383,WB Ute 5.0,VR stato5.0
Ok, so here is what i've been up to. It's a lot of little things, but it's the little things that make or break a good car, so they have to be done.
First i'll start with what's been done on the body.
I've never been happy with the panel gaps and alignment on this car, so i thought i better do something about it this time. Given the amount of cutting and welding this car has had, it's a given that some of the gaps would be a bit out (Torana gaps aren't much good from the factory anyway).
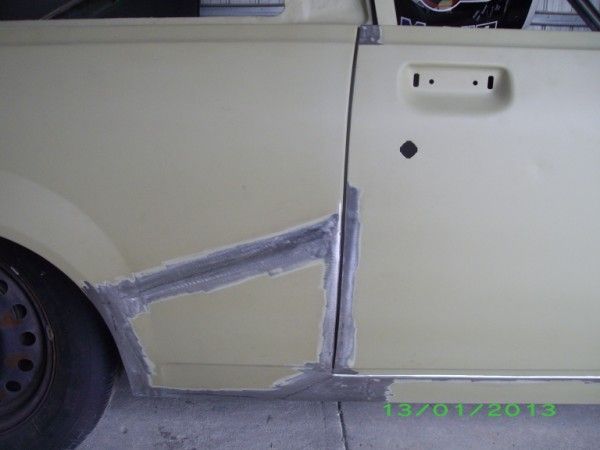
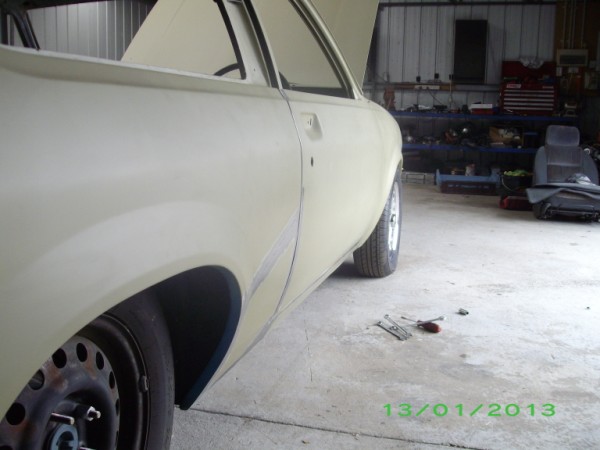
I started with the drivers door. Now, i don't have any pics of how it started, but the door never met the 1/4 panel nicely. The 1/4 protruded the door at the bottom, and the gap was big at the bottom also. The sill panel protruded the door and front guard at the bottom aswell, but the gaps were good. So, i started by cutting the lower part of the 1/4 panel off, reshaping it and welding it back on in the right spot so it didn't protrude the door. The next step was to rectify the big gap. Now, the easiest way to fix that is to weld a strip of steel to the edge of the door to extend it. I welded a 6mm wide strip onto the edge of the door, then ground it back a bit at a time until i had a nice 4mm gap all the way down.
The section i cut out and reshaped. Gap is all finished in this pic.
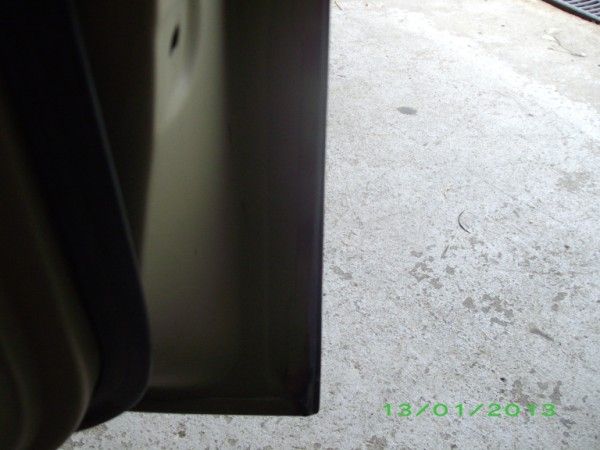
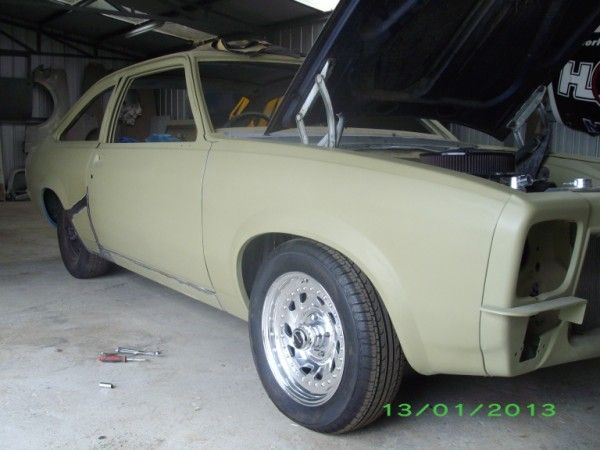
Door shut.
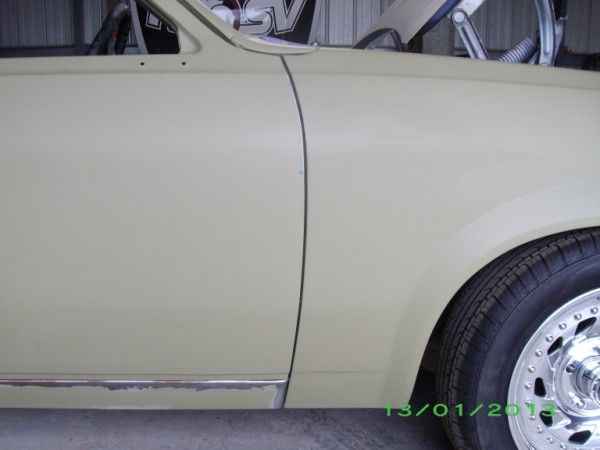
Strip welded to the door. Bad pic, i'll get a better one at some point.
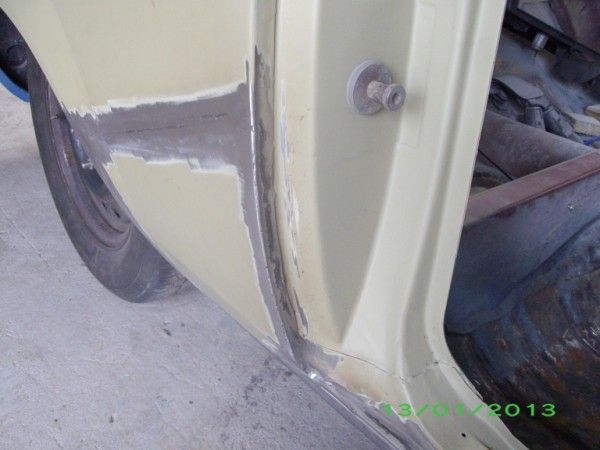
Next up, i cut the sill open just inside the door shut, cut a section out of it, moved it in and welded it all up again.
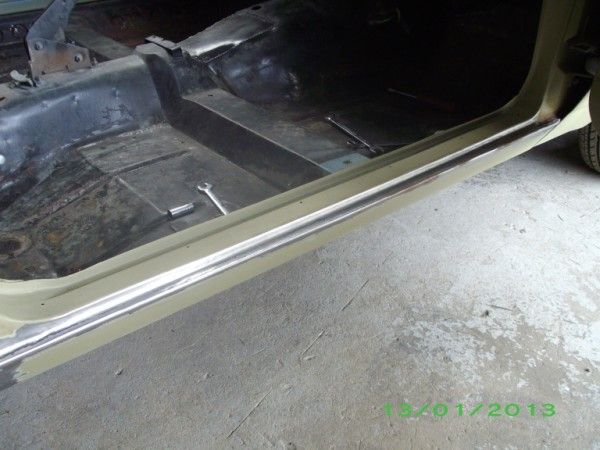
The finished product. The guard fitted the door good, it just needed minor trimming of the door to get a nice, uniform gap.
I will do the same to the other door, but it's not as bad as this one.
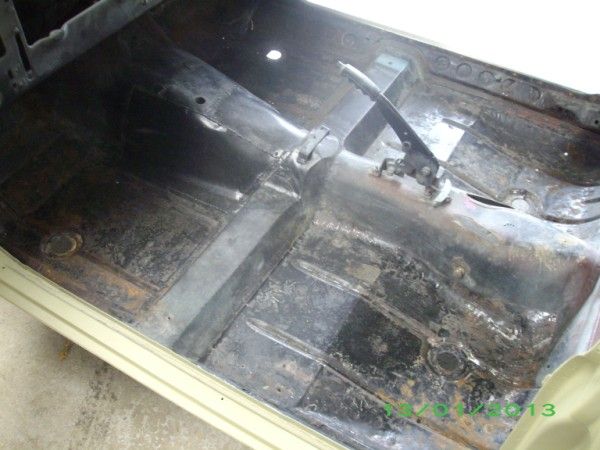
Next up, i hammer and chiseled all the sound matting off the floor.
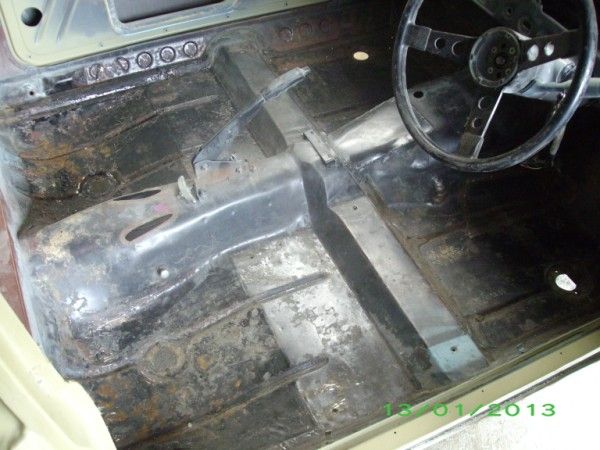
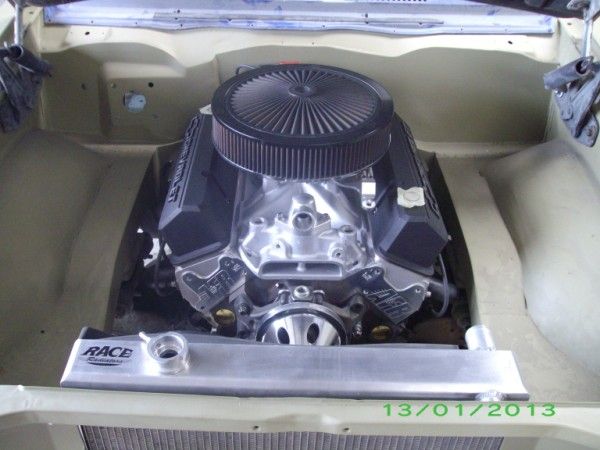
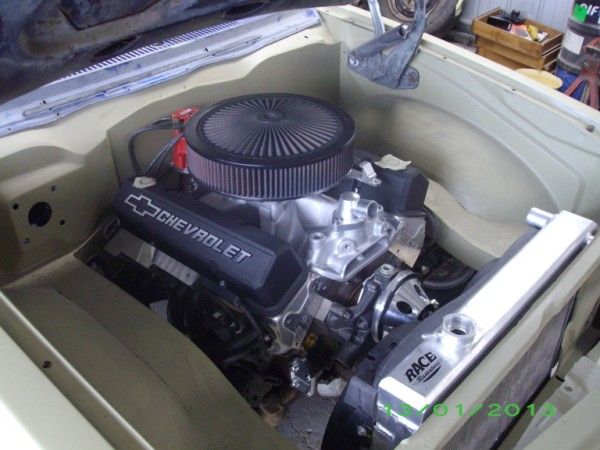
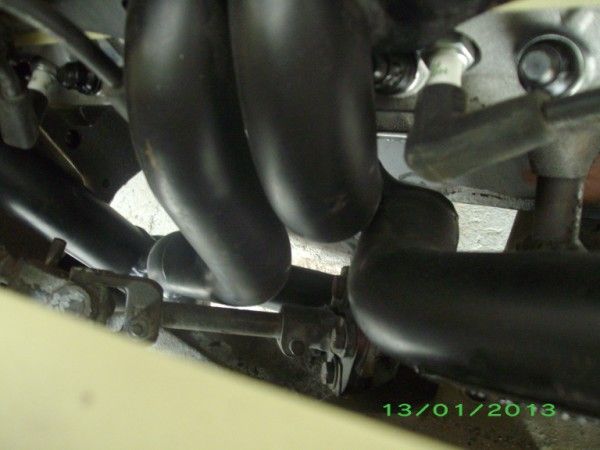
Then i decided i'd trial fit the new engine as the exhaust ports are raised .100" on the AFR heads, so i wanted to see what it was going to do for extractor clearance. Turns out, it's not too bad. They are closer in some spots, but more clearance in other spots. They are just a bit close to the steering for my liking so i'll mod the drivers side a bit to make some more clearance.
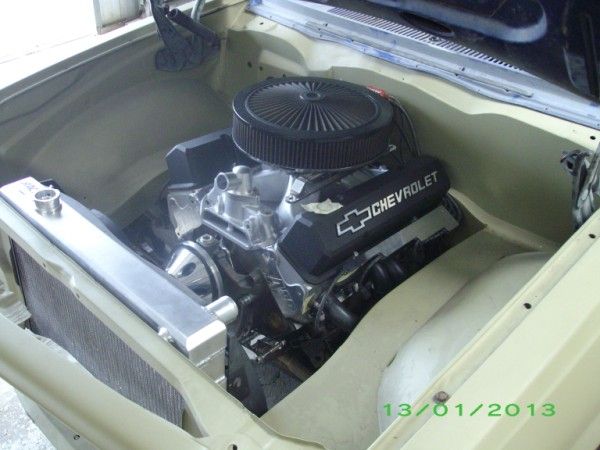
Motor in.
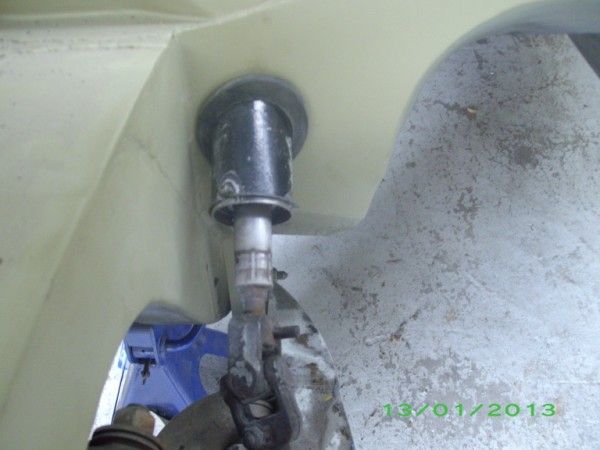
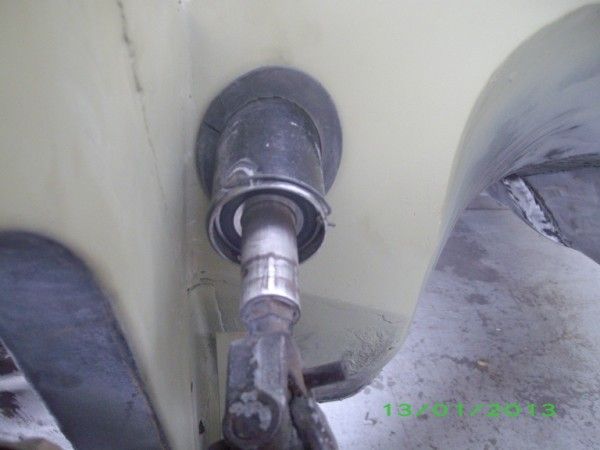
While the steering was all apart, i modified the steering column a bit. The original lower bearing was buggered. So, i cut the column back a but (this helps with extractor clearance at the rear most pipe) and fitted a new proper bearing. Turns out you can buy a bearing off the shelf that fits straight in.
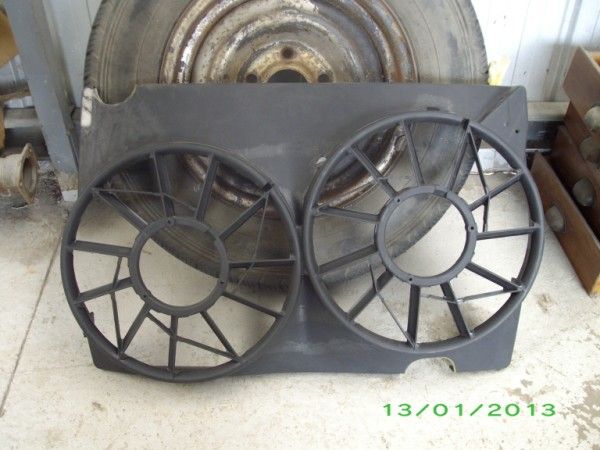
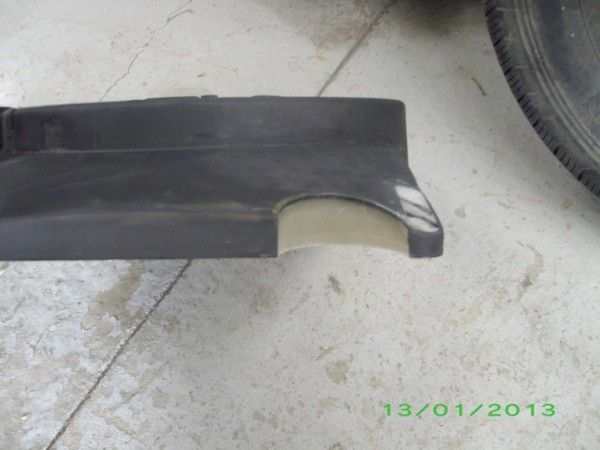
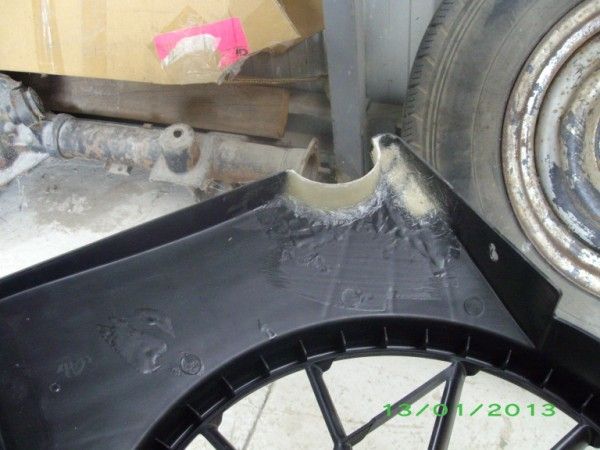
I've also been busy fitting/modifying the AU thermo fans. I started by smoothing out the shroud and making the cut outs for the radiator hoses. I've taken a few ribs off to make them look nicer. I decided i was going to go the extra yards with these to make them look as factory as possible. I have fibreglassed the top radiator cut out and i'm also going to do the lower and fill in a few holes with fibreglass aswell. I have also re routed the wiring so it runs around the bottom instead of the top. Once the shroud is all modified, i will paint it satin black as per factory.
Mods.
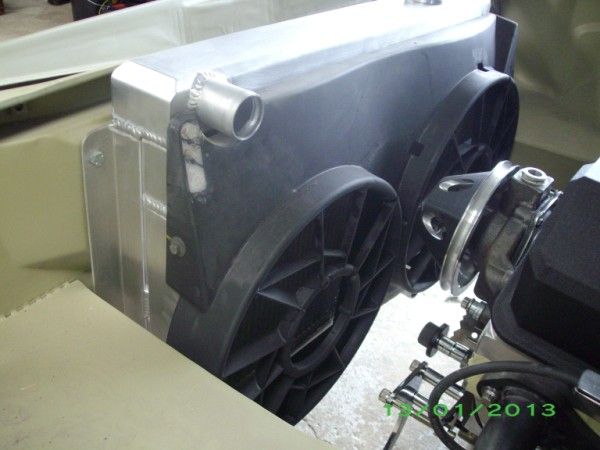
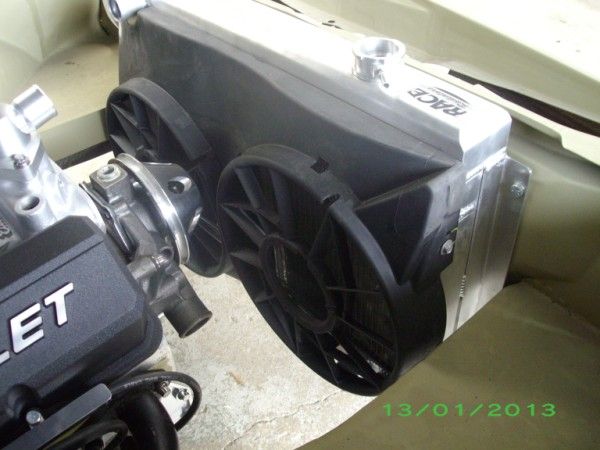
In the car.
Then today, i pulled the motor back out. I've bought some little bits to finish the engine off.
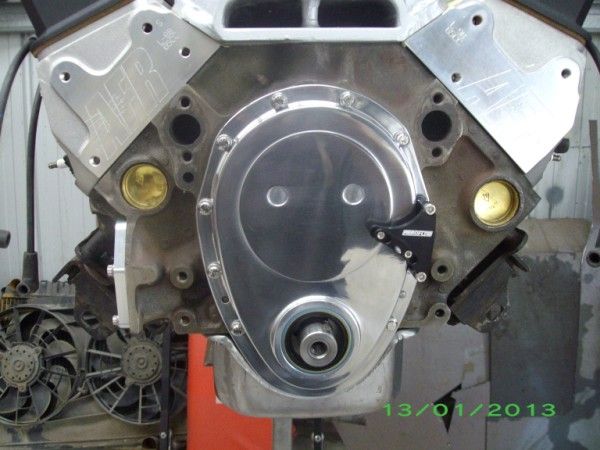
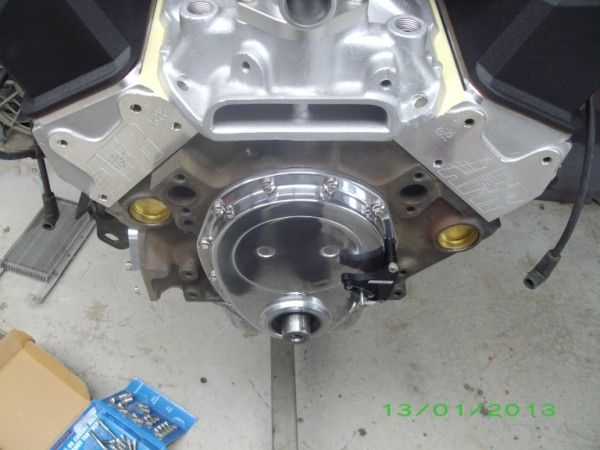
Polished alloy timing cover and timing pointer.
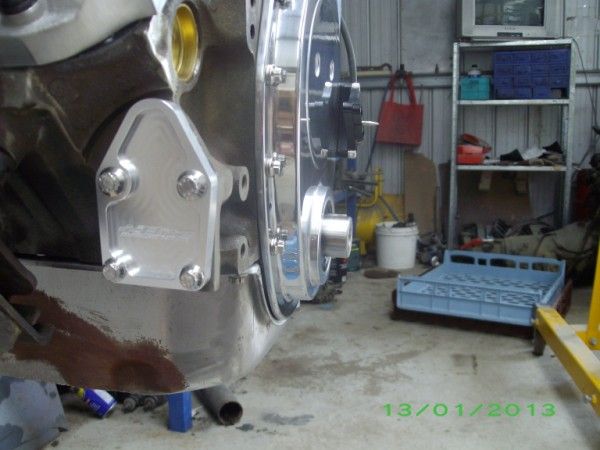
Fuel pump block off.
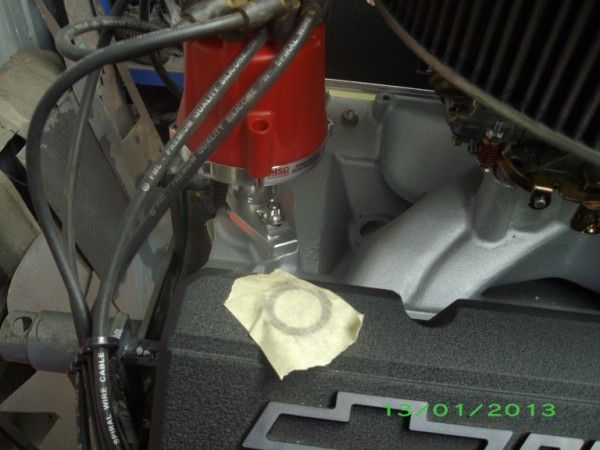
Distributor clamp.
That's about it for now.
First i'll start with what's been done on the body.
I've never been happy with the panel gaps and alignment on this car, so i thought i better do something about it this time. Given the amount of cutting and welding this car has had, it's a given that some of the gaps would be a bit out (Torana gaps aren't much good from the factory anyway).
I started with the drivers door. Now, i don't have any pics of how it started, but the door never met the 1/4 panel nicely. The 1/4 protruded the door at the bottom, and the gap was big at the bottom also. The sill panel protruded the door and front guard at the bottom aswell, but the gaps were good. So, i started by cutting the lower part of the 1/4 panel off, reshaping it and welding it back on in the right spot so it didn't protrude the door. The next step was to rectify the big gap. Now, the easiest way to fix that is to weld a strip of steel to the edge of the door to extend it. I welded a 6mm wide strip onto the edge of the door, then ground it back a bit at a time until i had a nice 4mm gap all the way down.
The section i cut out and reshaped. Gap is all finished in this pic.
Door shut.
Strip welded to the door. Bad pic, i'll get a better one at some point.
Next up, i cut the sill open just inside the door shut, cut a section out of it, moved it in and welded it all up again.
The finished product. The guard fitted the door good, it just needed minor trimming of the door to get a nice, uniform gap.
I will do the same to the other door, but it's not as bad as this one.
Next up, i hammer and chiseled all the sound matting off the floor.
Then i decided i'd trial fit the new engine as the exhaust ports are raised .100" on the AFR heads, so i wanted to see what it was going to do for extractor clearance. Turns out, it's not too bad. They are closer in some spots, but more clearance in other spots. They are just a bit close to the steering for my liking so i'll mod the drivers side a bit to make some more clearance.
Motor in.
While the steering was all apart, i modified the steering column a bit. The original lower bearing was buggered. So, i cut the column back a but (this helps with extractor clearance at the rear most pipe) and fitted a new proper bearing. Turns out you can buy a bearing off the shelf that fits straight in.
I've also been busy fitting/modifying the AU thermo fans. I started by smoothing out the shroud and making the cut outs for the radiator hoses. I've taken a few ribs off to make them look nicer. I decided i was going to go the extra yards with these to make them look as factory as possible. I have fibreglassed the top radiator cut out and i'm also going to do the lower and fill in a few holes with fibreglass aswell. I have also re routed the wiring so it runs around the bottom instead of the top. Once the shroud is all modified, i will paint it satin black as per factory.
Mods.
In the car.
Then today, i pulled the motor back out. I've bought some little bits to finish the engine off.
Polished alloy timing cover and timing pointer.
Fuel pump block off.
Distributor clamp.
That's about it for now.
