Welcome to Just Commodores, a site specifically designed for all people who share the same passion as yourself.

New Posts Contact us

Just Commodores Forum Community

It takes just a moment to join our fantastic community

Register

Spraypainting my VG work ute - the EPIC journey.

VSSS_5L

New Member
Joined
Oct 11, 2008
Messages
219
Reaction score
1
Points
0
Location
Adelaide
Members Ride
VS SS 5L
Allrighty here we go.

Slight backstory... http://forums.justcommodores.com.au/vn-vp-vg-vq/177068-brendos-work-ute.html

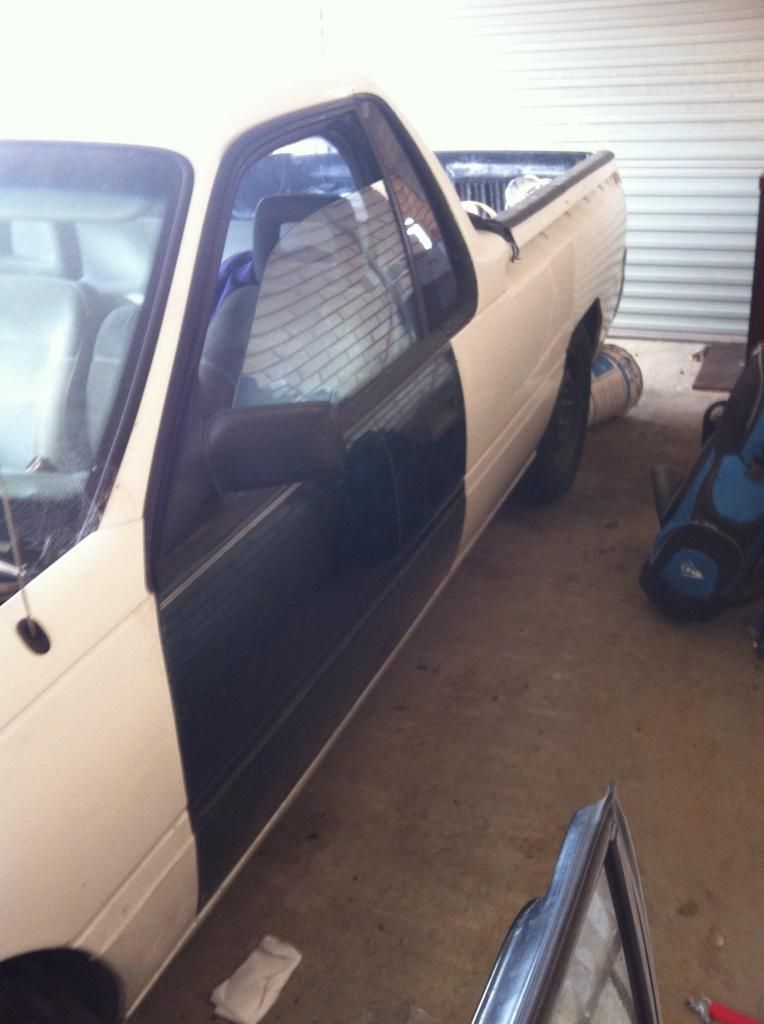
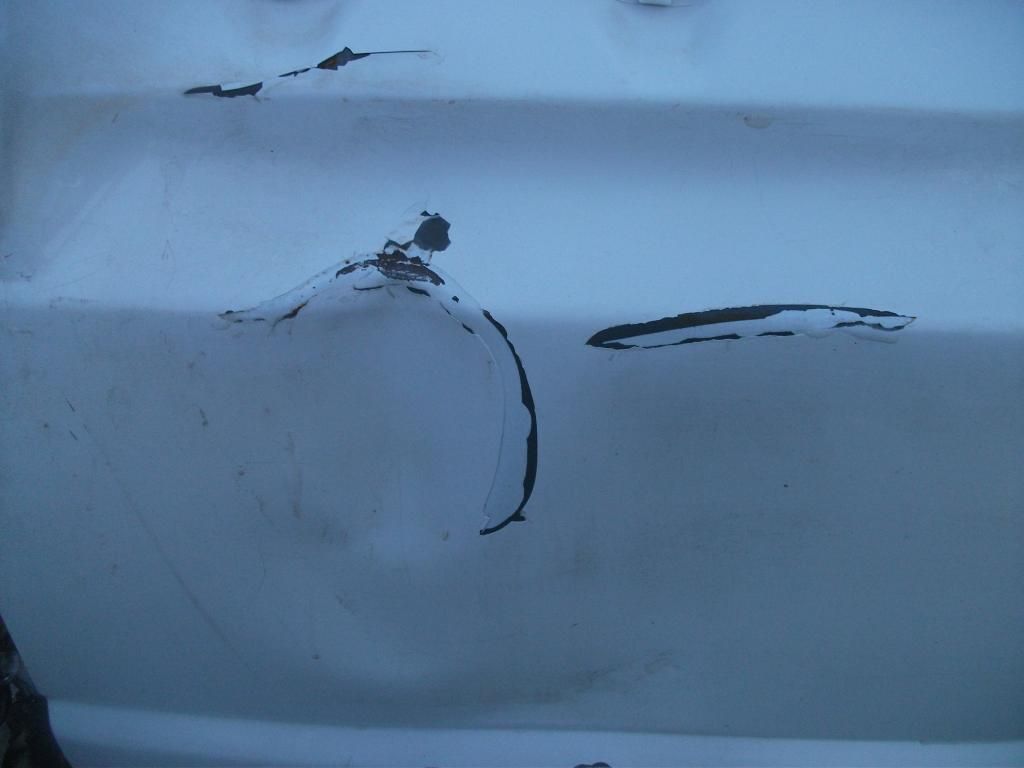
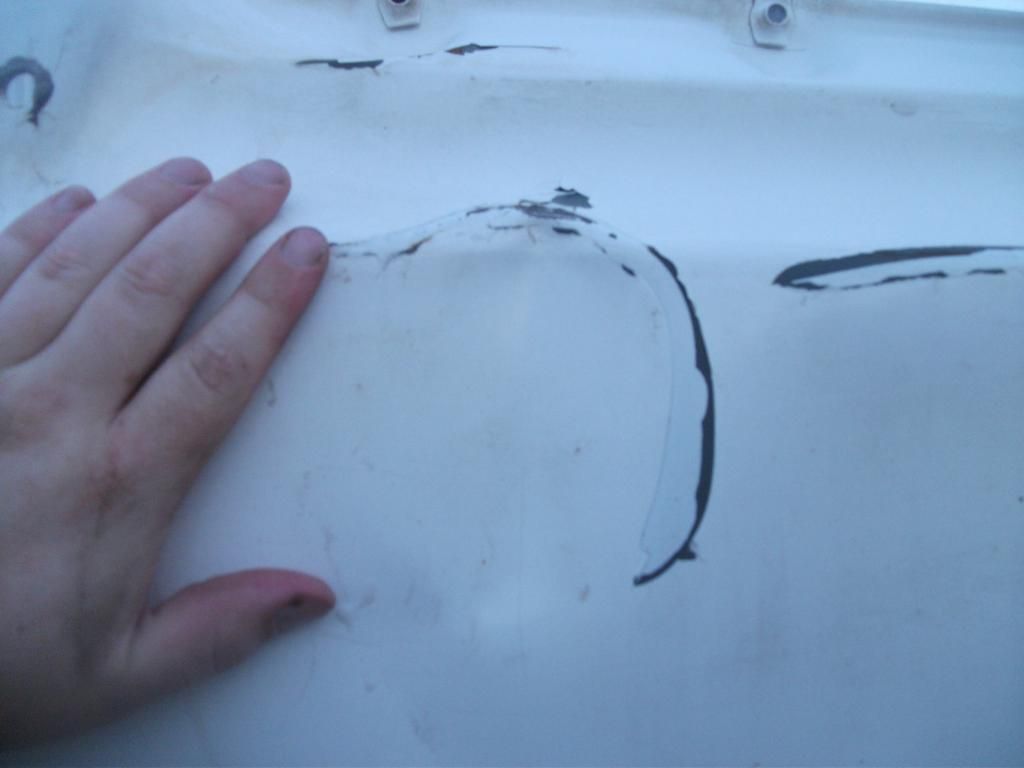
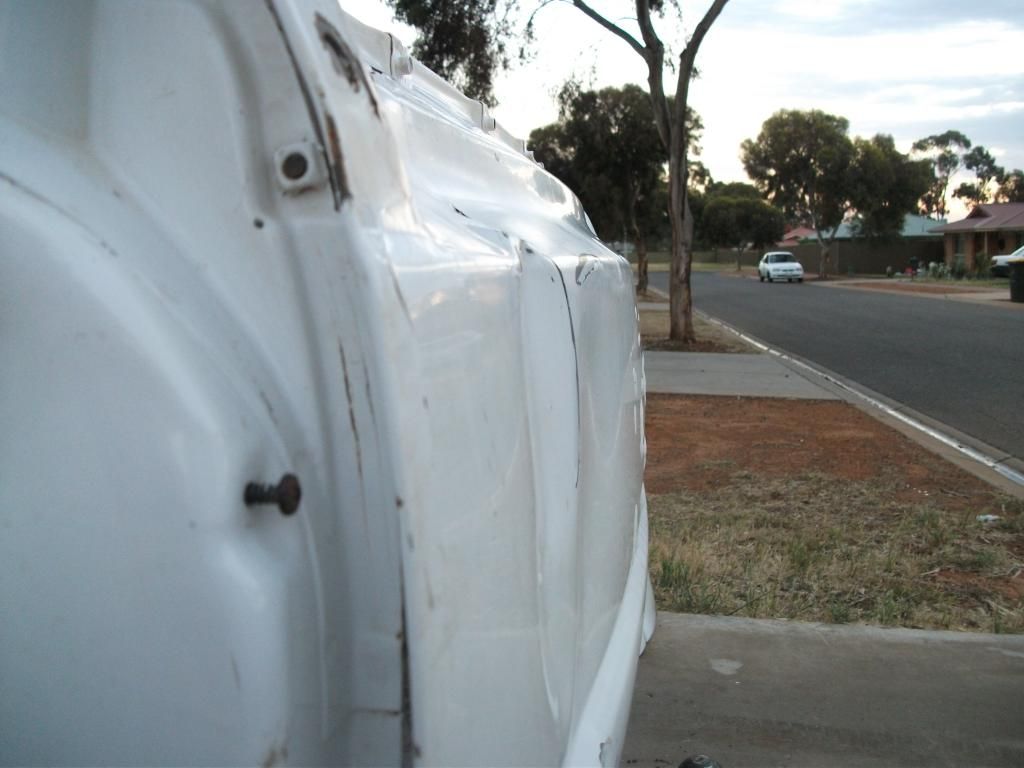
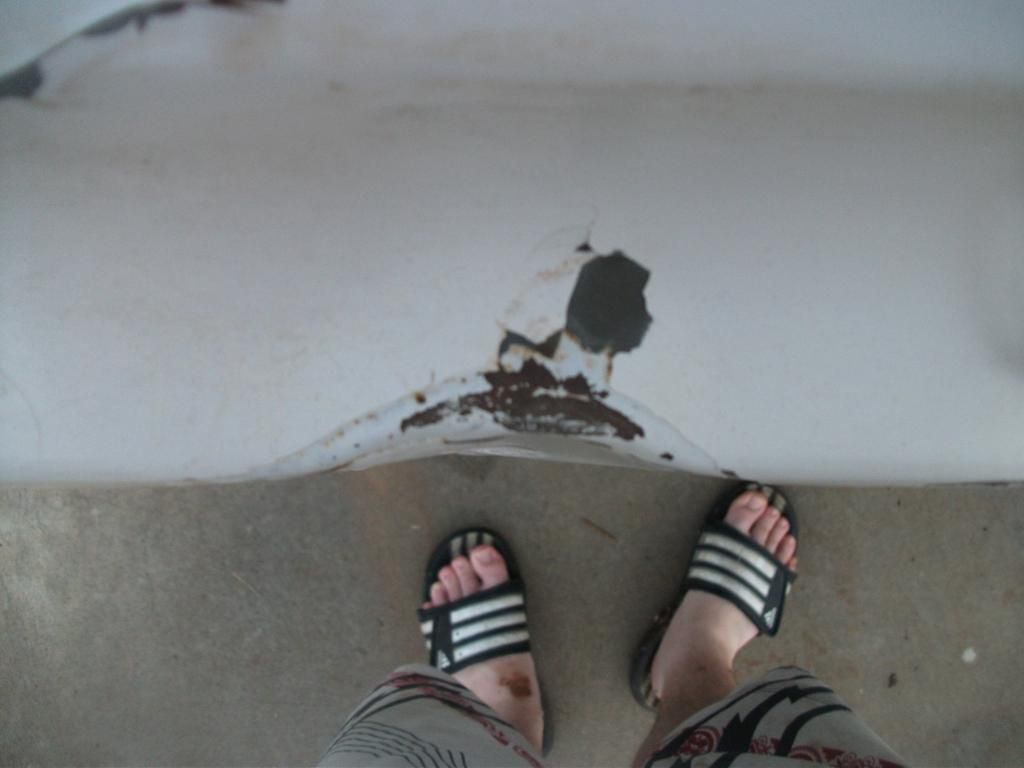
Basically busted up my door breaking into my car, next time i will smash a window. Replacing that door ended up becoming buying a whole VS wreck and stripping the donor front end parts from it to do a retrofit.

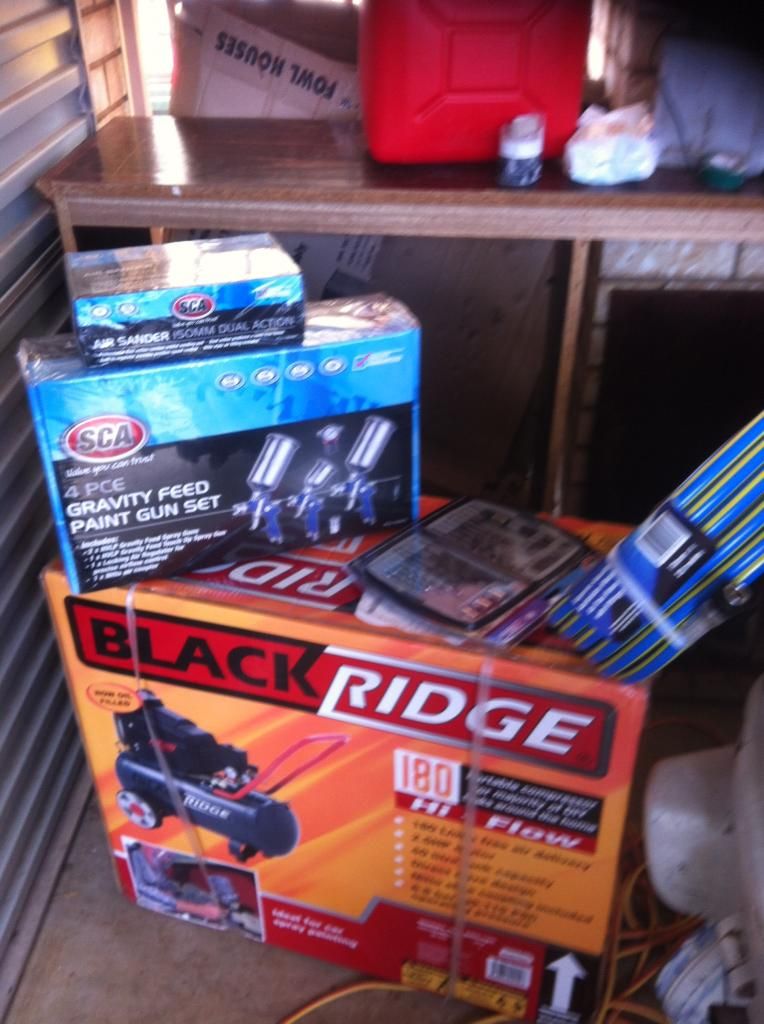
Parts sat around for ages mainly because i couldn't be bothered...and now i have a little motivation and a bit of momentum...and i have also gone past the point of no return...so i thought i would start doing some documenting before i got too far.

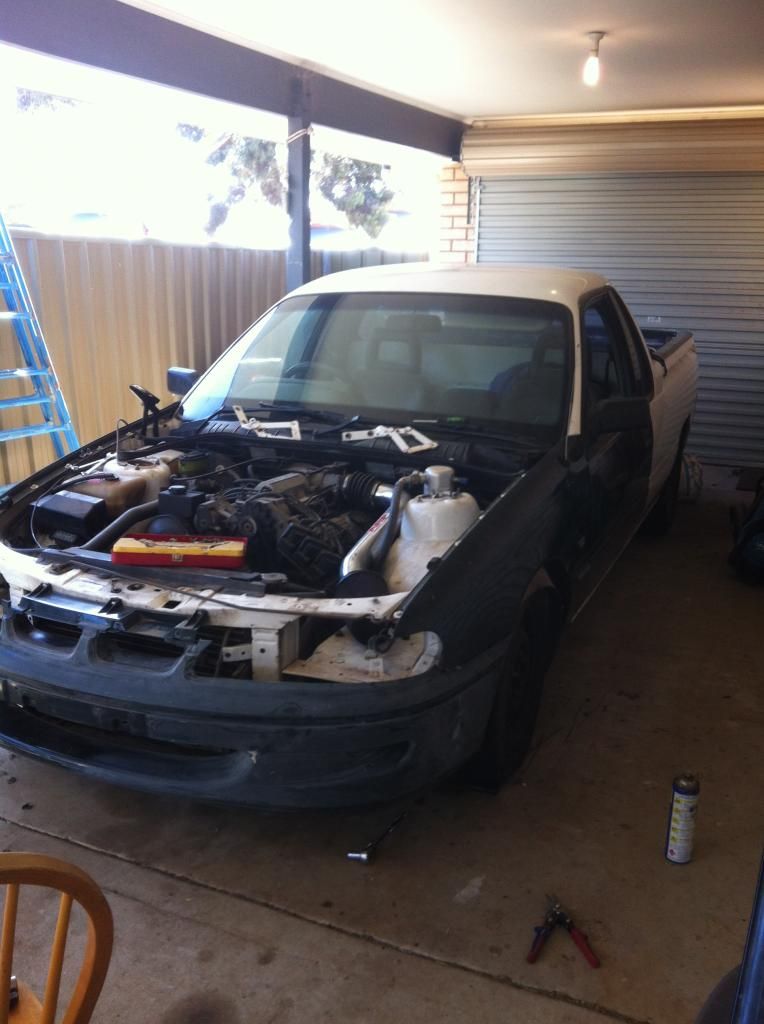
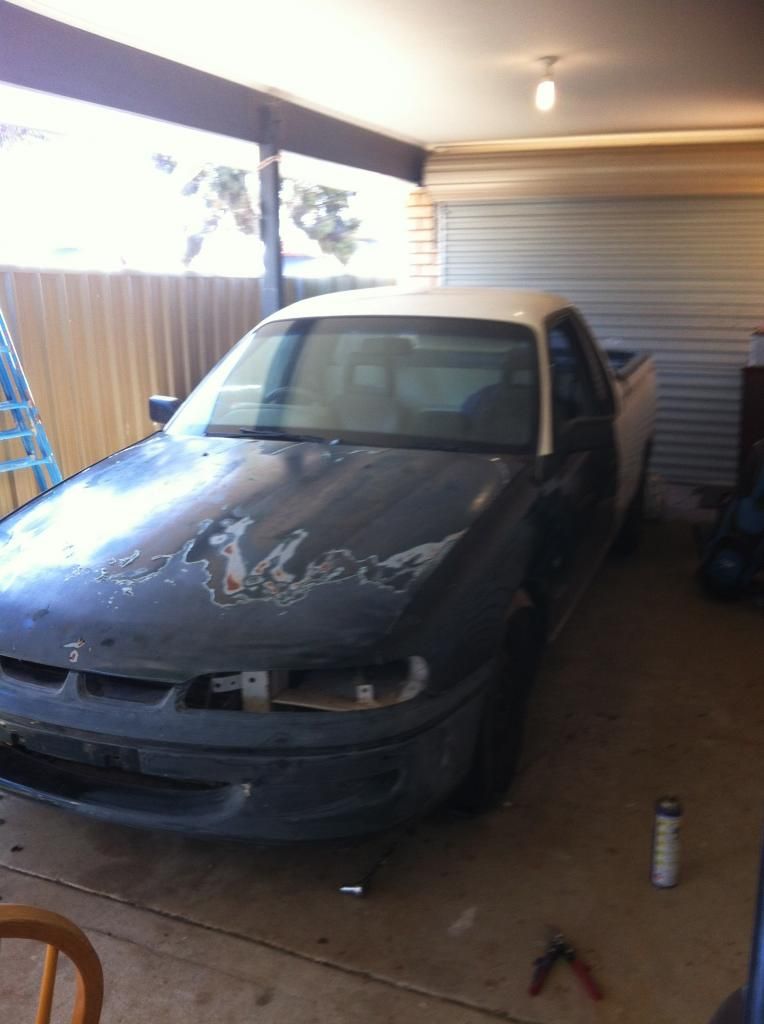
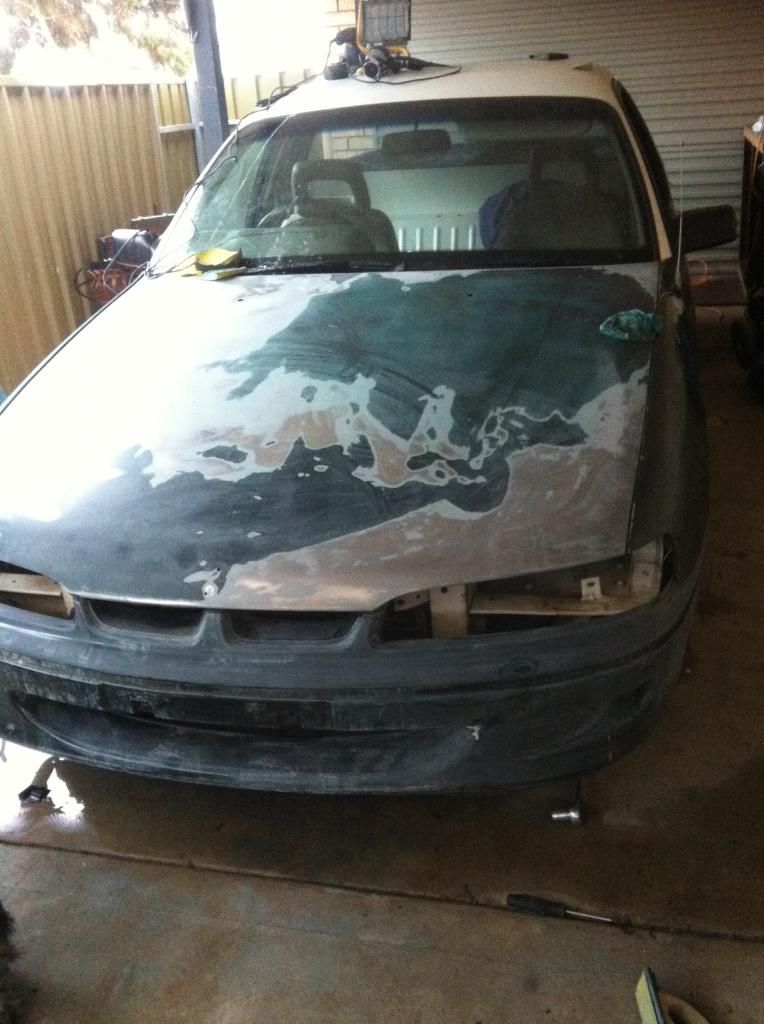
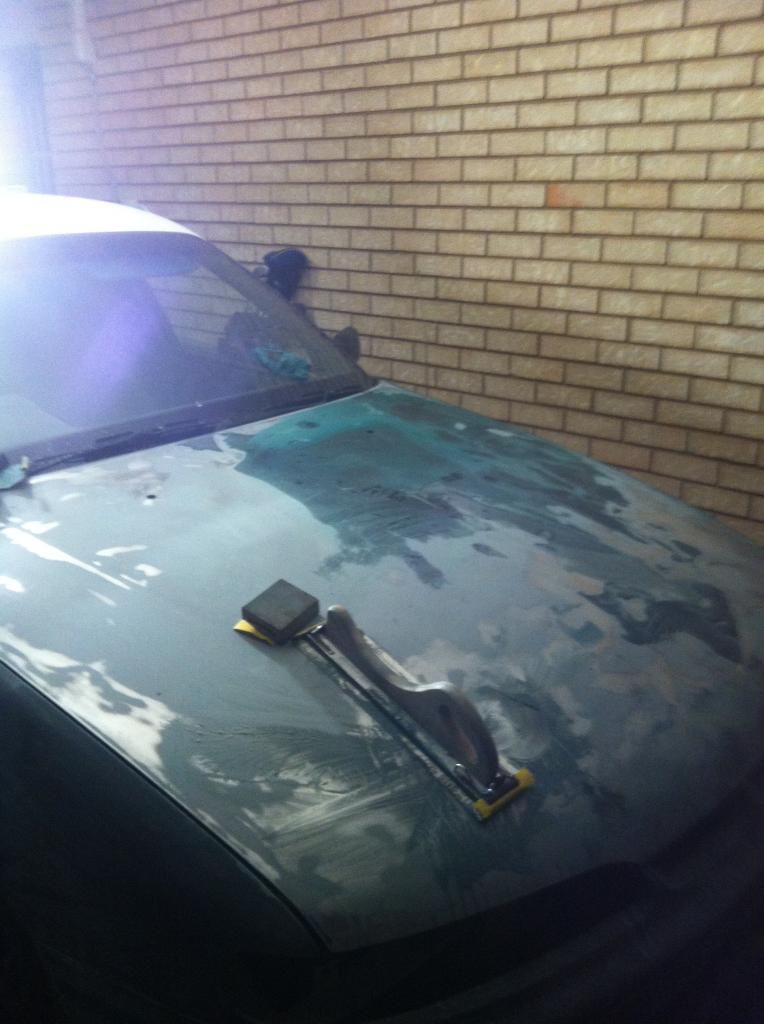
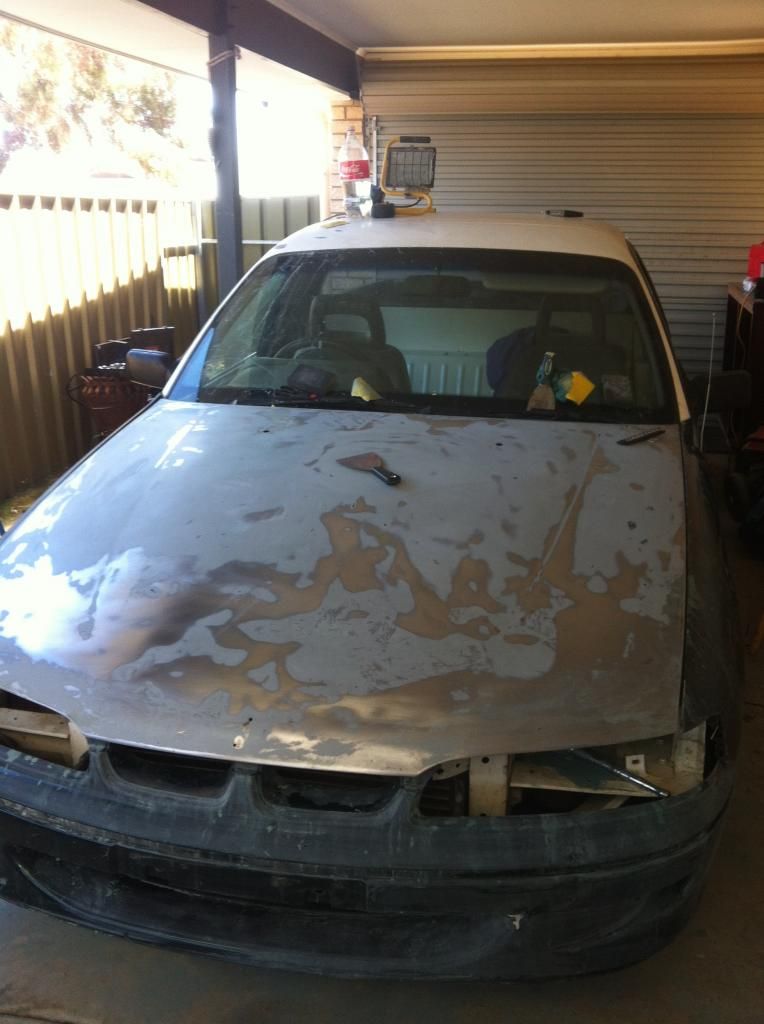
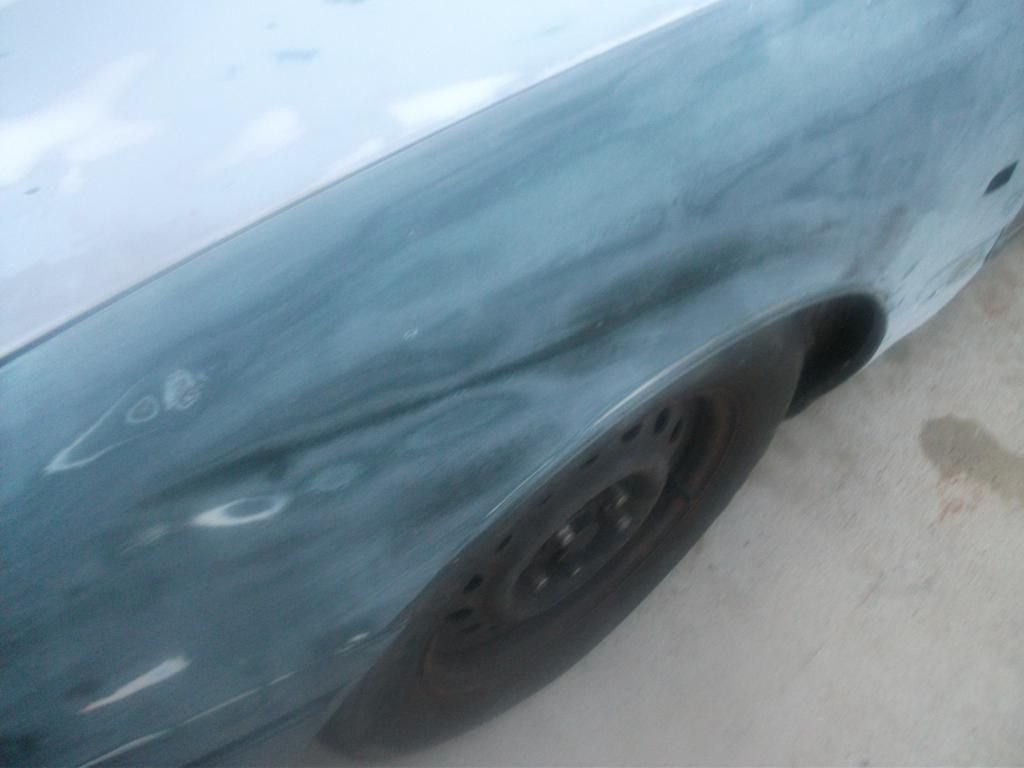
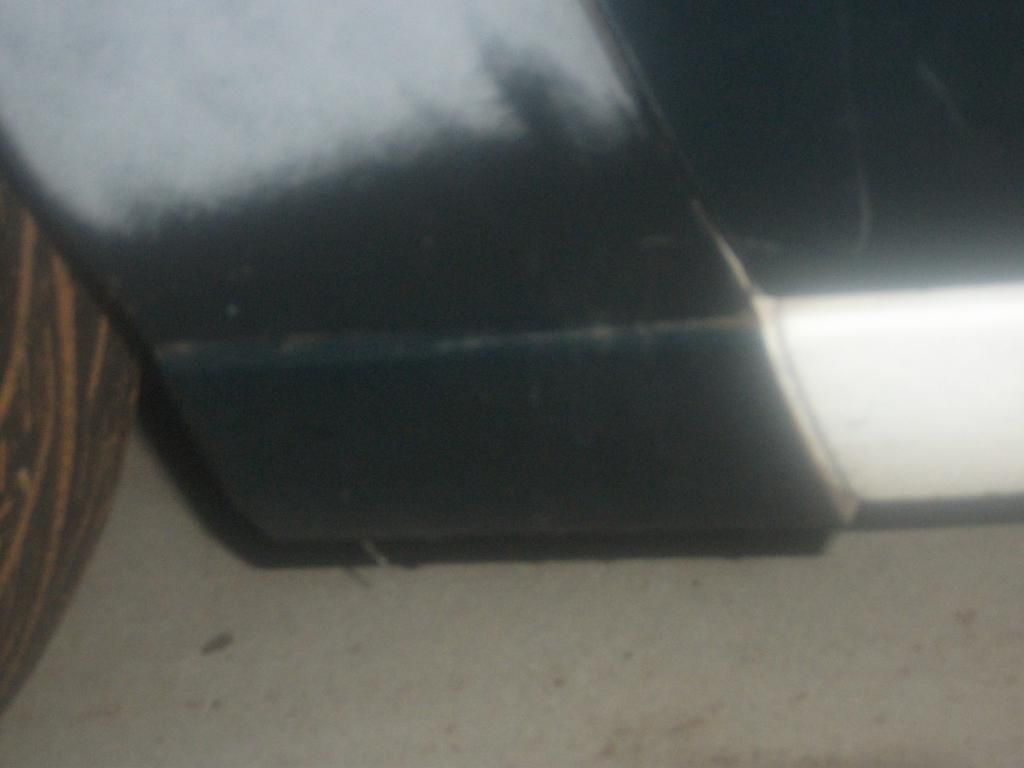
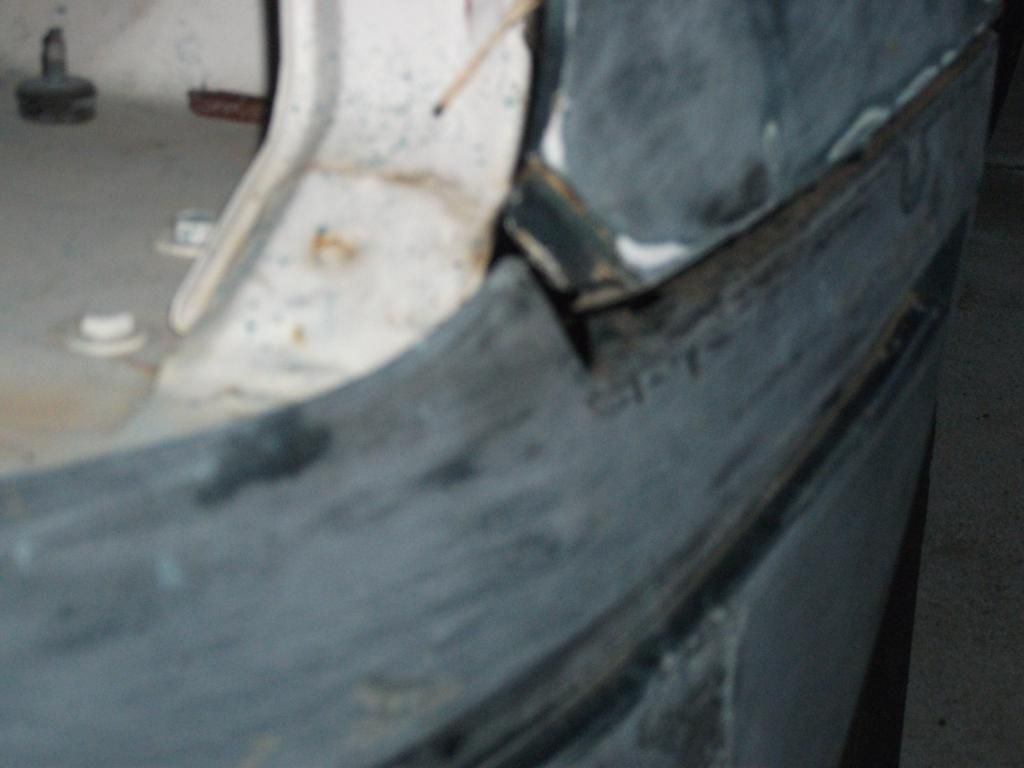
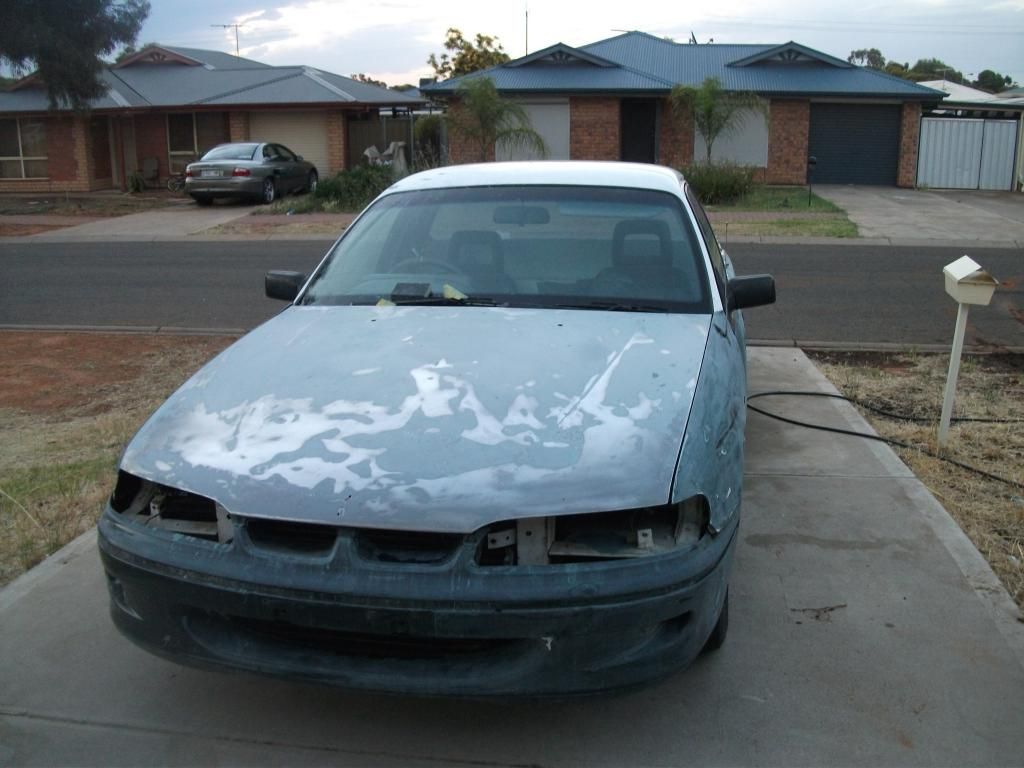
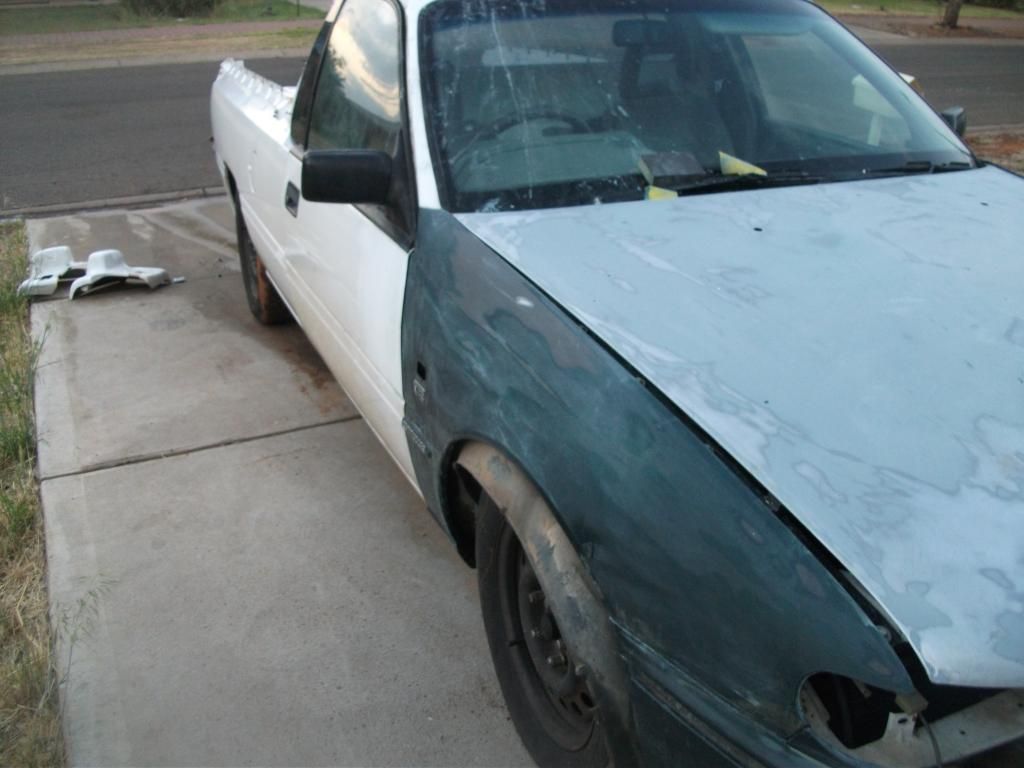
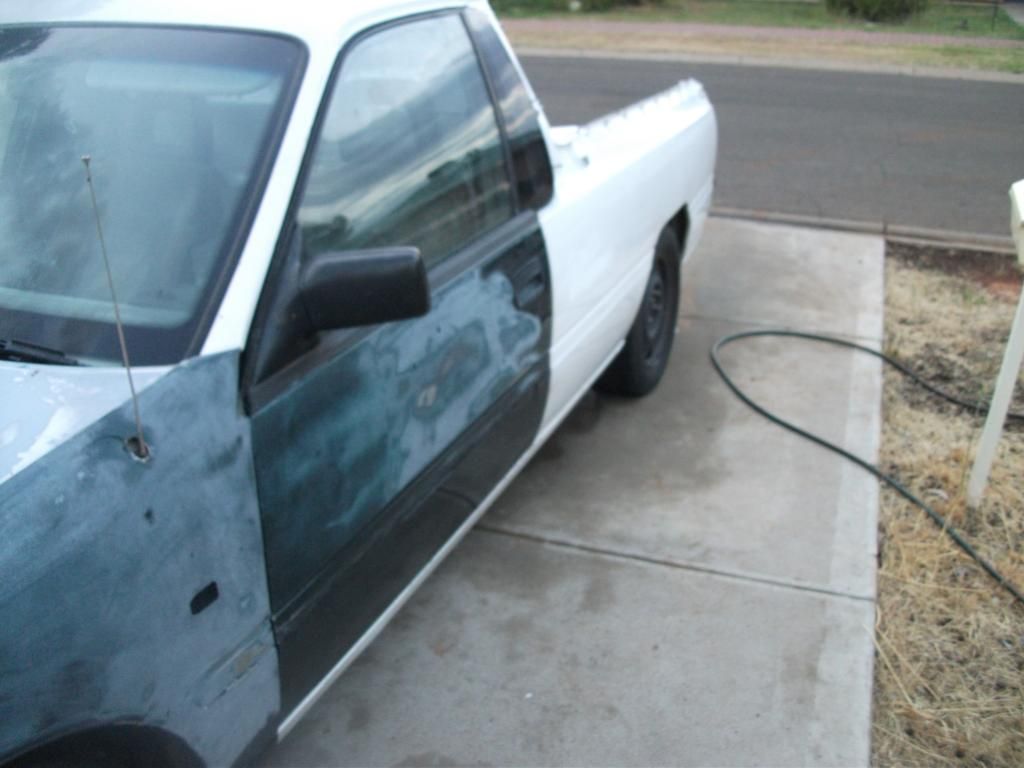
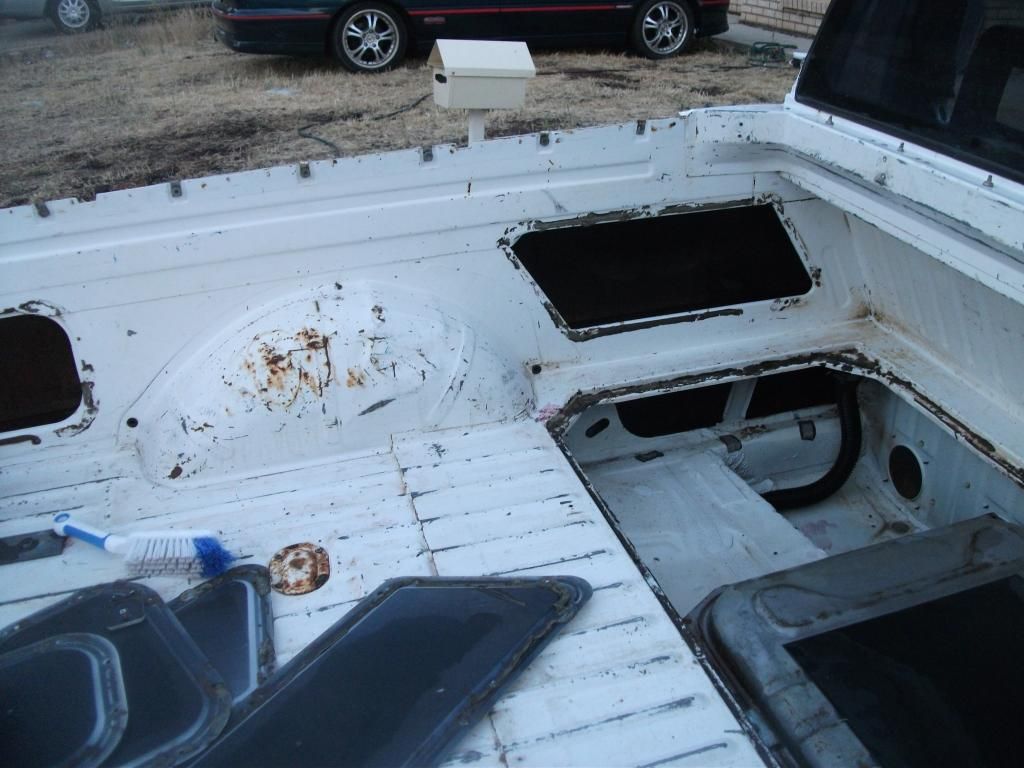
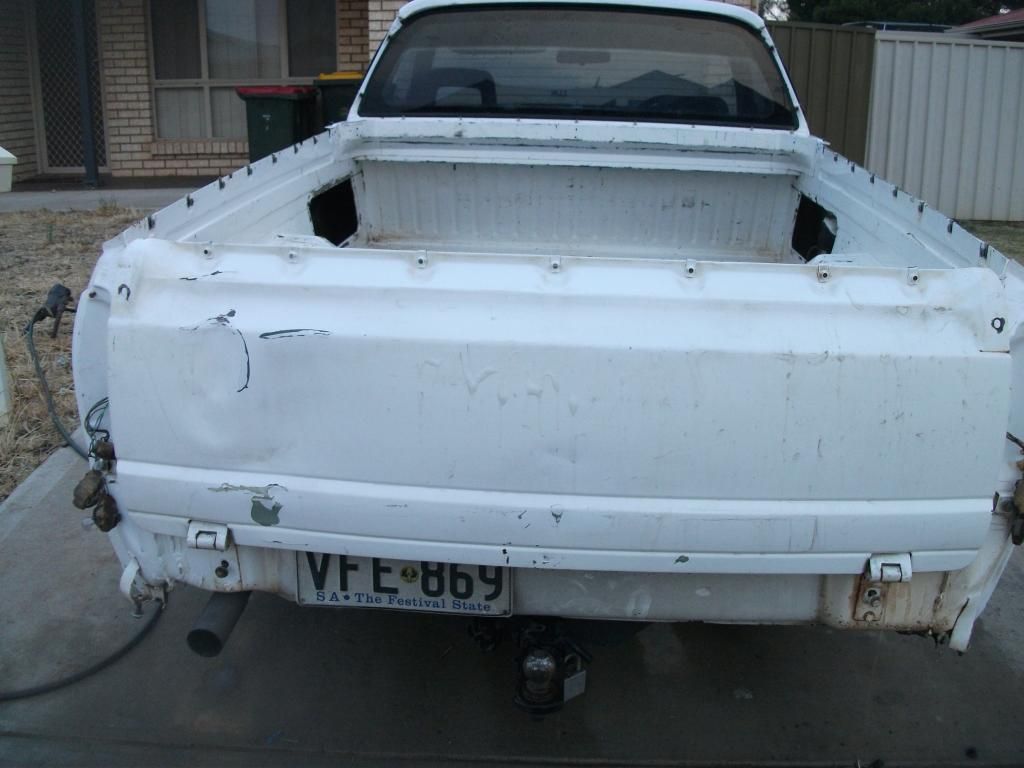
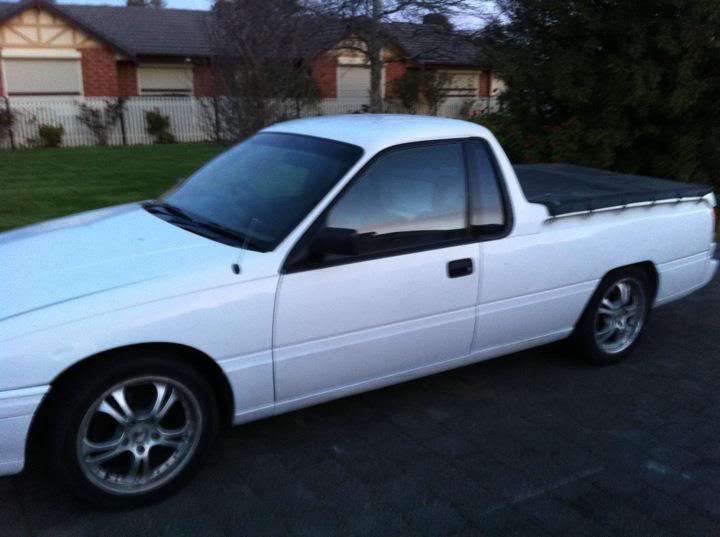
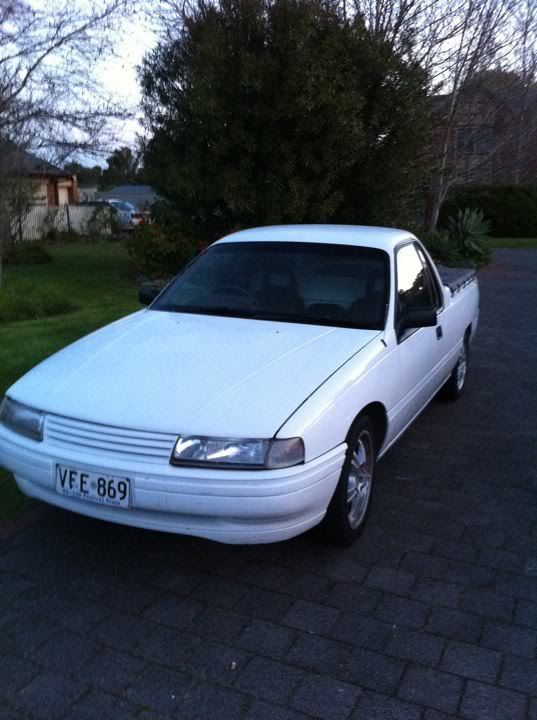
Couple of pics of the car when i first bought it, it looks straight in the photos, but its really not.

320481_2172316998836_1574120619_32168381_2024950_n.jpg


318460_2172316318819_1574120619_32168379_7418180_n.jpg
 

VSSS_5L

New Member
Joined
Oct 11, 2008
Messages
219
Reaction score
1
Points
0
Location
Adelaide
Members Ride
VS SS 5L
iphone054.jpg


So i chucked a green door on and figured i would just rattle can it white and leave it at that. But then i had an epiphany lol. So i started adding more green to the front end.


iphone056.jpg


Threw the bonnet on there too.


iphone057.jpg


One thing i learned when i was fitting up all these bits and pieces is that you need a vs reo bar to go behind the vs bumper, spewing that i've had two wrecks go through my yard and i never bothered to grab one off...just didn't realise i needed it...

Also...dont let your kids jump up and down on the panels you want to use in a future project... I have it all loosely bolted on to get a feel for how it looks and stuff but the front guards are well out of whack, and i think it will definately be easier to just grab a couple more from the u-pull-it around the corner. Hopefully its cheap enough to tie in with the low budget of this project.
 

VSSS_5L

New Member
Joined
Oct 11, 2008
Messages
219
Reaction score
1
Points
0
Location
Adelaide
Members Ride
VS SS 5L
The next step i started to tackle was the bonnet...Really had no idea what i was doing...was just aiming to try to get the bonnet to a uniform level. The 2pac clearcoat on this bonnet had started peeling like you see commonly, it started right in the middle and had made it almost all the way to the edge in most places, about 2inches of clear left at the back of the bonnet, and maybe a foot in places at the front of the bonnet.

iphone058.jpg


Went through quite a few phases at the start here, went from hand sanding to speedfiling to orbital sanding, all with like 120 grit paper and minimal success. 2pac clearcoat is rock hard and a complete bitch to even attempt to feather out at all...Everything around it kept going to bare metal whilst barely touching the clear at all.


The most effective method, in the end with the tools at my disposal was a paint scraper.


iphone059.jpg


iphone060.jpg


Finally.......

iphone061.jpg


Its ugly...there's exposed bare metal...the primer thats on there has scraper marks in it...not ideal but hey. Still not sure if i should just throw bog over bare metal for my small dent repairs, if i should get stuck into the bog on the bonnet or continue preparing the rest of the care and come back to bog later... I'm touching bare metal in all sorts of places so im going to invest in some rust coverter and stuff anyways.
 

VSSS_5L

New Member
Joined
Oct 11, 2008
Messages
219
Reaction score
1
Points
0
Location
Adelaide
Members Ride
VS SS 5L
The ute looks straight and clean in the 1st pics..

I know right, trust me when i say looks can be deceiving, there's not a straight panel on it the paint has lots of small chips and tonnes of small dents everywhere, theres a lot of dodgy rattle canned touch up paint down low (no prep just thrown on there i guess). The only real major damage is on the tailgate...like usual but believe me when i say the body is showing its age and status as a work ute.
 

VSSS_5L

New Member
Joined
Oct 11, 2008
Messages
219
Reaction score
1
Points
0
Location
Adelaide
Members Ride
VS SS 5L
Yesterday's contribution to the project.

iphone062.jpg


None of it is shop grade stuff im well aware, i was just perusing looking at stuff and found the compressor hose and spray guns in a deal for 199. Its not going to have to get much use at that price to pay for itself, i wish i could afford a billion cfm compressor and some bikini girls with sandpaper in their hands...but i cant.

Grabbed the random orbital sander at the same time. Kiiiind of wish i got an electric one. I grabbed it because its LPM usage was only about half of what the compressor is rated to put out...So i figured the compressor would have a 50% cycle or something...but the compressor doesn't turn off when i have the sander running. Which is fair enough i spose, i shouldn't be anal about it and just tuck my receipt and warranty away in a drawer and thrash the crap out of the sander and compressor both.
 

VSSS_5L

New Member
Joined
Oct 11, 2008
Messages
219
Reaction score
1
Points
0
Location
Adelaide
Members Ride
VS SS 5L
Picture of the crease in the passenger front quarter. I think i will just replace both front quarters with straight ones, they've gotten all bent out of shape when they were sitting around not on a car they're not really lining up well and they're not in perfect condition anyway. If i can get a couple more for cheap i might as well save myself some headache.
212.jpg


Not lining up...i've wrestled with the panel a bit...i think thats where the crease has come from

213.jpg


This is the best of 3 photos i took of where the passenger quarter panel meets the bumper, and its still crap quality.

216.jpg


So the point on the quarter basically points way out, and the bumper doesn't want to sit over it comfortably, it was an inch or more even further bent out but i wrestled with the panel a bit trying to straighten it a bit...ended up creasing it as u can see in previous photos.
 

VSSS_5L

New Member
Joined
Oct 11, 2008
Messages
219
Reaction score
1
Points
0
Location
Adelaide
Members Ride
VS SS 5L
So today i rolled it out into the sun and started stripping the back end nekkid. Found lots of years of ground in dust and spent ages with a hose some detergent and a brush just trying to clean all the bits that have never been cleaned.

217.jpg


220.jpg


219.jpg


Most of the places i have sanded i've really only been testing and messing around, i really haven't gotten down and dirty with the thing yet or really started prepping the panels properly...I was sort of aiming to try to get all the green panels sorted first and then start on the back end white stuff...but i keep skipping all over the car doing a little bit here a little bit there just sussing stuff out...I really should stop doing that and get focused lol....Damn amateur.
 

VSSS_5L

New Member
Joined
Oct 11, 2008
Messages
219
Reaction score
1
Points
0
Location
Adelaide
Members Ride
VS SS 5L
So the inside of the tray is hammered, the ute has been worked its whole life and at some point without a tub liner i assume. There is even little holes where buttons have been used to hold down a different sort of cover but the tub liner covers them over too so i probably wont bother trying to fill them and get that perfect, as it will never be seen. Its still going to be a work ute, and it will always have a tub liner in it.

So im thinking about trying to do something different in the tray to the rest of it...Im not really sure what my options are exactly...perhaps someone might be able to help me out or give me further information...about the possibility of just using brush on underbody deadener, or something similar inside the tray. The only prep im going to do inside the tray is rough it up and get rid of the rust...The finish is completely unimportant as it will never be seen, i just want it to be tough and rust resistant, some sound deadening would just be a bonus (possibly)

221.jpg
 

VSSS_5L

New Member
Joined
Oct 11, 2008
Messages
219
Reaction score
1
Points
0
Location
Adelaide
Members Ride
VS SS 5L
Right then. As i only really started on this a week ago, we are now up to date. So I will try to continue taking pics as i move along with the project, as a record for myself and possibly as a reference for other aspiring backyarders to use as either a guide or a "how not to do it".

Just wanted to throw up a few pictures of the worst dent in the car, of course its on the tailgate and of course its right on the bodyline... If anyone has some beating(panel) experience any advice on possible ways to tackle the problem would be very helpful. Replacing the tailgate i believe will be outside of my budget, as straight ones would be rare as hens teeth and expensive as. Also...to anyone not aware there's no access to the back of the dent...the tailgate is like an unopened coke can...no way in.

Lots of different angled photos of the dent to give you an idea of what im working with

From a few metres back
222.jpg


Up closer
223.jpg


Size reference
225.jpg


Looking across the dent
226.jpg


Looking down on the dent
224.jpg
 
Top