h1tek
Member
- Joined
- Jan 30, 2015
- Messages
- 38
- Reaction score
- 6
- Points
- 8
- Location
- Townsville
- Members Ride
- VF SV6 Sportwagon
I have an SV6 Wagon, and lets face it the standard 4 speaker system is crap. I needed something better quality. So I decided to replace the speakers, with better quality units, hoping this would be enough to make the stereo sound half decent. I couldn't find any guide's, so decided I should make one.
I bought a set of Alpine type-S 6.5" component speakers, a 2 door dynamat kit, and a supercheap auto panel / trim remover tool set. (other tools required, socket set, torx bits, phillips head screwdriver, stanly knife, pliers)
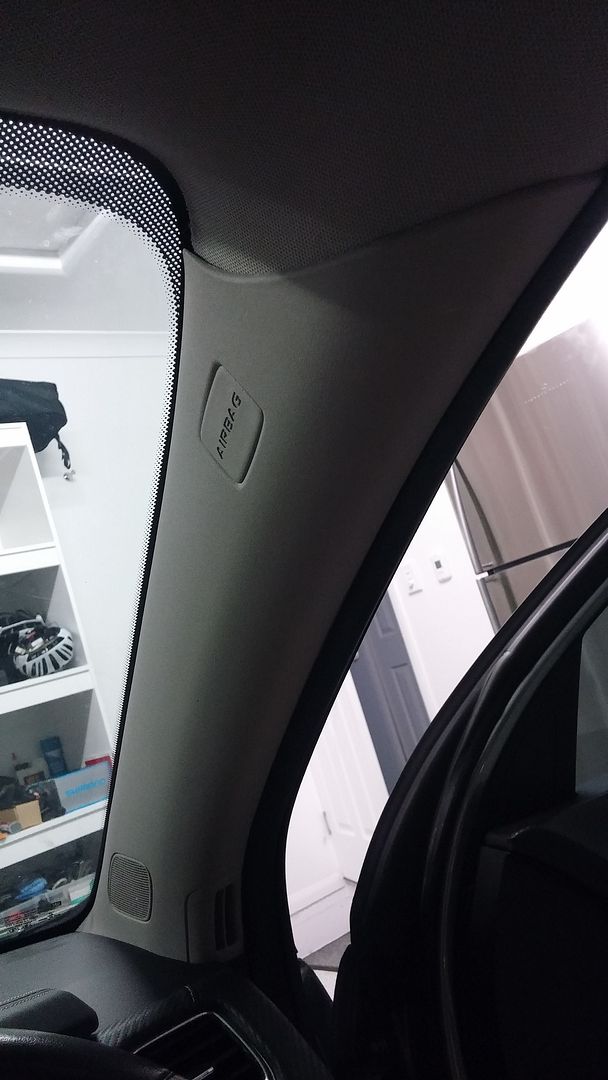
First step is removing the panels. The workshop guide explains everything here page 724 - 730 to memory. You need to remove the A-Pillars, as the tweeters have moved from the dash (in the VE) to the A-Pillars which actually makes the job easier.
First Pull down on the top of the A pillars until you can see in the gap at the top.
you will see a little clip, undo the clip, then there is only a couple of pressure clips holding it in place. Next just pull the panel off the A-Pillar.
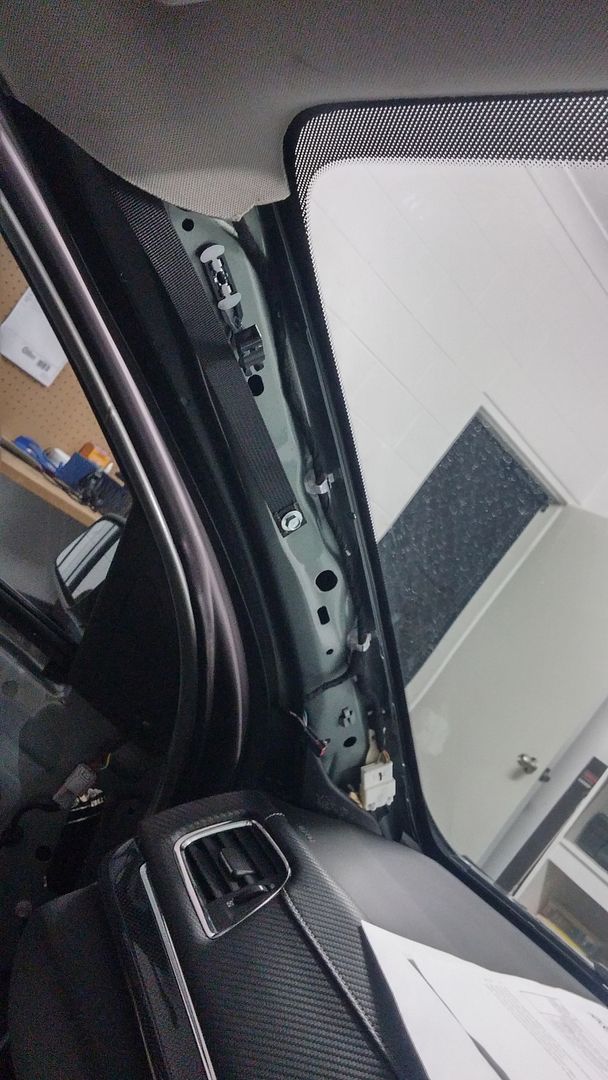
pic of the clip
The tweeter is held to the panel, via a plastic groove, it just pops out,

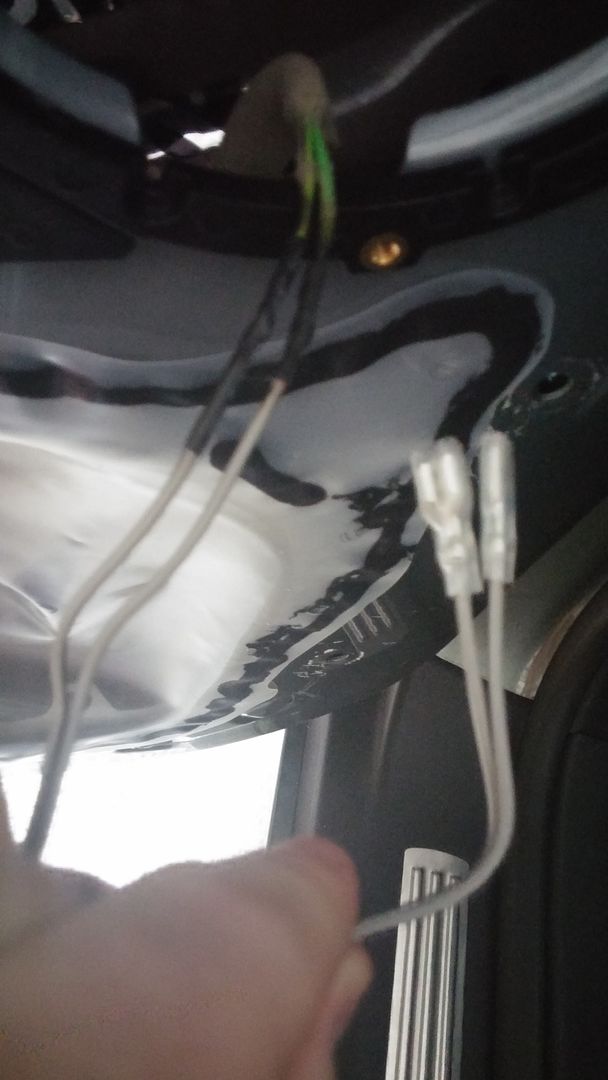
once out there is no easy way to fit the new tweeter. I just put the new tweeter where the old one was and used a hot glue gun, and glued it to the panel. hot glue remains flexible when cooled, so should last permanently. Then instead of trying to route the new tweeter cables down into the door, which looked like a pain in the ass, I just cut the connector off the OEM tweeter cables, and soldered all the wires together, using the existing cables is much easier.

There is a bit of excess wiring here, but I just stuck it all to the panel to save soldering time.
Next is the front doors, the rubber lining of the pull handle comes out easily, then there is a torx bit to undo. then remove the shiny plastic console, by pulling up on the square cut out at the back. then pop out the trim behind the door handle, you have to pop it out from the top. i had to use a Stanley knife. then you will have to undo 3 7mm bolts, using a socket set. and 2 Phillips head screws along the bottom of the door. This is on page 724 of the workshop manual, so I didnt take any pics.
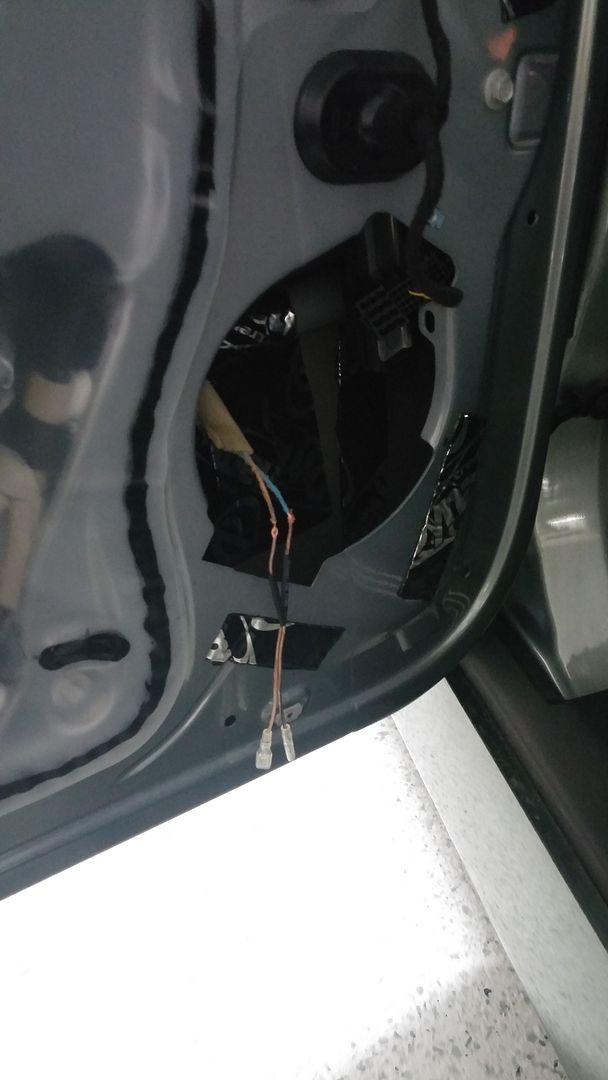
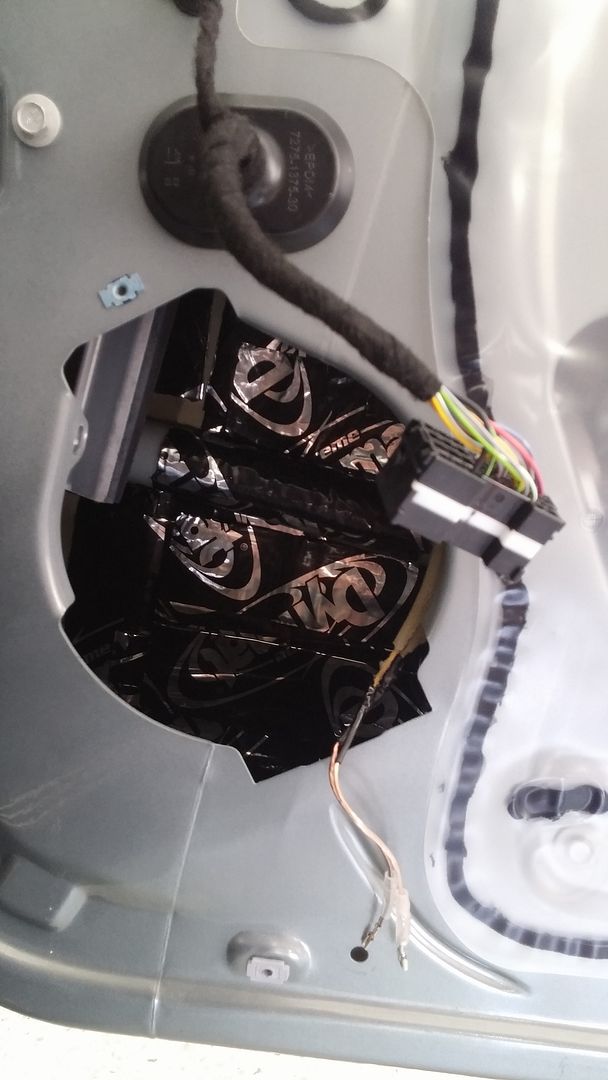
from here it is all clips, So I used a plastic trim remover tool to carefully go around the door and pop them all out. next you lift the door, and disconnect the plugs and cable from the back of the door panel.
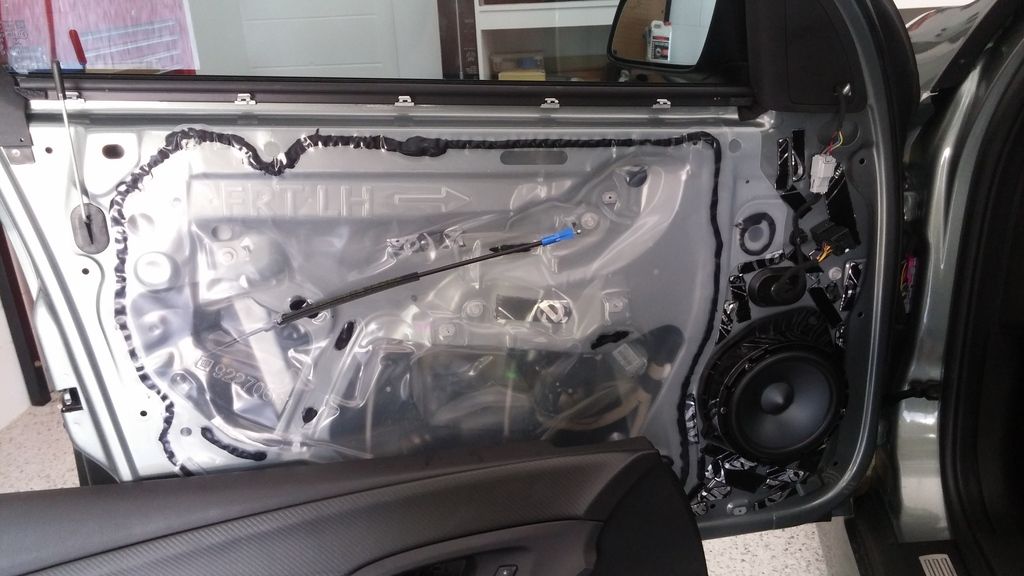
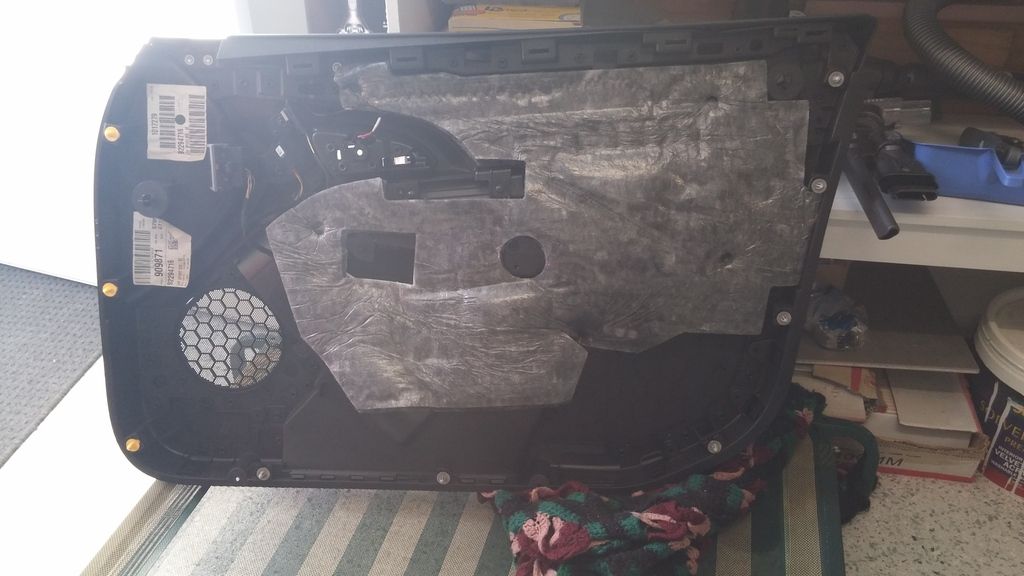 Door Trim Removed, you can see all of the clips.
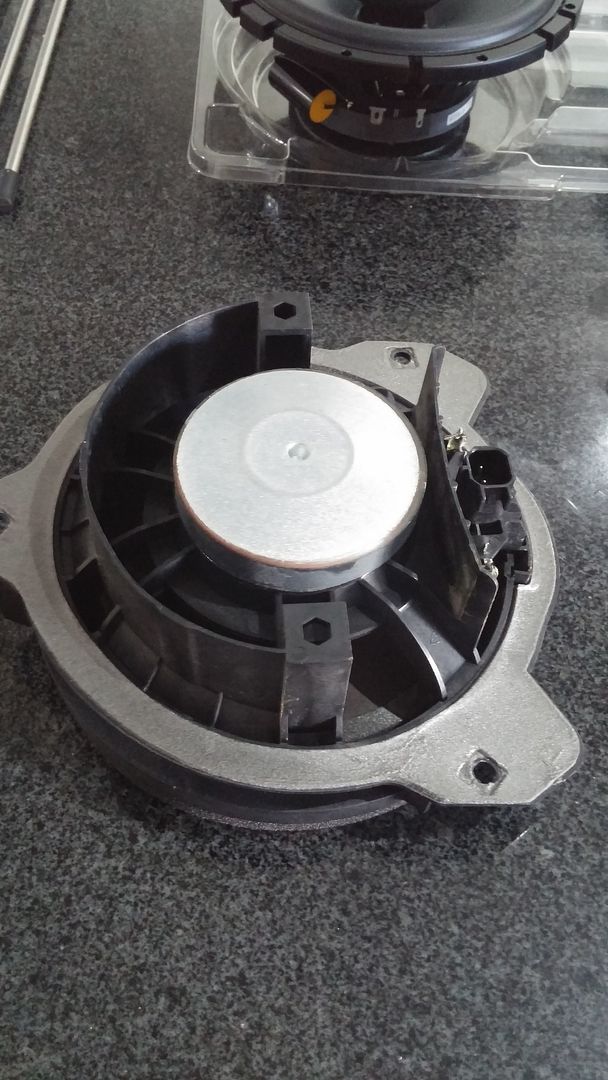
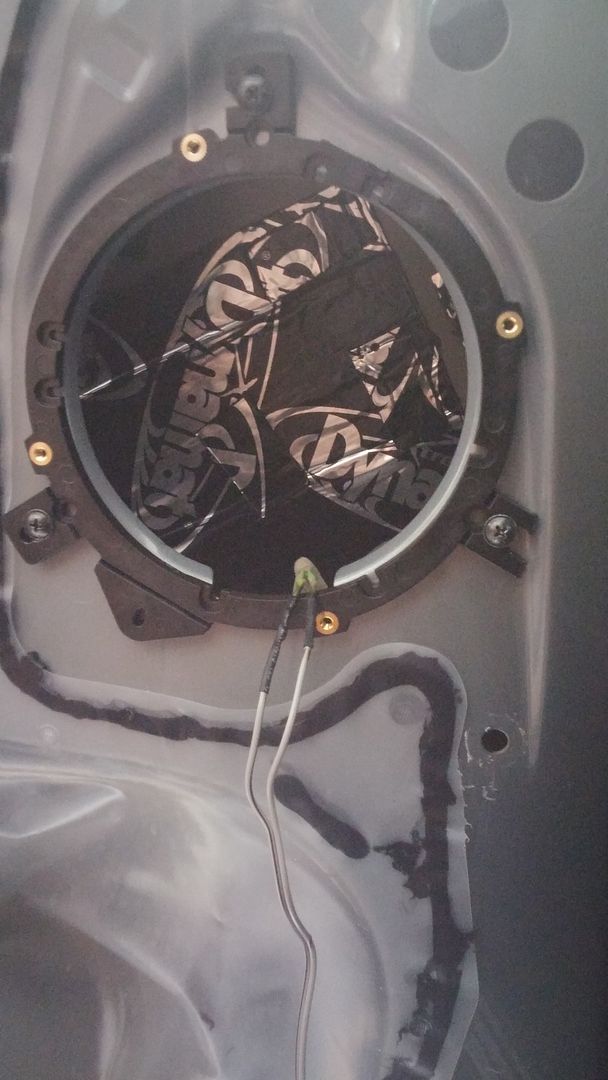
Now the trim is off. you can disconnect the speaker, it is held in place by 1 philips head screw, undo this and then pull it out of the door, disconnect the cable from the back of the speaker.
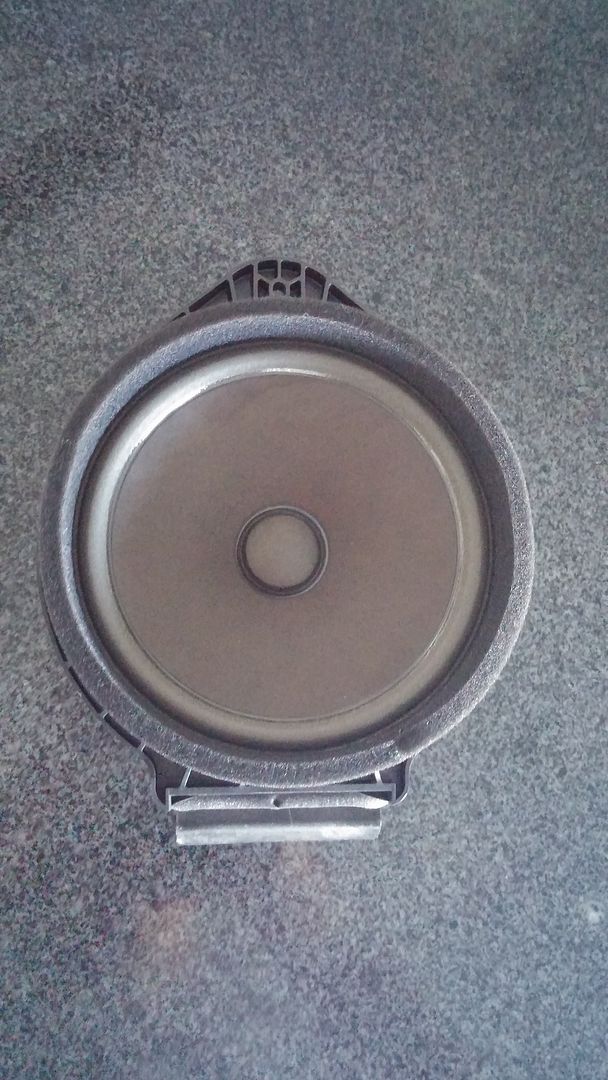
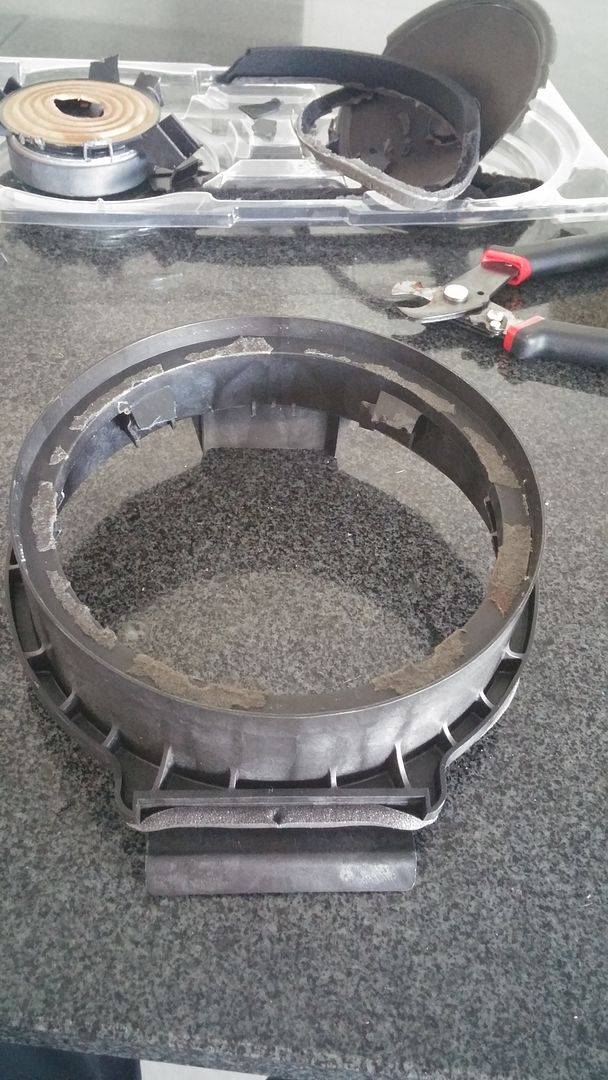
Unlike all previous commodores, the front door speakers, are part of the speaker moulding, and due to the 1 crew design, there is no easy way to replace the speaker. SO I got out my stanley knife and pliers and cut the guts out of the oem speaker, until I was left with basically a round shell.
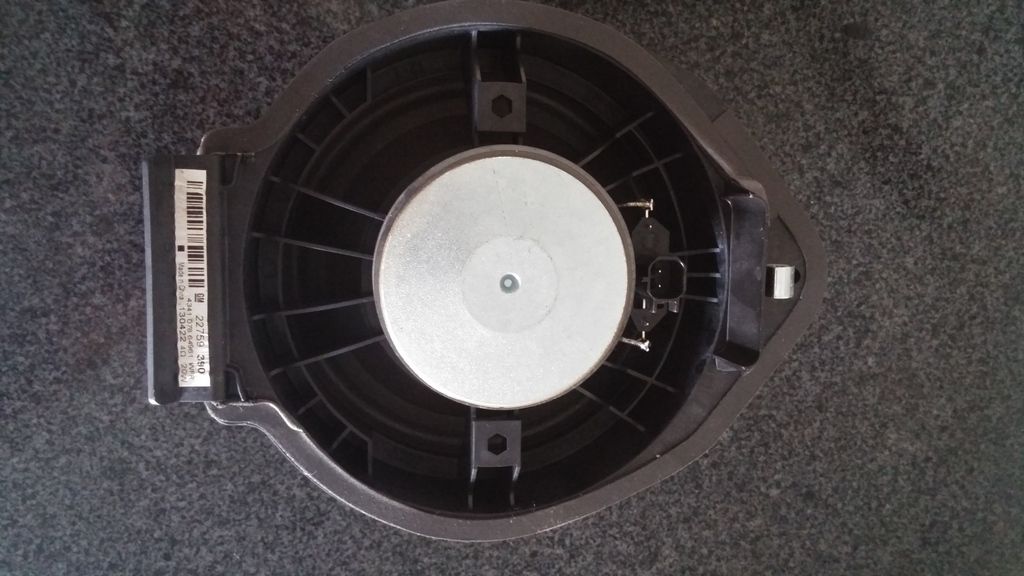
From Here I positioned my new speakers over the top, and simply screwed them into the existing frame. then I covered the frame in dynamat for extra sound deadening. Next I cut off the connecters off the oem speaker wiring and soldered on some standard speaker connectors (I actually removed them from the tweeters, as I soldered the tweeters direct to the existing cables). There is probably better methods for attaching the speakers to the door, but I was time limited and had no MDF to screw to the door panel.

just prior to soldering.
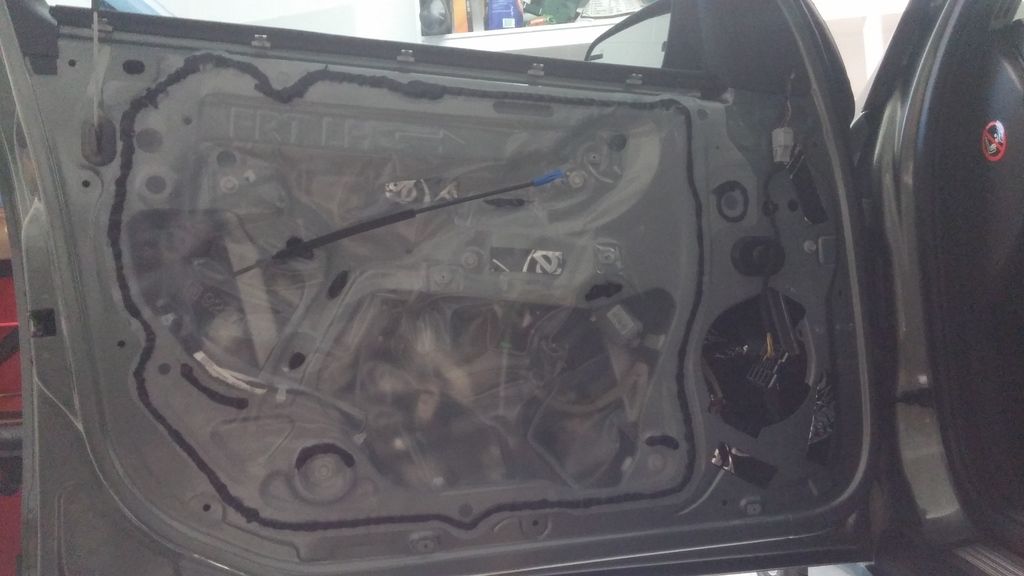
Next I decided to use dynamat, to sound deaden the doors (I hate the sound of rattling doors). I purchased a 2 door kit, and spread it out over all 4 doors. The first step here is removing the plastic weather guard from the door frame, by running a stanley knife along the black glue. next spray isopropyl alcohol or similar everywhere to remove dirt and grease from the panels and dry.

Then Cut up the dynamat into strips. I find no real difference between covering the whole inside of the door, or using strips, so I kept adding strips until knocking on any part of the door produced more of a "dull thud" and put 2-3 layers behind the speaker itself. this took much longer than it sounds, probably closer to an hour per door (in between beverages).
Next step is to put everything back together.
The rear doors are pretty similar except the speaker bracket is held in with 3 screws not one. This is good as the speaker frame, that came in the speaker box, fit these 3 holes perfectly, so I just removed the old speakers and put the brackets and speakers in place, removing the old connector and soldering on the new connectors as per the front speakers
 .
.
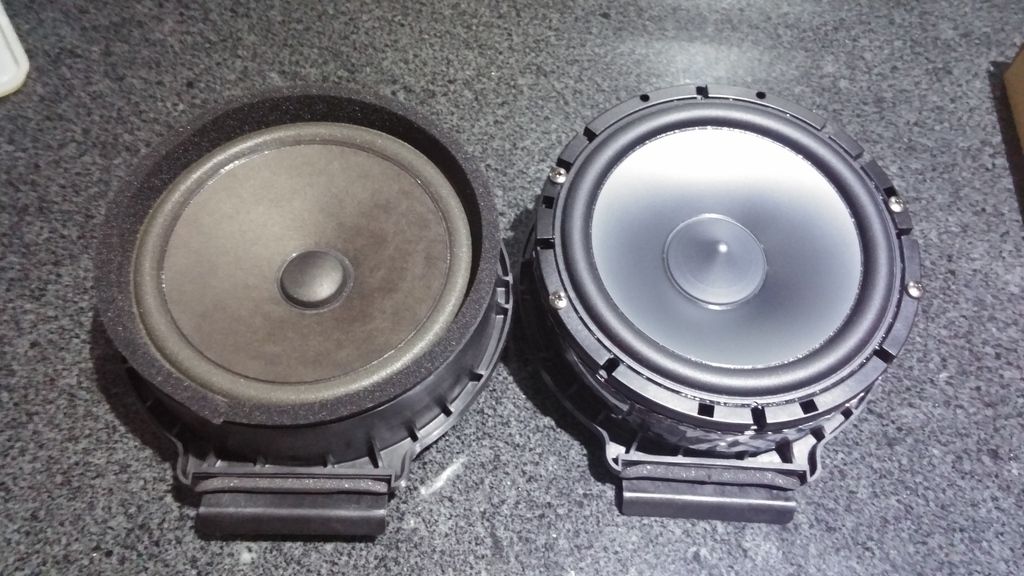
Old vs New
End result, Much better sound quality, very impressed with the difference, and there is no rattle in the doors at all, or maybe just a little at volumes higher than I would listen to. very glad I did it. The speakers take a few hours to burn in, and there is some static / rattle for the first 3-4 hours use. but after they are worn in they have a really nice sound and good bass for the price range
Component speakers - $110 Ebay
Rear Speakers - $74 Ebay
Dynamat - $70 Ebay
Total cost - $250 and my time.
I bought a set of Alpine type-S 6.5" component speakers, a 2 door dynamat kit, and a supercheap auto panel / trim remover tool set. (other tools required, socket set, torx bits, phillips head screwdriver, stanly knife, pliers)
First step is removing the panels. The workshop guide explains everything here page 724 - 730 to memory. You need to remove the A-Pillars, as the tweeters have moved from the dash (in the VE) to the A-Pillars which actually makes the job easier.
First Pull down on the top of the A pillars until you can see in the gap at the top.

you will see a little clip, undo the clip, then there is only a couple of pressure clips holding it in place. Next just pull the panel off the A-Pillar.

pic of the clip
The tweeter is held to the panel, via a plastic groove, it just pops out,

once out there is no easy way to fit the new tweeter. I just put the new tweeter where the old one was and used a hot glue gun, and glued it to the panel. hot glue remains flexible when cooled, so should last permanently. Then instead of trying to route the new tweeter cables down into the door, which looked like a pain in the ass, I just cut the connector off the OEM tweeter cables, and soldered all the wires together, using the existing cables is much easier.

There is a bit of excess wiring here, but I just stuck it all to the panel to save soldering time.
Next is the front doors, the rubber lining of the pull handle comes out easily, then there is a torx bit to undo. then remove the shiny plastic console, by pulling up on the square cut out at the back. then pop out the trim behind the door handle, you have to pop it out from the top. i had to use a Stanley knife. then you will have to undo 3 7mm bolts, using a socket set. and 2 Phillips head screws along the bottom of the door. This is on page 724 of the workshop manual, so I didnt take any pics.
from here it is all clips, So I used a plastic trim remover tool to carefully go around the door and pop them all out. next you lift the door, and disconnect the plugs and cable from the back of the door panel.
 Door Trim Removed, you can see all of the clips.
Now the trim is off. you can disconnect the speaker, it is held in place by 1 philips head screw, undo this and then pull it out of the door, disconnect the cable from the back of the speaker.

Unlike all previous commodores, the front door speakers, are part of the speaker moulding, and due to the 1 crew design, there is no easy way to replace the speaker. SO I got out my stanley knife and pliers and cut the guts out of the oem speaker, until I was left with basically a round shell.


From Here I positioned my new speakers over the top, and simply screwed them into the existing frame. then I covered the frame in dynamat for extra sound deadening. Next I cut off the connecters off the oem speaker wiring and soldered on some standard speaker connectors (I actually removed them from the tweeters, as I soldered the tweeters direct to the existing cables). There is probably better methods for attaching the speakers to the door, but I was time limited and had no MDF to screw to the door panel.


just prior to soldering.
Next I decided to use dynamat, to sound deaden the doors (I hate the sound of rattling doors). I purchased a 2 door kit, and spread it out over all 4 doors. The first step here is removing the plastic weather guard from the door frame, by running a stanley knife along the black glue. next spray isopropyl alcohol or similar everywhere to remove dirt and grease from the panels and dry.

Then Cut up the dynamat into strips. I find no real difference between covering the whole inside of the door, or using strips, so I kept adding strips until knocking on any part of the door produced more of a "dull thud" and put 2-3 layers behind the speaker itself. this took much longer than it sounds, probably closer to an hour per door (in between beverages).

Next step is to put everything back together.

The rear doors are pretty similar except the speaker bracket is held in with 3 screws not one. This is good as the speaker frame, that came in the speaker box, fit these 3 holes perfectly, so I just removed the old speakers and put the brackets and speakers in place, removing the old connector and soldering on the new connectors as per the front speakers
 .
. 
Old vs New
End result, Much better sound quality, very impressed with the difference, and there is no rattle in the doors at all, or maybe just a little at volumes higher than I would listen to. very glad I did it. The speakers take a few hours to burn in, and there is some static / rattle for the first 3-4 hours use. but after they are worn in they have a really nice sound and good bass for the price range
Component speakers - $110 Ebay
Rear Speakers - $74 Ebay
Dynamat - $70 Ebay
Total cost - $250 and my time.
 *jokes