djdomohudson
Mad frogs
- Joined
- Aug 7, 2012
- Messages
- 213
- Reaction score
- 3
- Points
- 18
- Location
- Werribee, VIC
- Members Ride
- VE Omega Sedan / VE International Sportwagon
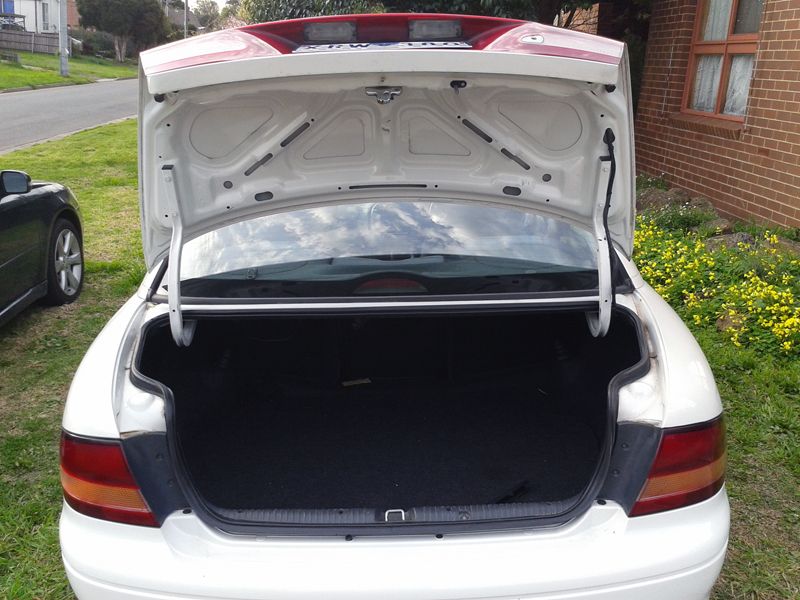
I was having a bash today at seeing if I could remove the garnish from the boot of my VT and I got it no worries at all. So if you're a bit DIY-shy, this should help a lot.
This guide is good for cleaning out all the muck behind there, and also for any mods you might want to apply to the garnish, such as painting it or whatever.
So here goes.
Step 1 Pop the boot and open it fully.
Step 2 Identify four bolts. Two at either side of the boot lid near the edge.
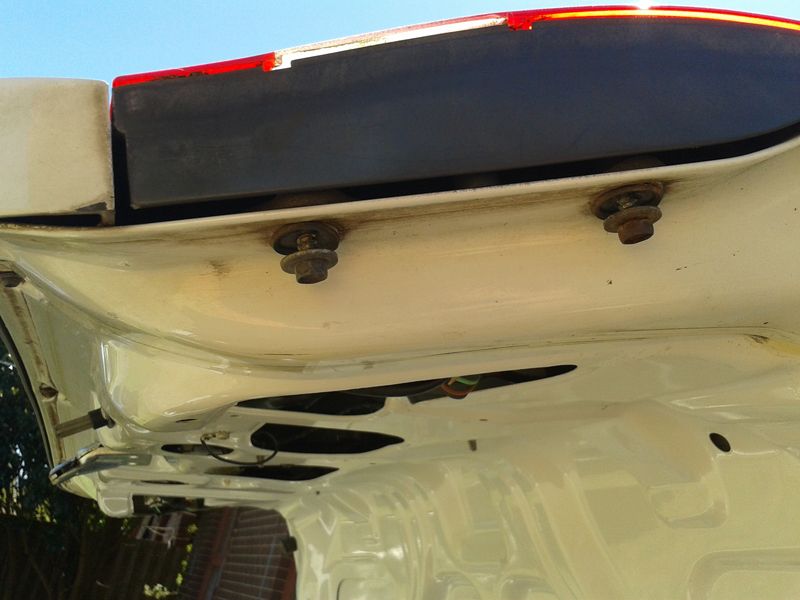
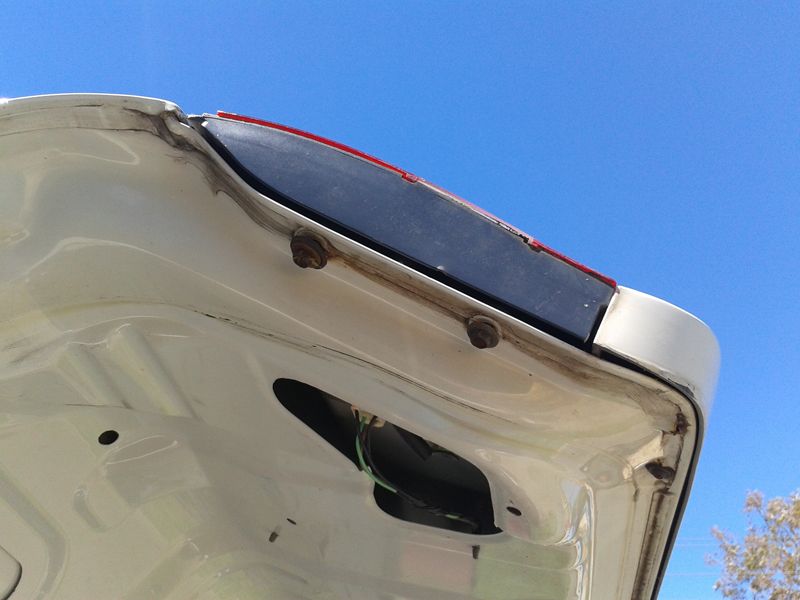
Unscrew them and keep them in a safe place, like a plastic dish etc.
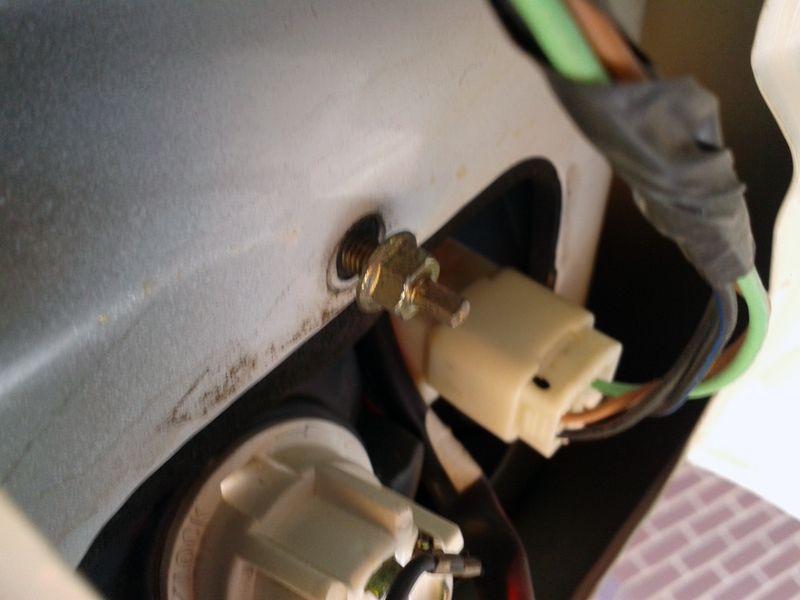
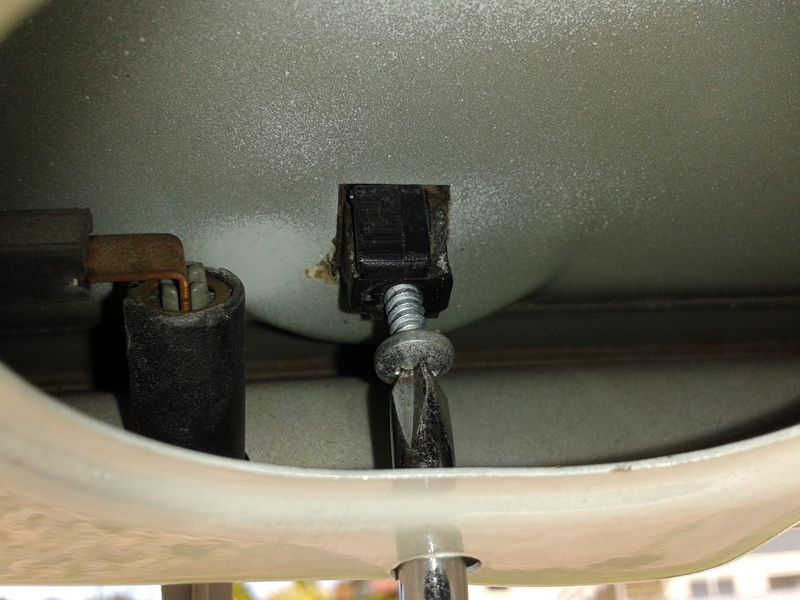
Step 3 Identify two smaller gold coloured bolts. They are just on the inside of where the plugs for your reverse light bulbs are. There is one on either side. Unscrew the nut until it comes off the bolt. The bolt is fixed to the outer garnish.
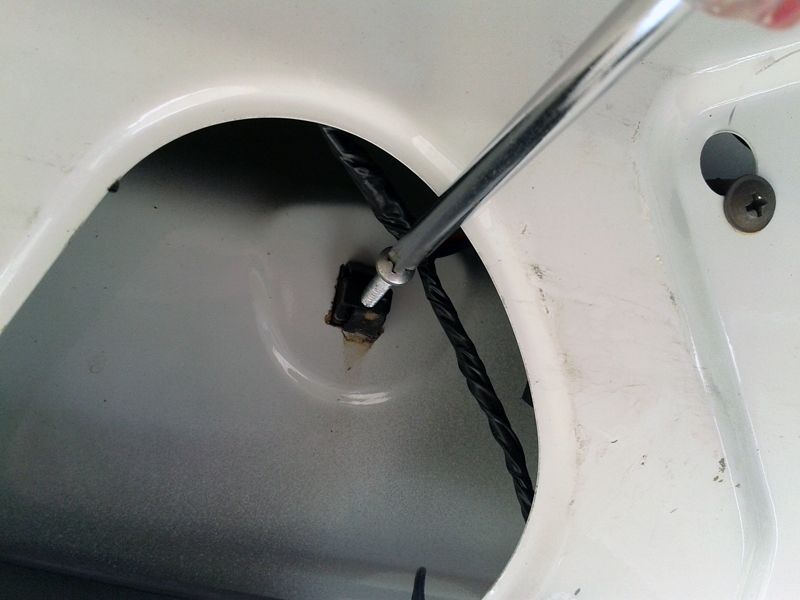
Step 4 Identify four silver screws inside the boot lid. Two are more visible than the others. They are screwed into black clips. The first is the easiest to get at. I sat inside the boot and looked up at the lid from the inside. It is just to the right of the reverse lamp on your left in a trianglular hole.
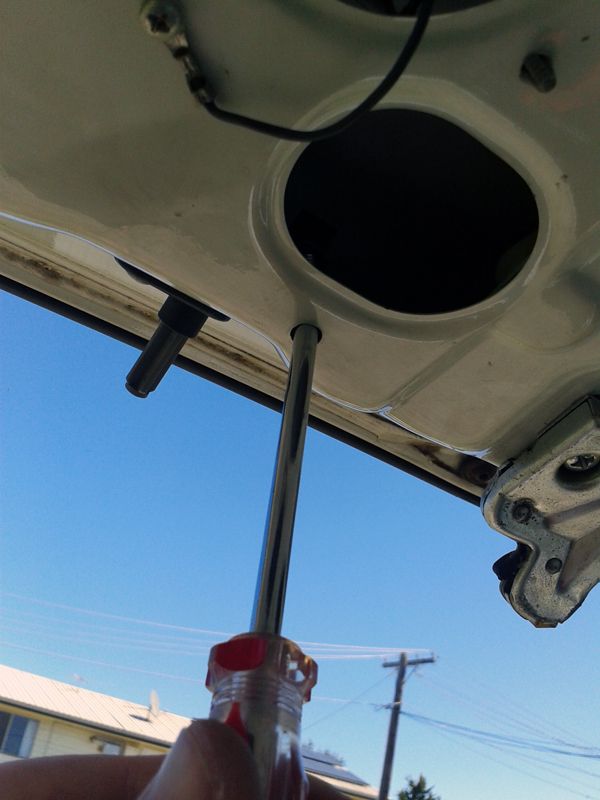
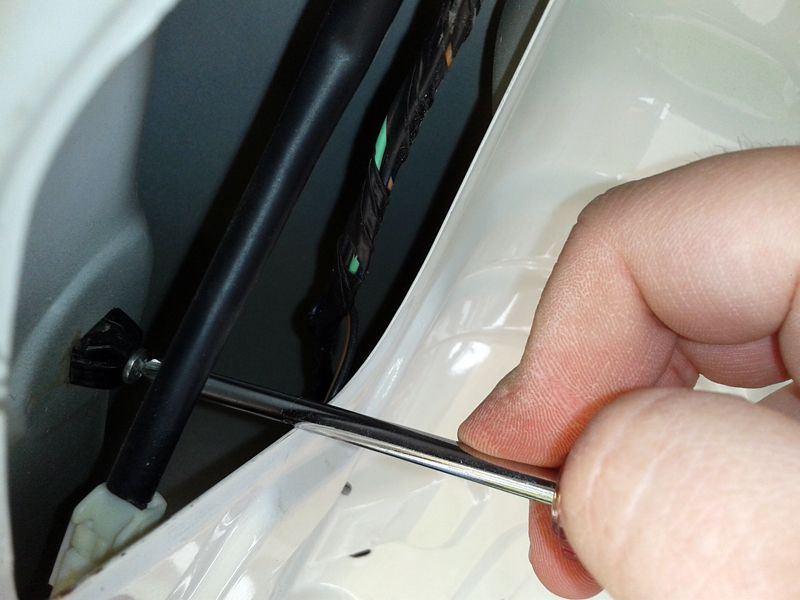
The next one is behind a little hole just left of the lock. You'll have to poke through a fairly skinny screw driver to get it out like so:
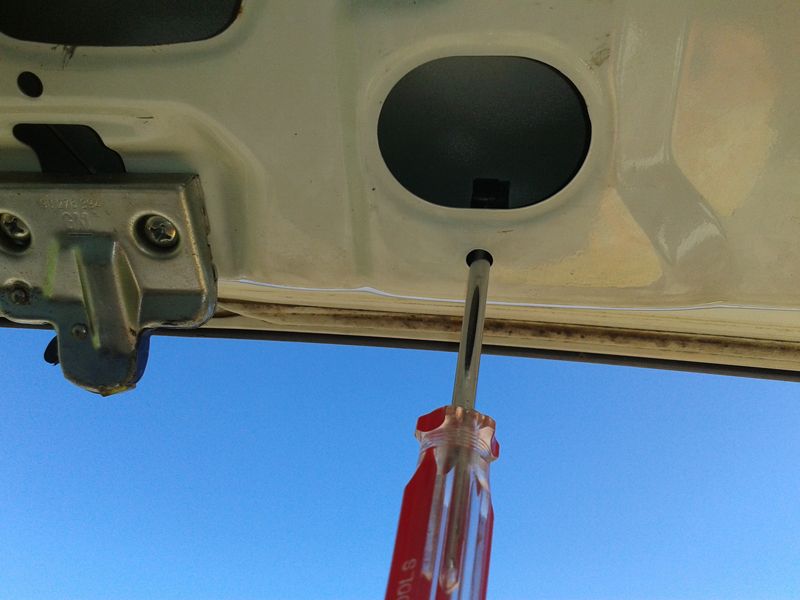
The third is behind a little hole to the right of the lock. Same again.
The fourth is a pain because it is just beyond the metal lip. You can get to it with the screwdriver on an angle. If you can slacken it a few turns then the rest of it will come out with your hand.

Step 5 Disconnect the electrical plugs from the reverse lamp bracket.
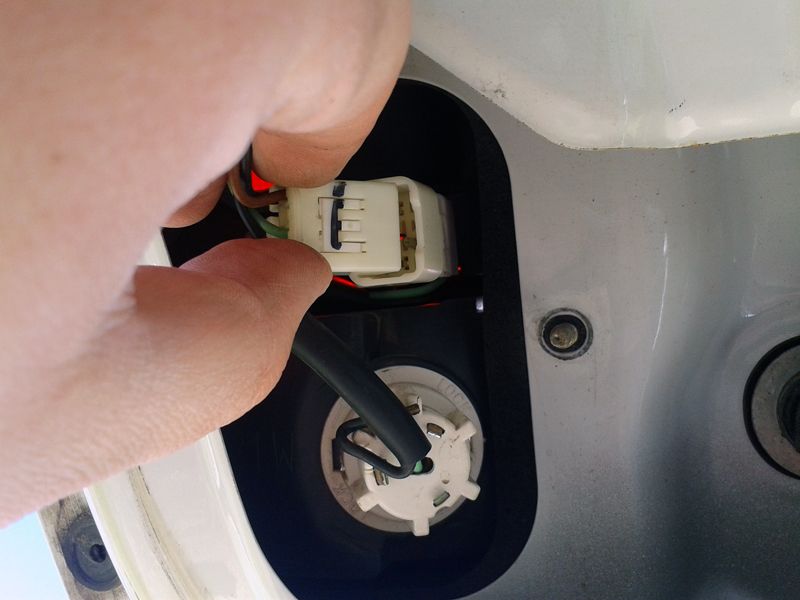
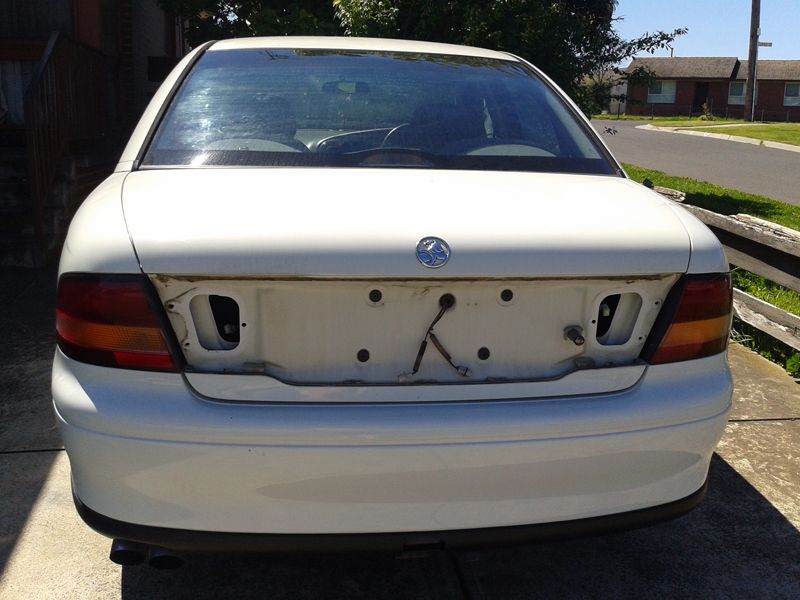
Step 6 You can now lift up the garnish. Stand next to the boot lid and lift it from one side. It should practically fall out. You'll then need to remove the registration plate globes by twisting their harness a quarter turn and pulling straight out.
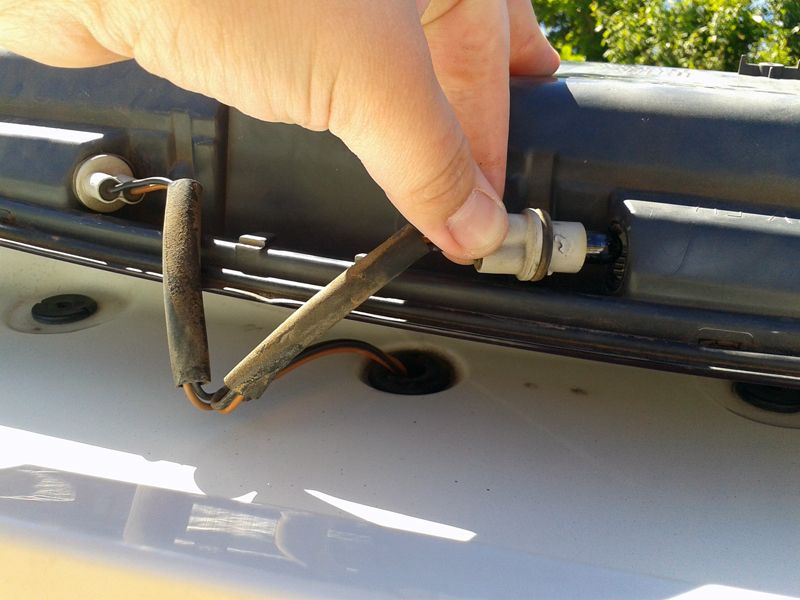
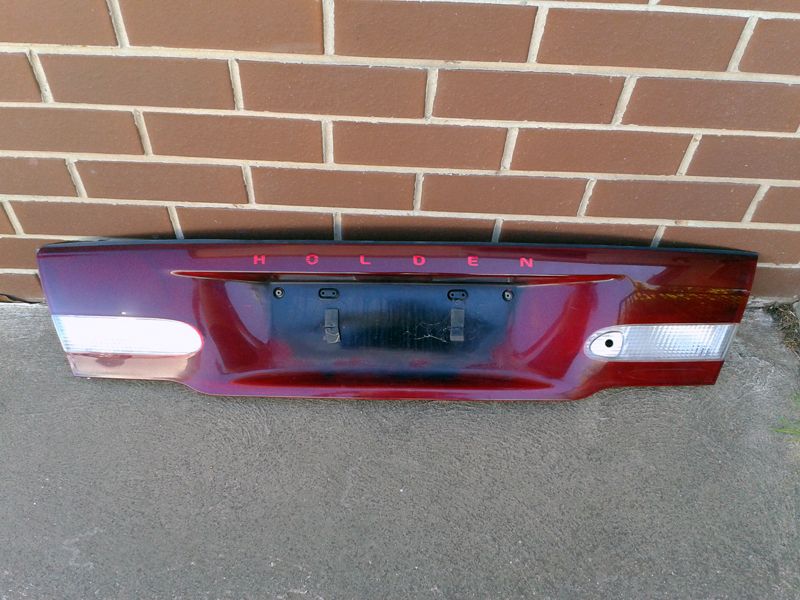
Then you will have your garnish free of the car. Take off your number plate then give it a good clean. Make sure not to get any water in or near your electrics.
NOTE: It may be wise to remove the reverse lamps from their sockets before you start man-handling the garnish
Reverse all of these steps to adequately reinstall your garnish after you're done.
Mad frogs.
This guide is good for cleaning out all the muck behind there, and also for any mods you might want to apply to the garnish, such as painting it or whatever.
So here goes.
Step 1 Pop the boot and open it fully.
Step 2 Identify four bolts. Two at either side of the boot lid near the edge.
Unscrew them and keep them in a safe place, like a plastic dish etc.
Step 3 Identify two smaller gold coloured bolts. They are just on the inside of where the plugs for your reverse light bulbs are. There is one on either side. Unscrew the nut until it comes off the bolt. The bolt is fixed to the outer garnish.
Step 4 Identify four silver screws inside the boot lid. Two are more visible than the others. They are screwed into black clips. The first is the easiest to get at. I sat inside the boot and looked up at the lid from the inside. It is just to the right of the reverse lamp on your left in a trianglular hole.
The next one is behind a little hole just left of the lock. You'll have to poke through a fairly skinny screw driver to get it out like so:
The third is behind a little hole to the right of the lock. Same again.
The fourth is a pain because it is just beyond the metal lip. You can get to it with the screwdriver on an angle. If you can slacken it a few turns then the rest of it will come out with your hand.
Step 5 Disconnect the electrical plugs from the reverse lamp bracket.
Step 6 You can now lift up the garnish. Stand next to the boot lid and lift it from one side. It should practically fall out. You'll then need to remove the registration plate globes by twisting their harness a quarter turn and pulling straight out.
Then you will have your garnish free of the car. Take off your number plate then give it a good clean. Make sure not to get any water in or near your electrics.
NOTE: It may be wise to remove the reverse lamps from their sockets before you start man-handling the garnish
Reverse all of these steps to adequately reinstall your garnish after you're done.
Mad frogs.
Last edited:
.jpg")