Welcome to Just Commodores, a site specifically designed for all people who share the same passion as yourself.
You are using an out of date browser. It may not display this or other websites correctly.
You should upgrade or use an alternative browser.
You should upgrade or use an alternative browser.
Rusty 66 Chevelle Project
- Thread starter 383 hatch
- Start date
383 hatch
Well-Known Member
- Joined
- Jun 14, 2005
- Messages
- 3,922
- Reaction score
- 67
- Points
- 48
- Age
- 41
- Location
- Cowes, Phillip Island
- Members Ride
- VG Ute 5.0,Torana hatch 383,WB Ute 5.0,VR stato5.0
Ok, some progress today. It's going along quiet nicely.
This morning i cut out the majority of the R/H floorpan, same as i did yesterday with the L/H side.

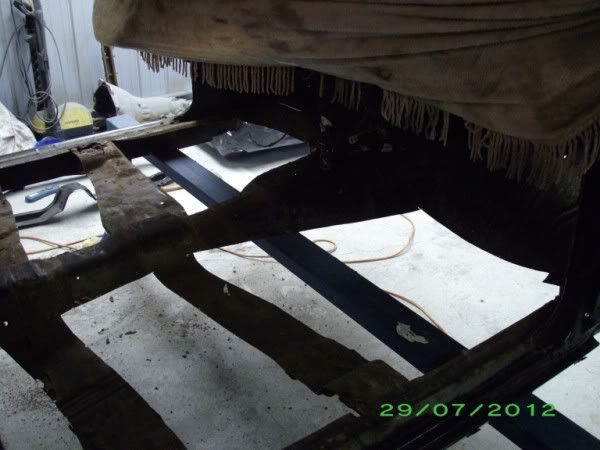
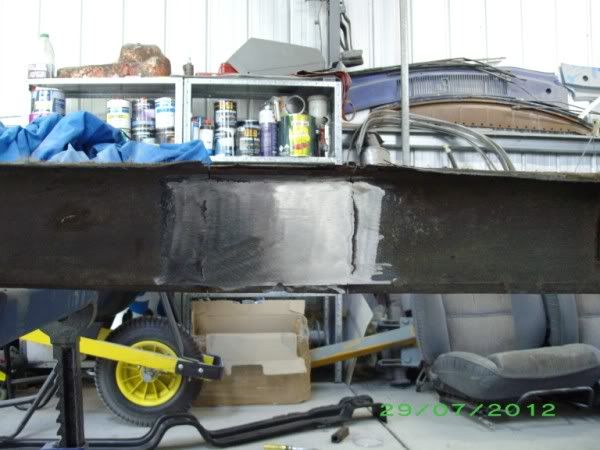
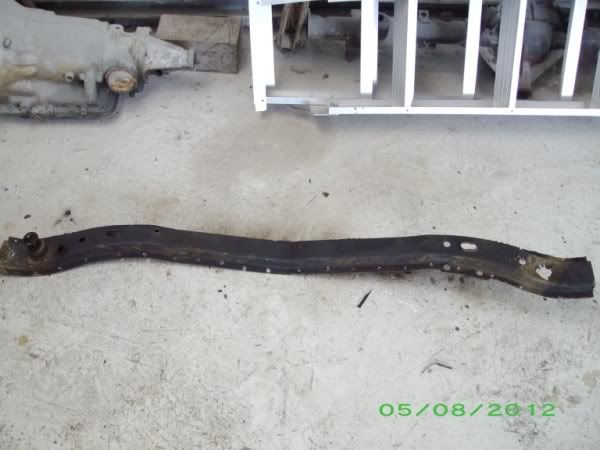
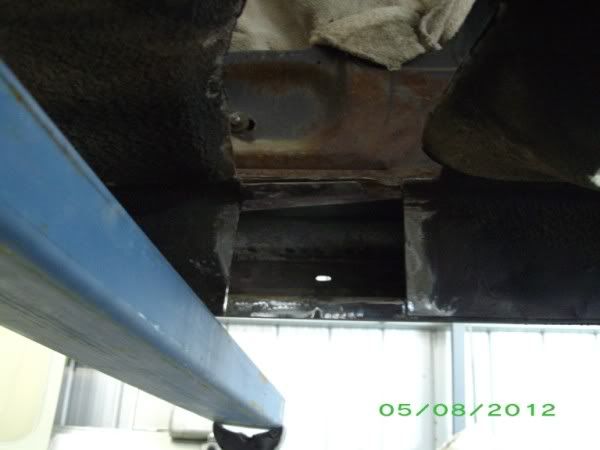
With that done, i moved onto the body braces/mounts. I started with the front one first, i did them one at a time to allow me to take measurements and get them square. Also to stop the body moving around. Chevrolet were nice enough to put divots in the sill panels where the body braces are, that made it easier to get them in the right spot too.
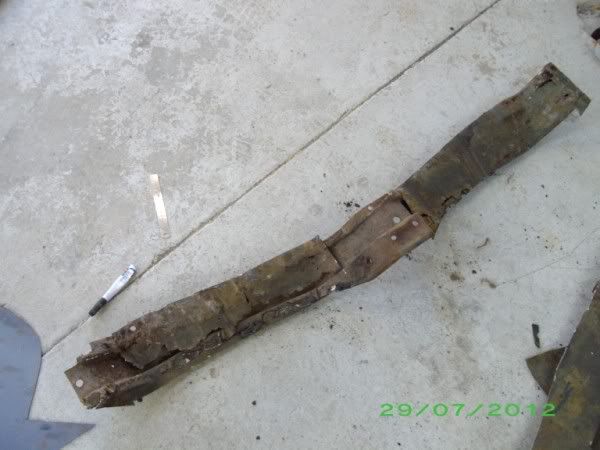
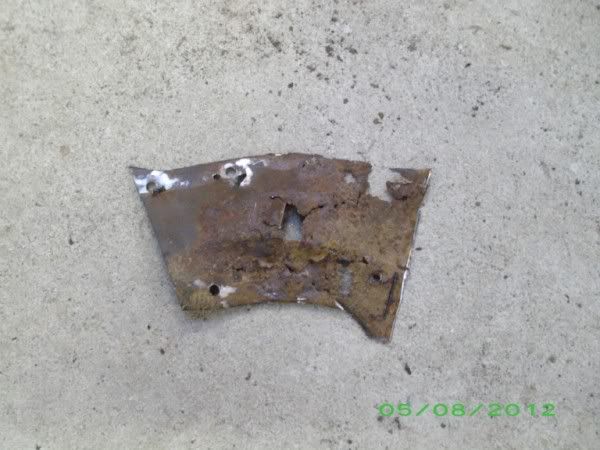
Removed.
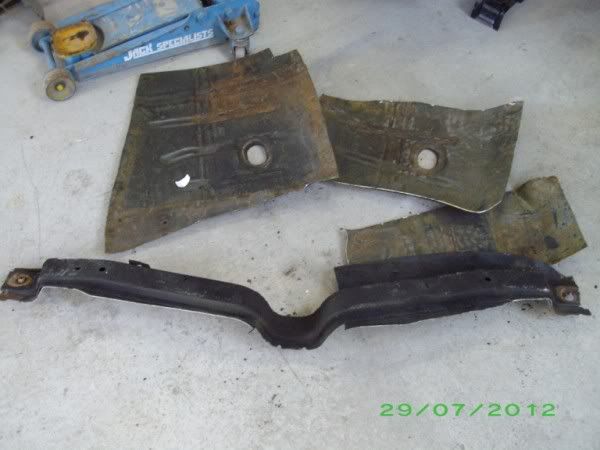
This is what the body and chassis were mounted to....
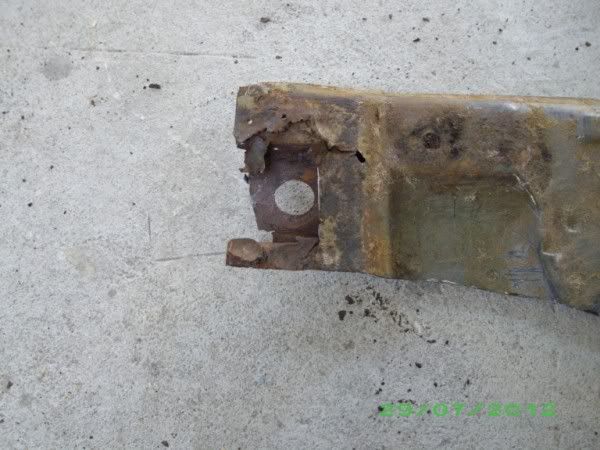
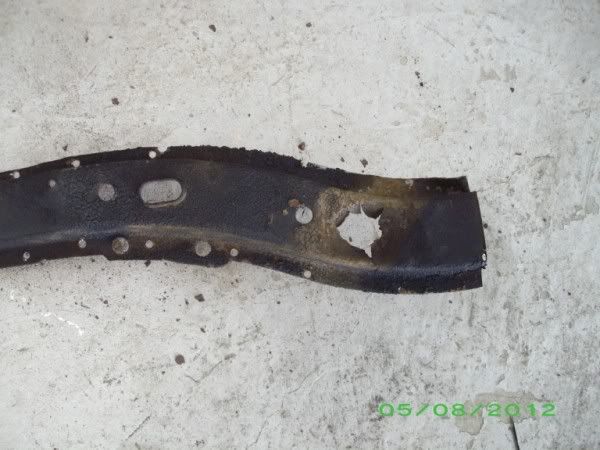
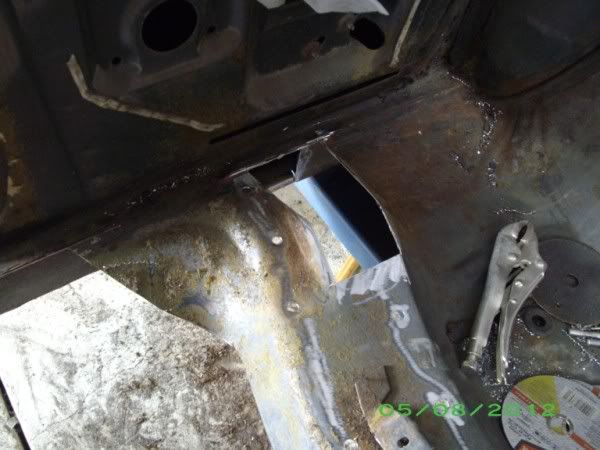
Once i removed the cross brace, i found some rust behind it in the inner sill panel.

So, i repaired that.
The L/H side was the same, so i fixed that aswell, but didn't take pics of it.
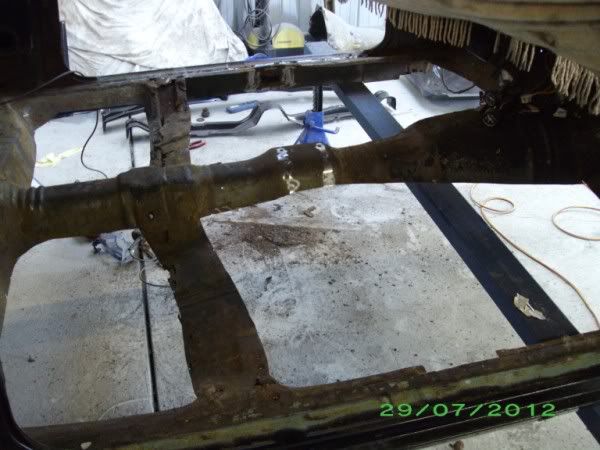
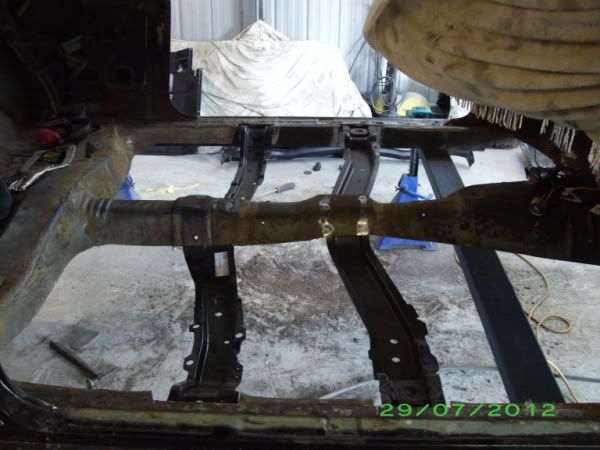
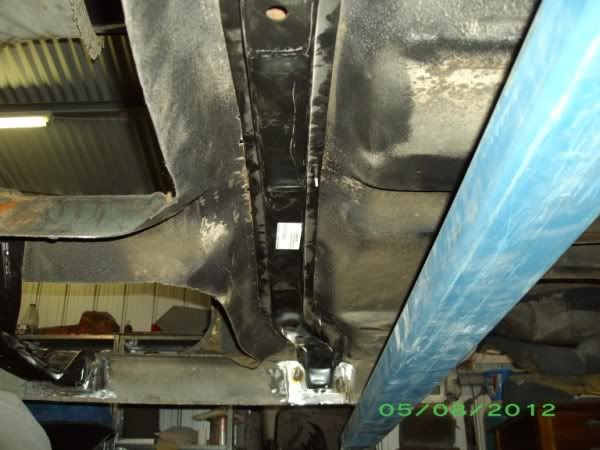
Then i welded the new cross brace back in place.
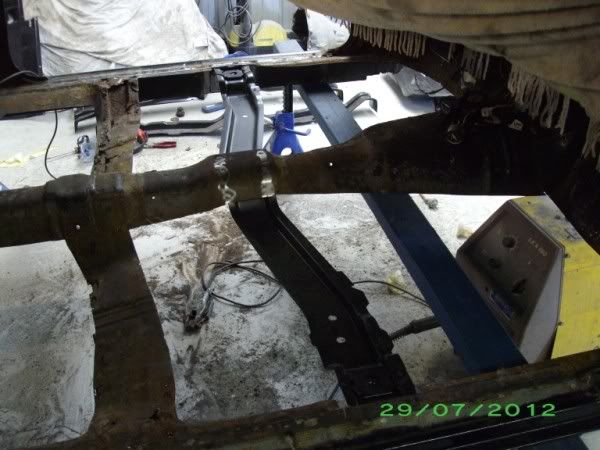

That's only half welded in, i'll finish welding that in when the floor pan is all in place.
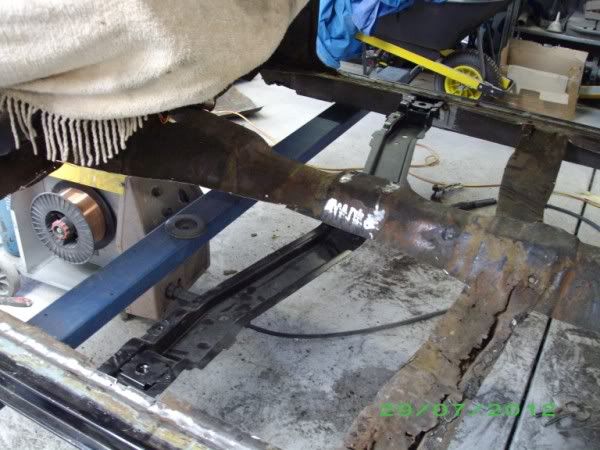
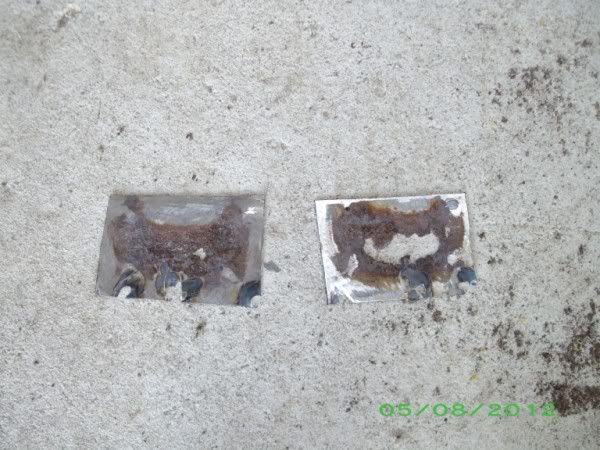
So, with that done i moved on to the middle brace.
Snip, snip.
Rust in the same spot as the front one. Only on the R/H side though, the L/H side was fine.
Fixed.
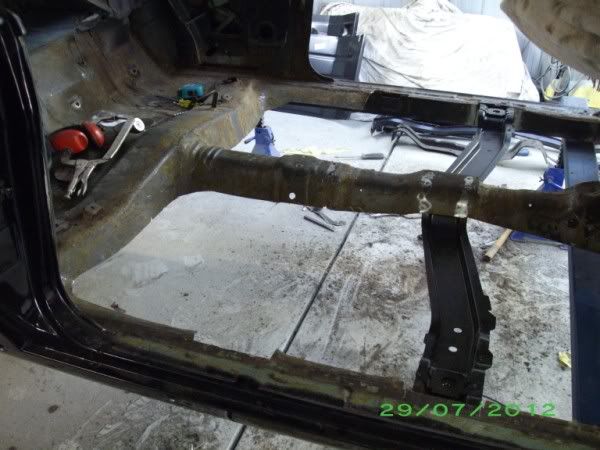
All welded in.
Once those were all done, i started to fit the R/H floor pan. It needed a bit of trimming to get it to sit nicely, but it fits ok.
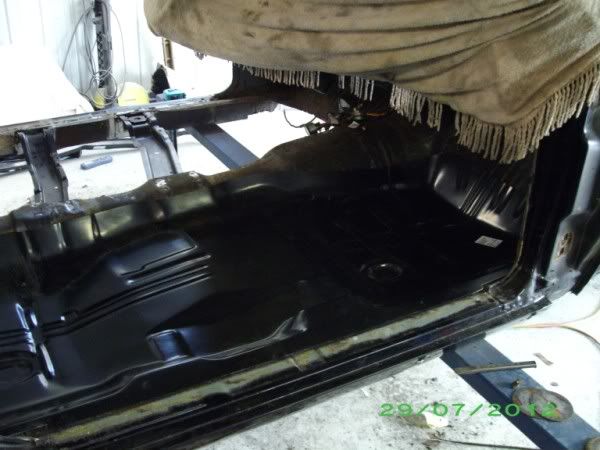
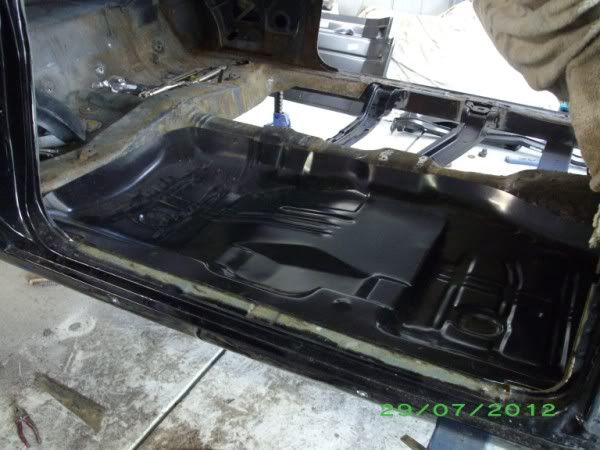
That's when i called it a day for today.
This morning i cut out the majority of the R/H floorpan, same as i did yesterday with the L/H side.
With that done, i moved onto the body braces/mounts. I started with the front one first, i did them one at a time to allow me to take measurements and get them square. Also to stop the body moving around. Chevrolet were nice enough to put divots in the sill panels where the body braces are, that made it easier to get them in the right spot too.
Removed.
This is what the body and chassis were mounted to....
Once i removed the cross brace, i found some rust behind it in the inner sill panel.
So, i repaired that.
The L/H side was the same, so i fixed that aswell, but didn't take pics of it.
Then i welded the new cross brace back in place.
That's only half welded in, i'll finish welding that in when the floor pan is all in place.
So, with that done i moved on to the middle brace.
Snip, snip.
Rust in the same spot as the front one. Only on the R/H side though, the L/H side was fine.
Fixed.
All welded in.
Once those were all done, i started to fit the R/H floor pan. It needed a bit of trimming to get it to sit nicely, but it fits ok.
That's when i called it a day for today.
383 hatch
Well-Known Member
- Joined
- Jun 14, 2005
- Messages
- 3,922
- Reaction score
- 67
- Points
- 48
- Age
- 41
- Location
- Cowes, Phillip Island
- Members Ride
- VG Ute 5.0,Torana hatch 383,WB Ute 5.0,VR stato5.0
Haha, thanks mate. I'm actually quiet enjoying this job.
Calaber
Nil Bastardo Carborundum
- Joined
- Nov 29, 2007
- Messages
- 4,334
- Reaction score
- 1,357
- Points
- 113
- Location
- Lower Hunter Region NSW
- Members Ride
- CG Captiva 5 Series 2
It sure was a rust-bucket.
What I find amusing about Yank iron is the way they kept building cars with separate chassis long after unitary construction had taken over in the motor industry. Holdens had unitary bodies from day 1 but the Yanks kept building them for many years after most other manufacturers had gone unitary.
What I find amusing about Yank iron is the way they kept building cars with separate chassis long after unitary construction had taken over in the motor industry. Holdens had unitary bodies from day 1 but the Yanks kept building them for many years after most other manufacturers had gone unitary.
383 hatch
Well-Known Member
- Joined
- Jun 14, 2005
- Messages
- 3,922
- Reaction score
- 67
- Points
- 48
- Age
- 41
- Location
- Cowes, Phillip Island
- Members Ride
- VG Ute 5.0,Torana hatch 383,WB Ute 5.0,VR stato5.0
Yeh, it certainly had it's fair share of the old tin worm. It's definately a car that's worth fixing though.
The chassis looks very much like an HQ ute, very similar idea. Infact, i'd assume the H series Holdens underpinnings were modeled off mid 60's Chevs. It's funny because like you say, early Holdens were semi-monocoque construction up until the end of HG, then with the introduction of the HQ they went to seperate chassis construction then back to monocoque with the Commodore. In all honesty though, i don't think chassis cars are such a bad thing.
The chassis looks very much like an HQ ute, very similar idea. Infact, i'd assume the H series Holdens underpinnings were modeled off mid 60's Chevs. It's funny because like you say, early Holdens were semi-monocoque construction up until the end of HG, then with the introduction of the HQ they went to seperate chassis construction then back to monocoque with the Commodore. In all honesty though, i don't think chassis cars are such a bad thing.
Pub247
Well-Known Member
- Joined
- Apr 14, 2006
- Messages
- 3,372
- Reaction score
- 59
- Points
- 48
- Location
- Melbourne S.E.
- Members Ride
- Ford Fairmont
how well did the floorpan fit?
383 hatch
Well-Known Member
- Joined
- Jun 14, 2005
- Messages
- 3,922
- Reaction score
- 67
- Points
- 48
- Age
- 41
- Location
- Cowes, Phillip Island
- Members Ride
- VG Ute 5.0,Torana hatch 383,WB Ute 5.0,VR stato5.0
Yeh, not bad. It required a bit of trimming to fit in place properly, but all in all it's pretty good. Chinese/Taiwanese panels aren't what they used to be, they're actually pretty good these days. What you have to realise though, these cars were never all the same back when they were built so chances are even a genuine panel would need some work to make it fit properly.
I'll let you know exactly how good it is when it comes time to weld it in
I'll let you know exactly how good it is when it comes time to weld it in
383 hatch
Well-Known Member
- Joined
- Jun 14, 2005
- Messages
- 3,922
- Reaction score
- 67
- Points
- 48
- Age
- 41
- Location
- Cowes, Phillip Island
- Members Ride
- VG Ute 5.0,Torana hatch 383,WB Ute 5.0,VR stato5.0
So, i've been at this again today.
Before i went ahead and put the front floor pans in, i decided to do the other body mount where the rear seat goes. I have good access to it while the floor is out and it also allows me to stand on the ground and do it rather than kneeling on the new floor.
So, first thing i did was cut the old body mount out.
Mmmm, nice
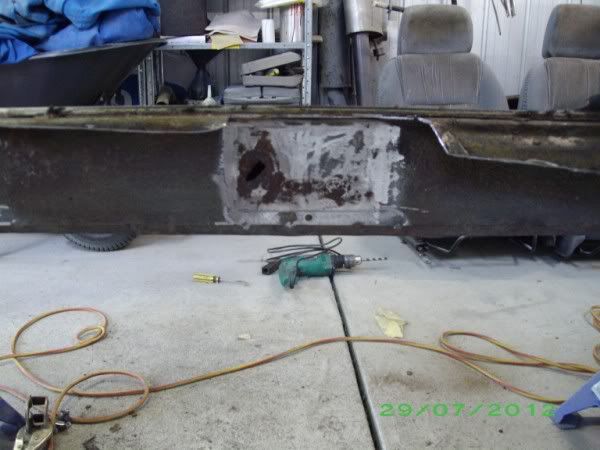
Once that was out, i found the usual rust behind it in the sill panel on both sides. Cut that out.

There was also some rust in the floor above the body mount, also on both sides. The L/H side was the worst.
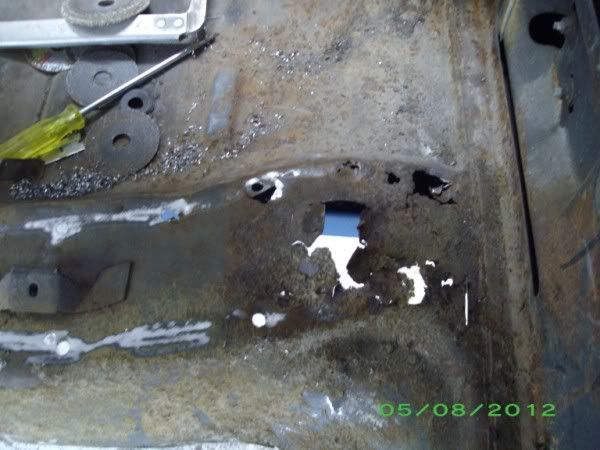
So i cut that out. With these parts out it also makes it easier to repair the sills.
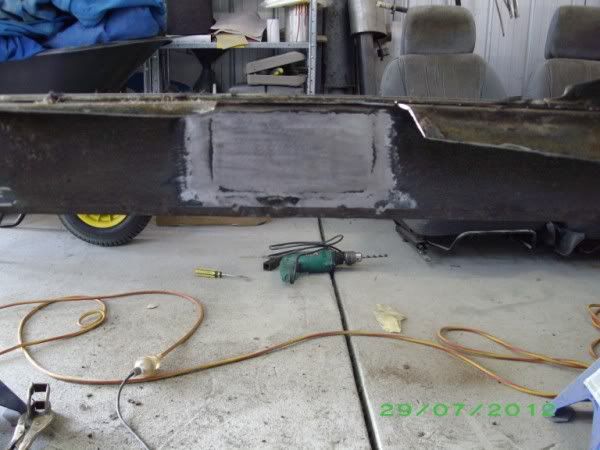
Then i repaired the inner sills.
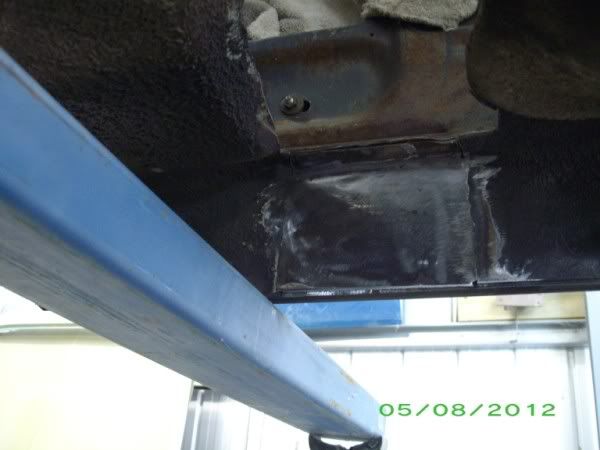
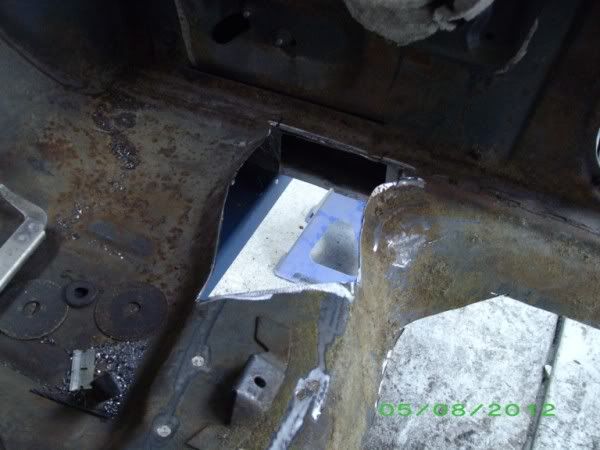
Once i repaired all that i trial fitted the body mount. It fitted nice (same as the other ones have) so i screwed it in place on the floor with tex screws. Then i welded it to the sill panels.
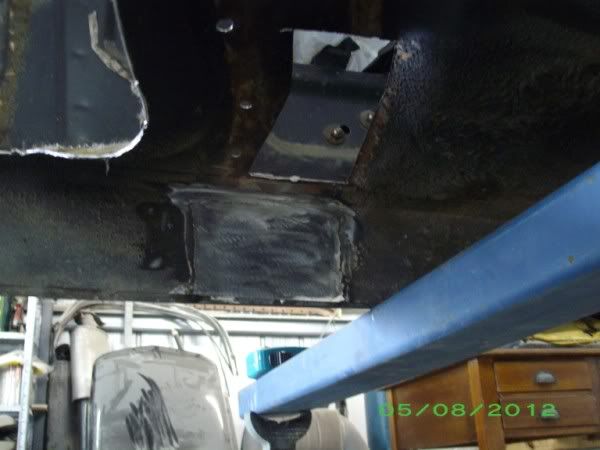
Then i repaired the floor above the body mount.
R/H side
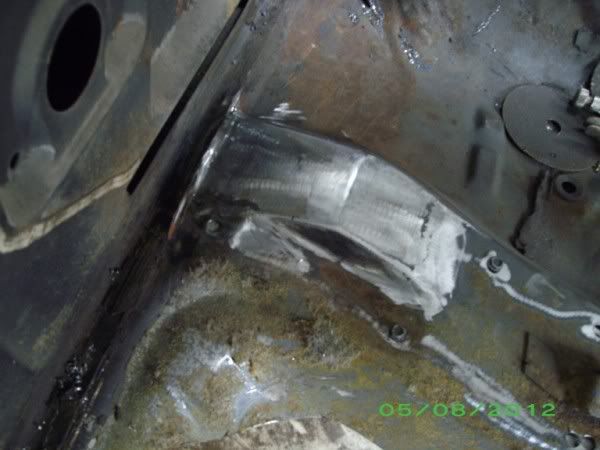
L/H side (almost finished, i just need to put 1 more piece in at the back).
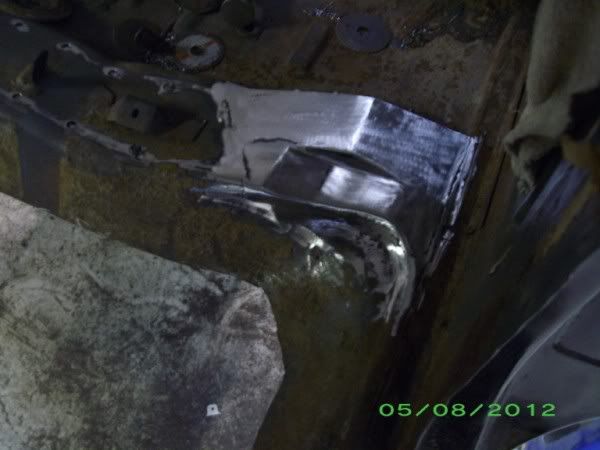
That body mount is just about finished now. All i have to do is plug weld it across the floor pan where i drilled the old one out and it's done.
That's all for today.
Before i went ahead and put the front floor pans in, i decided to do the other body mount where the rear seat goes. I have good access to it while the floor is out and it also allows me to stand on the ground and do it rather than kneeling on the new floor.
So, first thing i did was cut the old body mount out.
Mmmm, nice
Once that was out, i found the usual rust behind it in the sill panel on both sides. Cut that out.
There was also some rust in the floor above the body mount, also on both sides. The L/H side was the worst.
So i cut that out. With these parts out it also makes it easier to repair the sills.
Then i repaired the inner sills.
Once i repaired all that i trial fitted the body mount. It fitted nice (same as the other ones have) so i screwed it in place on the floor with tex screws. Then i welded it to the sill panels.
Then i repaired the floor above the body mount.
R/H side
L/H side (almost finished, i just need to put 1 more piece in at the back).
That body mount is just about finished now. All i have to do is plug weld it across the floor pan where i drilled the old one out and it's done.
That's all for today.
Calaber
Nil Bastardo Carborundum
- Joined
- Nov 29, 2007
- Messages
- 4,334
- Reaction score
- 1,357
- Points
- 113
- Location
- Lower Hunter Region NSW
- Members Ride
- CG Captiva 5 Series 2
It's pretty obvious that the factory rust prevention in those days was non-existent. Nice work and great pics.