Welcome to Just Commodores, a site specifically designed for all people who share the same passion as yourself.
You are using an out of date browser. It may not display this or other websites correctly.
You should upgrade or use an alternative browser.
You should upgrade or use an alternative browser.
Rusty 66 Chevelle Project
- Thread starter 383 hatch
- Start date
383 hatch
Well-Known Member
- Joined
- Jun 14, 2005
- Messages
- 3,922
- Reaction score
- 67
- Points
- 48
- Age
- 41
- Location
- Cowes, Phillip Island
- Members Ride
- VG Ute 5.0,Torana hatch 383,WB Ute 5.0,VR stato5.0
Ari, the boot seal isn't rusty believe it or not, well not that i can see. Might be a different story once the paint is stripped off.
Anyway, a bit more happened this weekend.
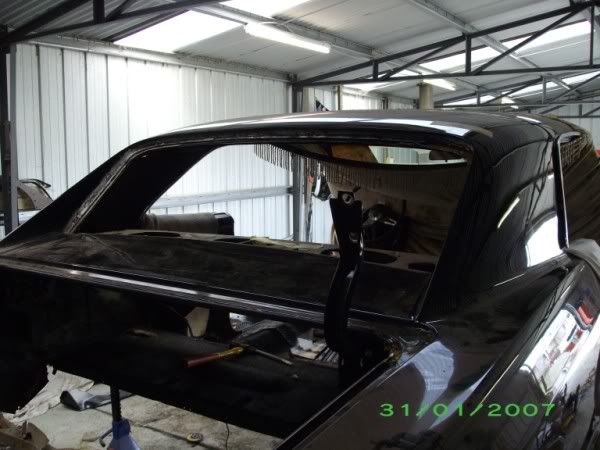
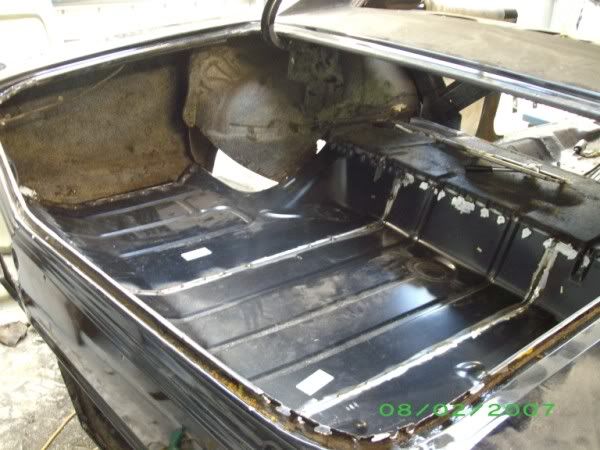
I started yesterday by pulling the back window out so it doesn't get grinding sparks all over is as i'm working right below it in the diff hump. Bloody Americans, they never pulled the windows out when they painted it, just painted around the stainless moulds. They did however, load it up with silicone in an attempt to stop it leaking obviously.
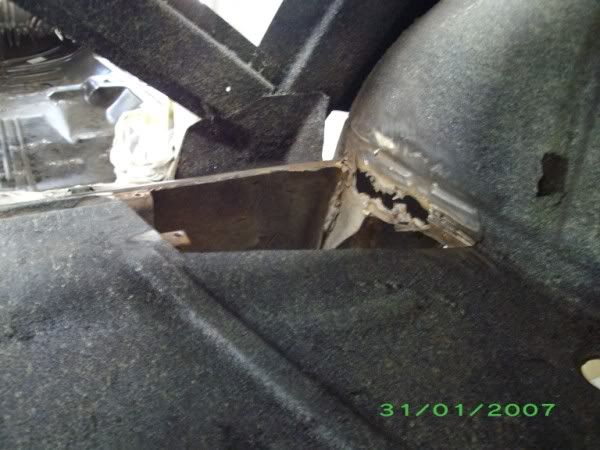
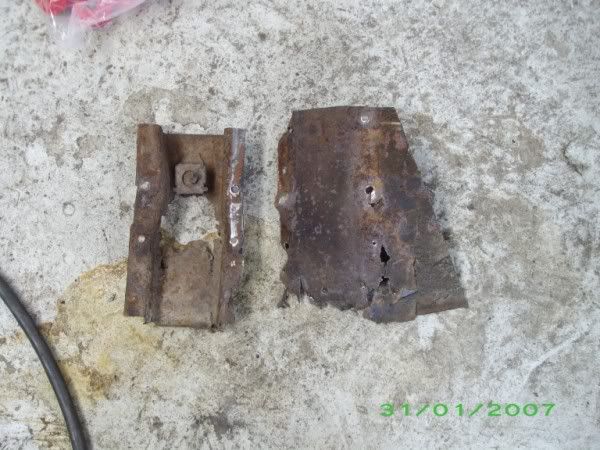
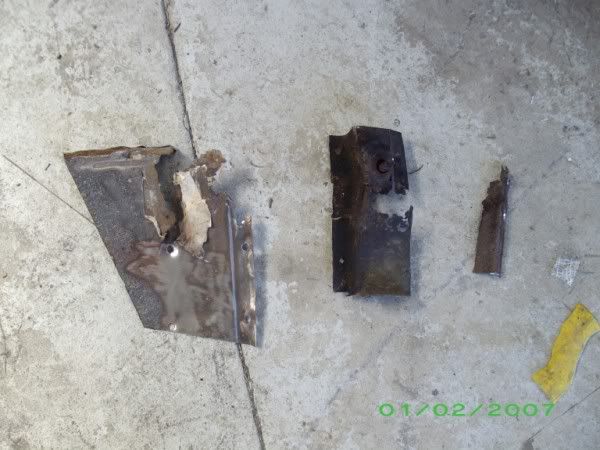
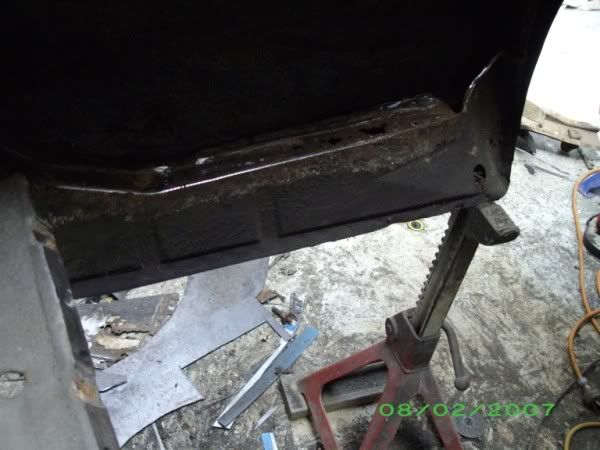
Then i started on the R/H side of the diff hump. I also had to repair the body mount/brace as we couldn't buy it and it's rusty, ofcoarse. All cut out:
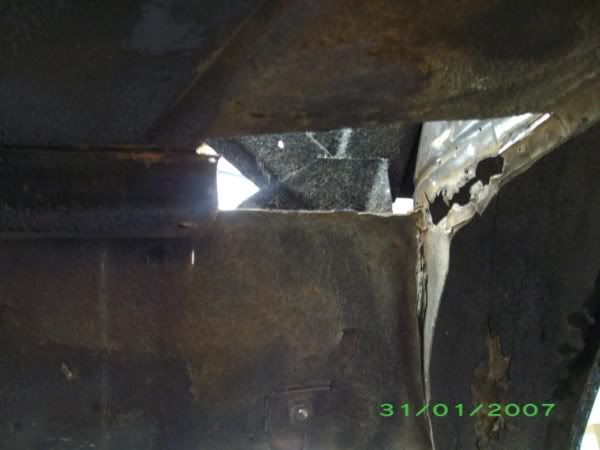
What i cut out:
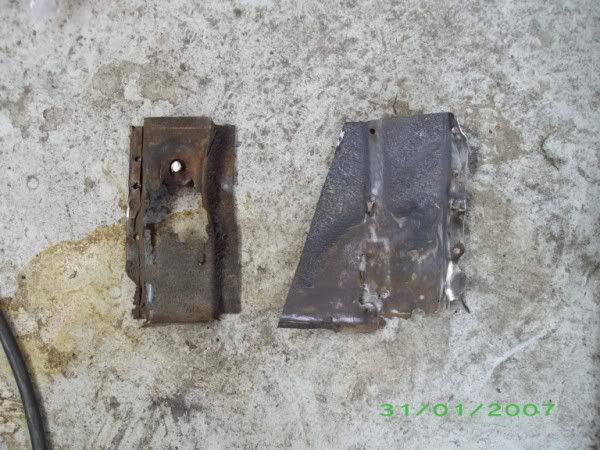
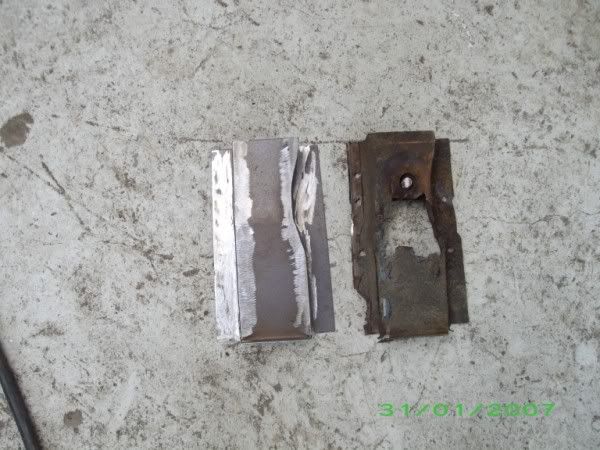
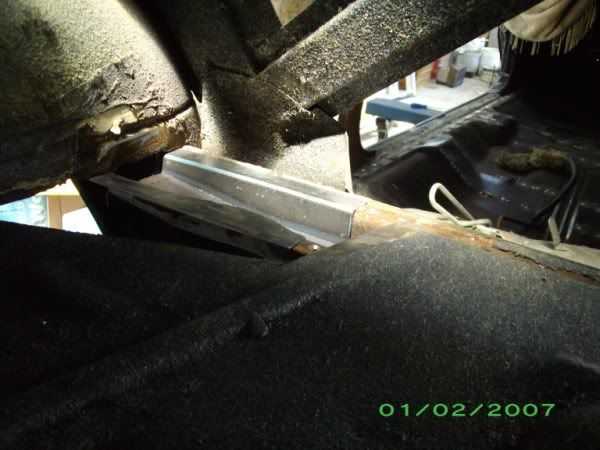
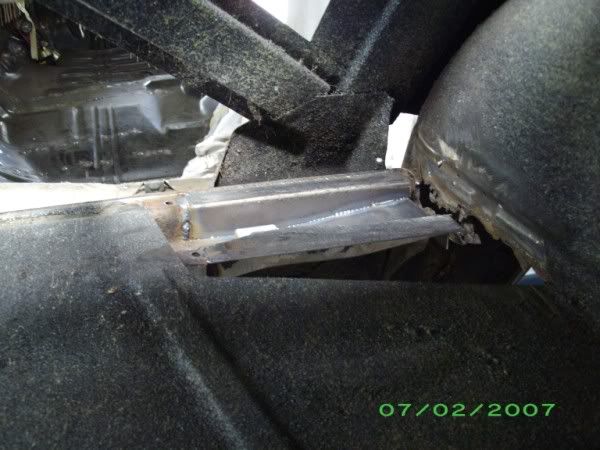
New body mount section made:
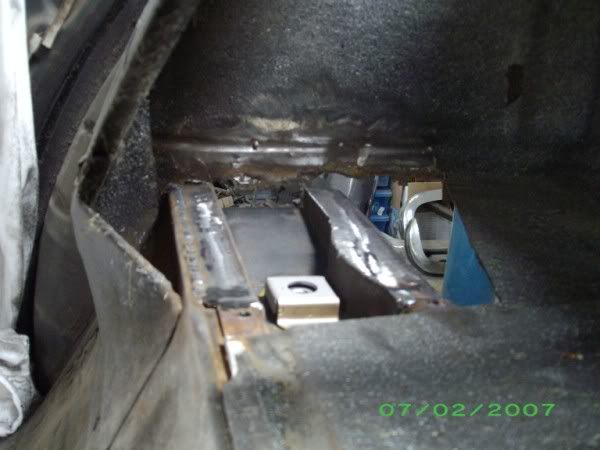
Tacked in the car:
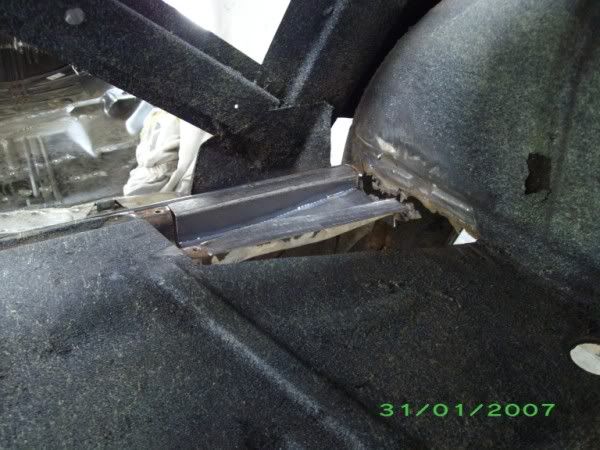

It still needs a castleated nut fitted for the mounting point. That's why i only tacked it in at this point so i could make the top section.
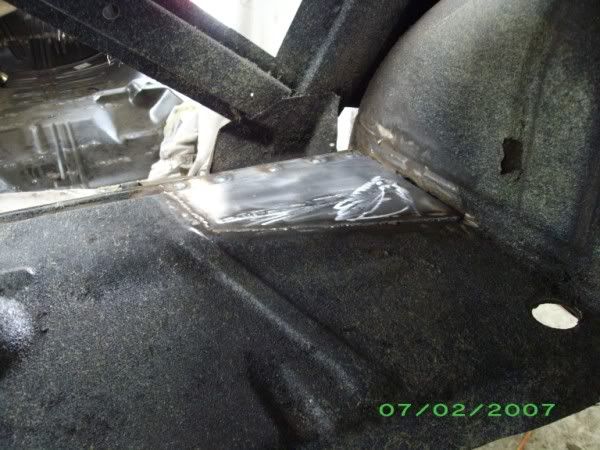
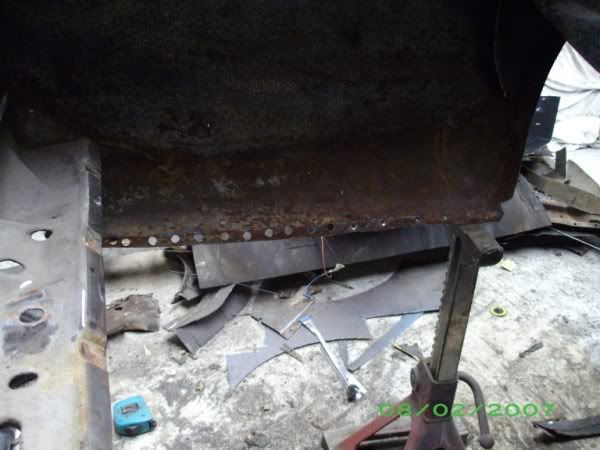
Floor section made:
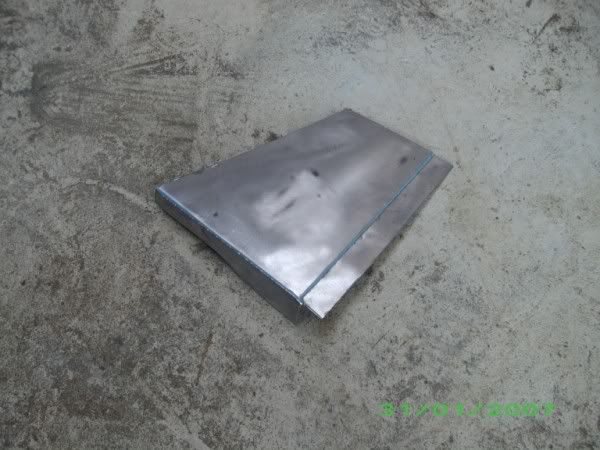
Sat in place:
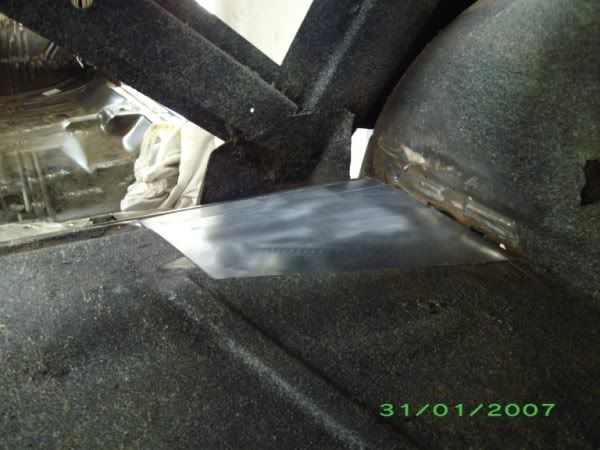
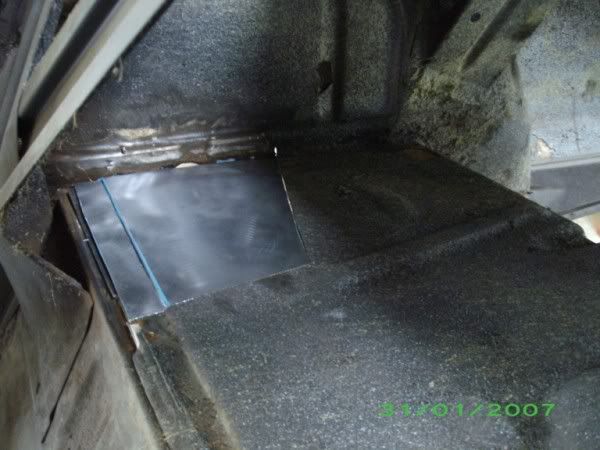
That's where i left that side as i don't have a drill bit big enough to drill the hole for the mount bolt. I'll get one from work before i weld it all together. Then i just need to repair the wheel arch.
So, today i moved on to the L/H side.
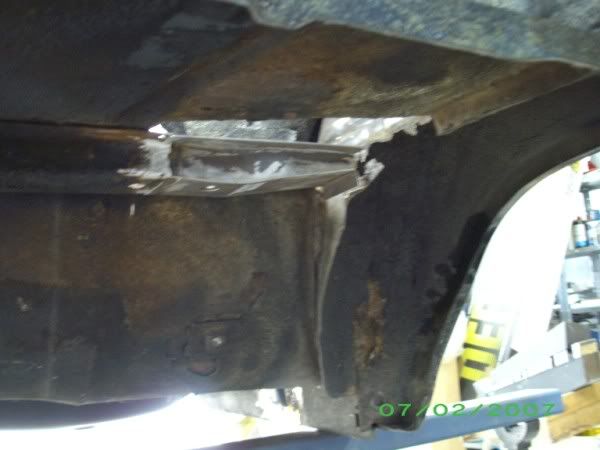
What i started with:
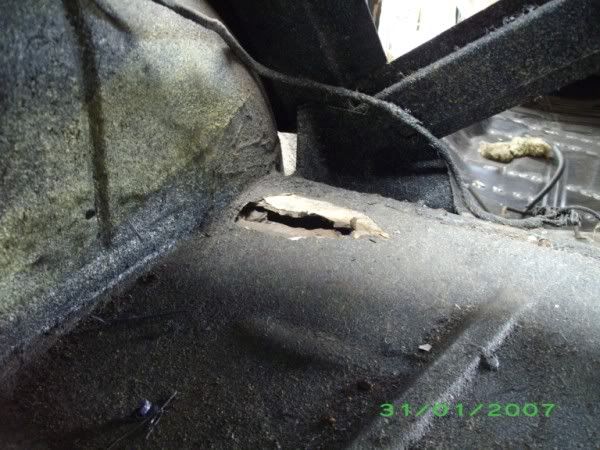
Then i hit it with the wire wheel:

That was all full of masking tape and body filler.
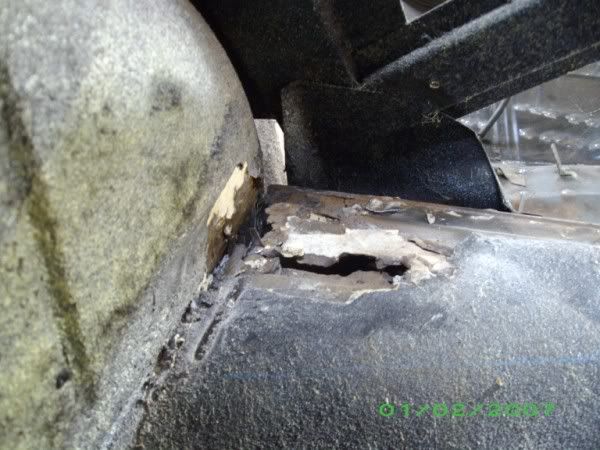
Body mount:
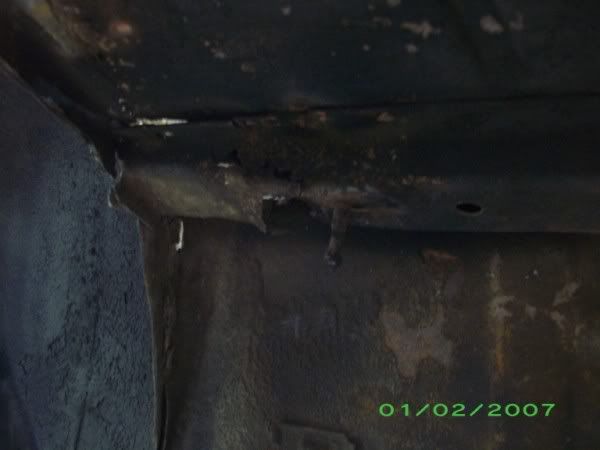
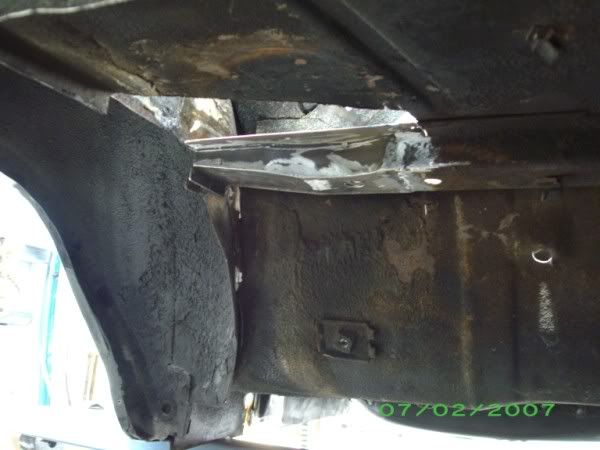
Cut it all out:
What was there:
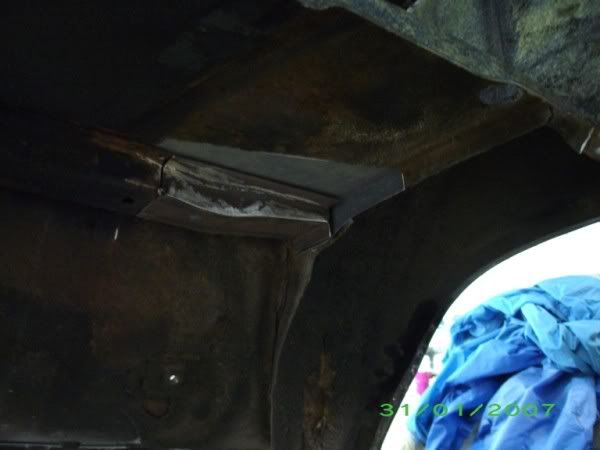
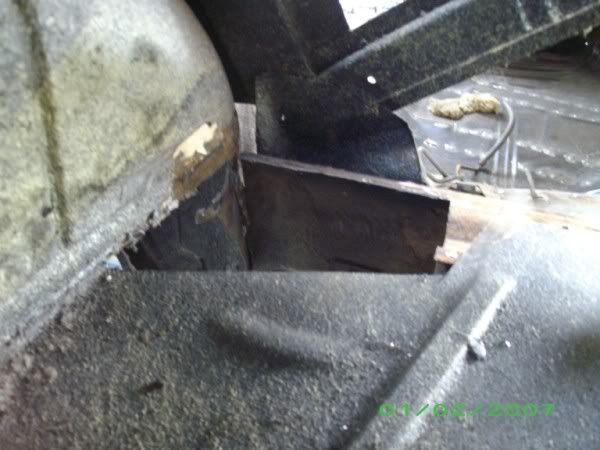
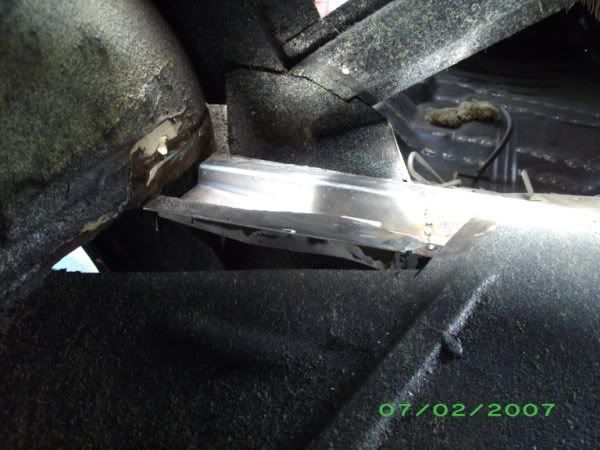
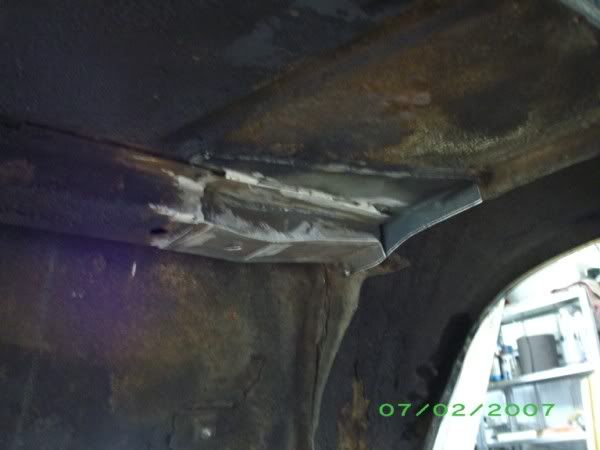
New section made:

Tacked in place:
That's where i left it today as i have run out of sheetmetal to make the floor section.
Anyway, a bit more happened this weekend.
I started yesterday by pulling the back window out so it doesn't get grinding sparks all over is as i'm working right below it in the diff hump. Bloody Americans, they never pulled the windows out when they painted it, just painted around the stainless moulds. They did however, load it up with silicone in an attempt to stop it leaking obviously.
Then i started on the R/H side of the diff hump. I also had to repair the body mount/brace as we couldn't buy it and it's rusty, ofcoarse. All cut out:
What i cut out:
New body mount section made:
Tacked in the car:
It still needs a castleated nut fitted for the mounting point. That's why i only tacked it in at this point so i could make the top section.
Floor section made:
Sat in place:
That's where i left that side as i don't have a drill bit big enough to drill the hole for the mount bolt. I'll get one from work before i weld it all together. Then i just need to repair the wheel arch.
So, today i moved on to the L/H side.
What i started with:
Then i hit it with the wire wheel:
That was all full of masking tape and body filler.
Body mount:
Cut it all out:
What was there:
New section made:
Tacked in place:
That's where i left it today as i have run out of sheetmetal to make the floor section.
383 hatch
Well-Known Member
- Joined
- Jun 14, 2005
- Messages
- 3,922
- Reaction score
- 67
- Points
- 48
- Age
- 41
- Location
- Cowes, Phillip Island
- Members Ride
- VG Ute 5.0,Torana hatch 383,WB Ute 5.0,VR stato5.0
Not really much of a surprise actually. I knew it was there, they hadn't covered it that well...
Drawnnite
Obviously Unsensible
- Joined
- Sep 2, 2010
- Messages
- 2,033
- Reaction score
- 2,168
- Points
- 113
- Location
- Victoria
- Members Ride
- 2000 Vs Ute
so, would a "this part isnt going to be replaced list" be shorter to write out? =P
looking good.
all these little tips and tricks are helping alot.
good for learning how to spot and find rust, and to know what would go into repairing them.
keep it up.
looking good.
all these little tips and tricks are helping alot.
good for learning how to spot and find rust, and to know what would go into repairing them.
keep it up.
383 hatch
Well-Known Member
- Joined
- Jun 14, 2005
- Messages
- 3,922
- Reaction score
- 67
- Points
- 48
- Age
- 41
- Location
- Cowes, Phillip Island
- Members Ride
- VG Ute 5.0,Torana hatch 383,WB Ute 5.0,VR stato5.0
so, would a "this part isnt going to be replaced list" be shorter to write out? =P
looking good.
all these little tips and tricks are helping alot.
good for learning how to spot and find rust, and to know what would go into repairing them.
keep it up.
Yeh, it probably would be easier to point out what isn't getting replaced rather than what is. Hopefully the outer shell isn't too bad when it comes time to do the body work.
So, big weekend on this car.
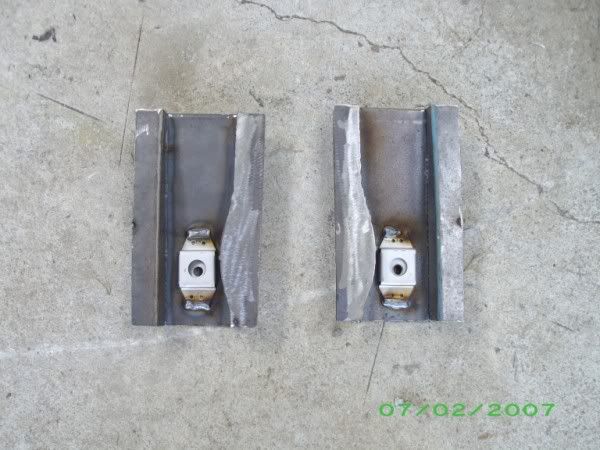
I got a step drill from work and drilled the holes for the body mount bolts where i repaired. Then i welded in some captive nuts. We got a body mount that was wrong for the car, but it actually came in handy as it had the captive nuts in it that i needed, so i drilled them out and welded them into the sections i made.
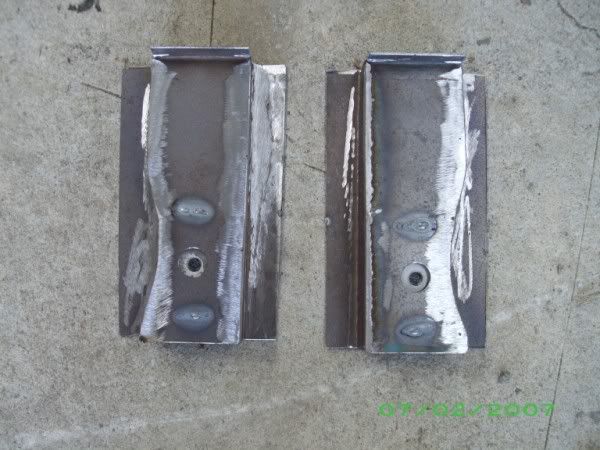
Then i proceeded to weld the sections in the car.
With that done, i welded in the floor section that i made last weekend.
I'm really happy with how this repair has come up, considering what i had to work with.
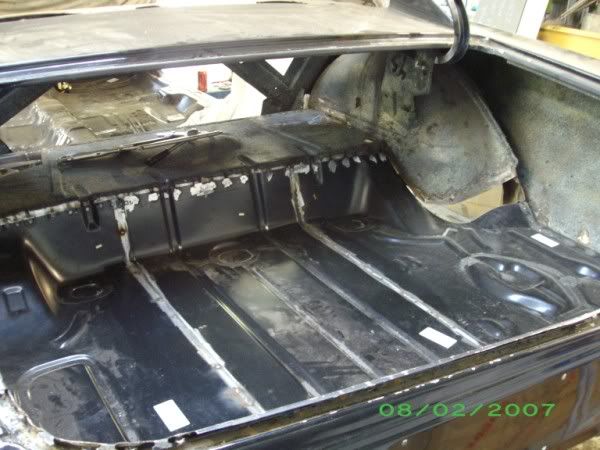
I forgot to organise some new sheetmetal this week so i couldn't do the other side. So i left that and moved on to the boot floor.
I started by welding in the R/H side floor section and drop down panel. I welded the boot in 1 section at a time as it's easier to stand on the garage floor and weld in each section that leaning over the car doing it in 1 go. Obviously i had to lean over the car to weld the last section in but i can deal with that
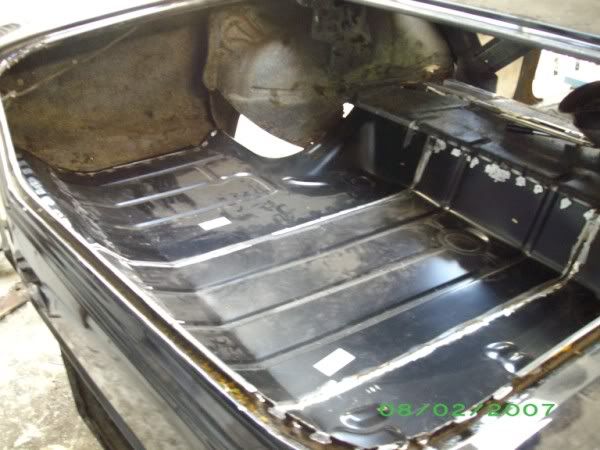
R/H section welded in.


That's where i got up to yesterday. So this morning, it was more of the same.
Centre section welded in.

Before i welded the last section in, i replaced the drop down panel.
The old rusty one.
All cut out. Another nasty repair was revealed on the outer 1/4 panel. Again, just a section pop riveted over the top. Again, this will get fixed when the body work gets done.
New section fitted.

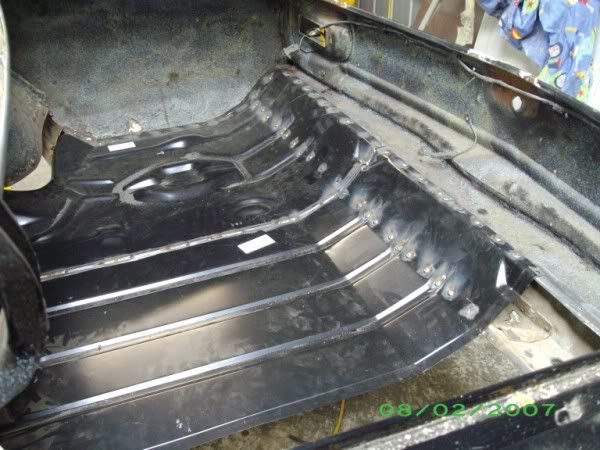
L/H floor all drilled and cleaned ready for welding.
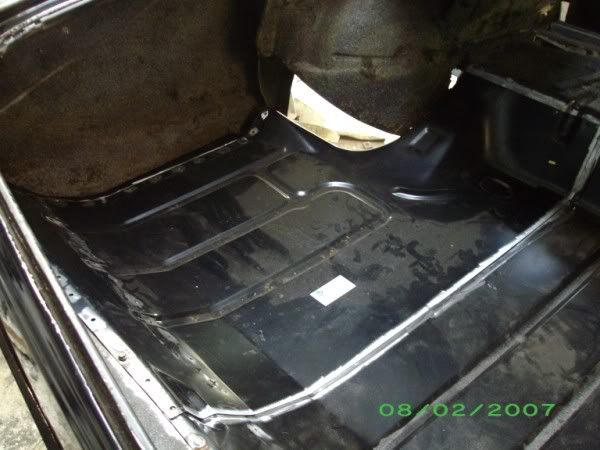
All welded in.
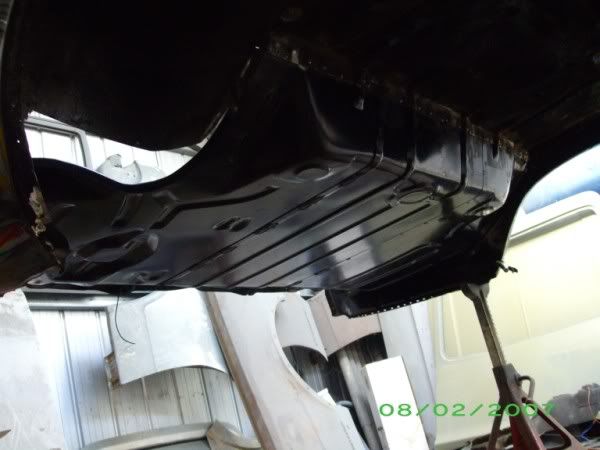
That's the boot floor done. Well, almost i still have to weld the fuel tank mounts in and the last body mounts just behind the rear wheels (i don't have those panels yet). That's where i finished up today.
Next is to repair the rear of the wheel arches.
hi_ryder
Donating Member
- Joined
- Aug 27, 2008
- Messages
- 3,359
- Reaction score
- 132
- Points
- 63
- Location
- Pascoe Vale South, MEL
- Members Ride
- vp calais ls1, vp berlina 3.8L
flintstones floor pans. :undead: looking good...
383 hatch
Well-Known Member
- Joined
- Jun 14, 2005
- Messages
- 3,922
- Reaction score
- 67
- Points
- 48
- Age
- 41
- Location
- Cowes, Phillip Island
- Members Ride
- VG Ute 5.0,Torana hatch 383,WB Ute 5.0,VR stato5.0
Little bit more progress this weekend.
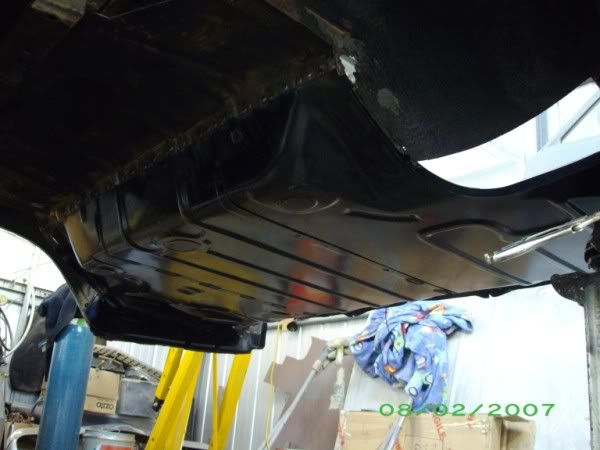
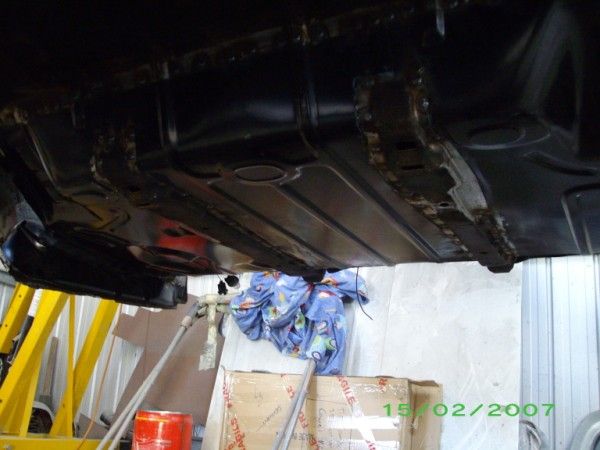
I cleaned up and welded in the braces across the beaver panel. These were fairly rusted at the bottom where they meet the floor, so i had to shorten them a bit.

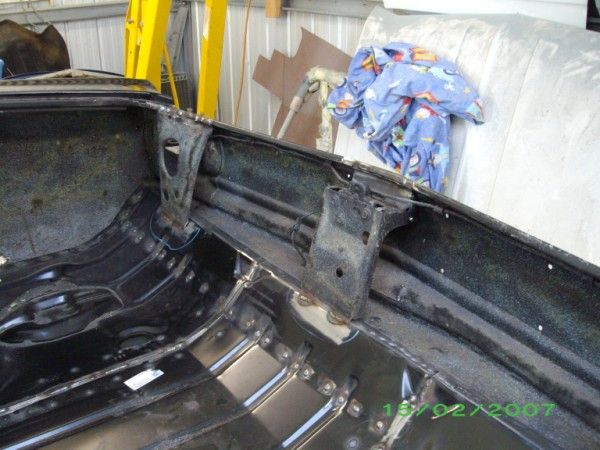
Also repaired and welded in the fuel tank braces. Originally i was only going to repair one as the owner got one aftermarket brace, but it was rubbish, no where near fitting so i just repaired both the original ones. They fit perfect.
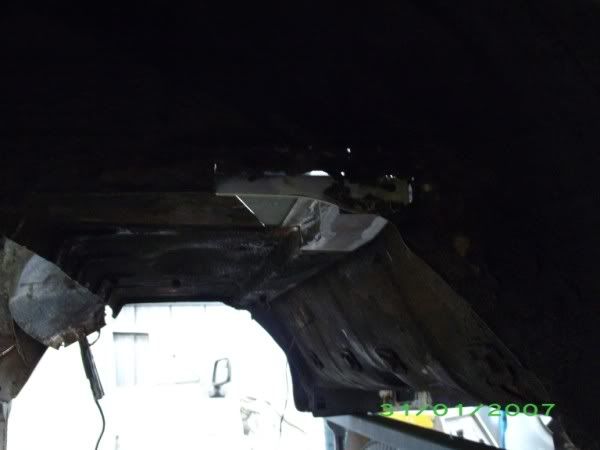
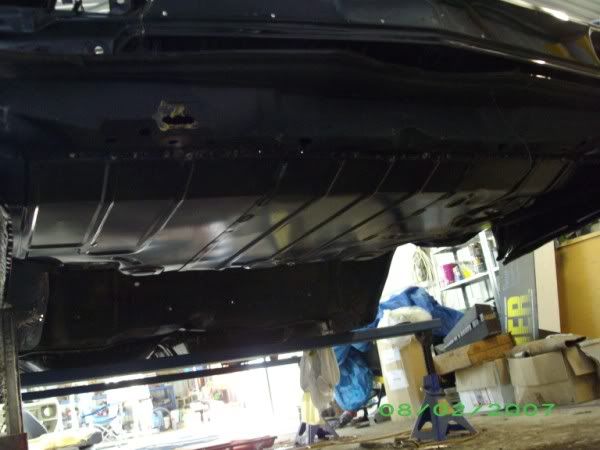
Bit of overhead plug welding...

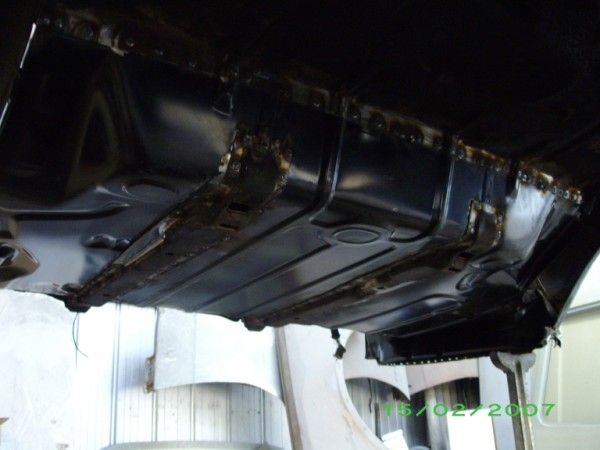
That's all for now. Not heaps, but it's progressing.
I cleaned up and welded in the braces across the beaver panel. These were fairly rusted at the bottom where they meet the floor, so i had to shorten them a bit.
Also repaired and welded in the fuel tank braces. Originally i was only going to repair one as the owner got one aftermarket brace, but it was rubbish, no where near fitting so i just repaired both the original ones. They fit perfect.
Bit of overhead plug welding...
That's all for now. Not heaps, but it's progressing.