preston_e
VP For SALE!! :(
- Joined
- Oct 13, 2007
- Messages
- 22
- Reaction score
- 0
- Points
- 0
- Location
- Brisbane
- Members Ride
- VP Executive 3.8L v6
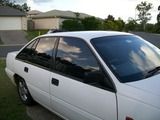
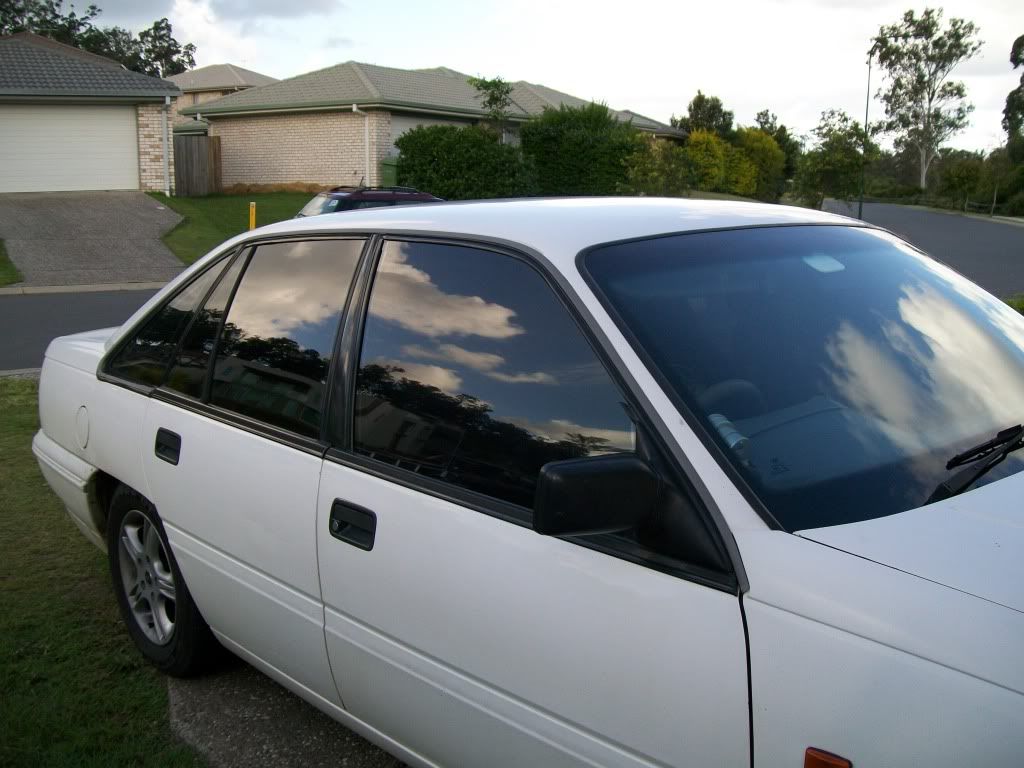
Hey, awhile ago I tinted my vp and it turned out to be a pretty good job I think...
It cost me about $60 for the tint I had some left over’s and re-did some windows I wasn't happy with.
Turns out it wasn't as hard as I thought ill run thu the way I did it.
What I used.
-razors
-rubber squeegee (the guy I got my tint off gave me a good one for free but you also got little plastic one with the tint)
-spray bottle full with water with a drop or 2 of soap in there
-oven cleaner
-heat gun
and just a few rags
1. Removed my old tint... I slid a razor under the tint and peeled it away enough to grab then I slowly pulled the tint away and most of the glue came with the tint but for the glue that stayed on the window I used a bit of oven cleaner and the razor to scrape off the glue. Be careful of the rear window don’t use a razor over your demister line it will scratch them off I used one of those green scratchy things you use to clean dishes lol and a bit of the oven cleaner. **the oven clean stinks alot and almost made me lose my lunch a few time wear a mask!!***
2.Clean... After all the tints off you'll need to clean your windows very very well I used the meguiars glass cleaner it works well and it doesn’t leave any residue so your new tint will stick... I took my time cleaning the windows rrrreeeeeallllyyy well because if there’s any dirt or fluff ect it will get stuck in the tint and causes bubbles..
3. Clean again.. clean the outside of the window and use your spray bottle to wet the outside of the window then roll your window down about a inch, place the tint on the window, make sure you have the protective film (the film over the top of the sticky stuff) facing you and squeegee out some of the water from underneath the tint, this will help the tint stick to your window while your cutting it, cut along the top edge of the window then roll your window up carefully and try to make sure the tint doesn’t move yet, now trim the sides and before you trim the bottom just slide the tint up about a inch then cut along the bottom.
4.Tinting... with the tine still on the outside of the window carefully peel off the protective film to expose the sticky side of the tint and as your dosing this spray the tint with a fair amount of water then clean the inside of the window again, just to double check there’s no dirty or fluff on the window, and spray the window. Then carefully roll down the window a inch making sure you pull the bottom of the tint away as you roll the window down on the other side. Spray your tint again, then carefully pick up your tint and start lining it up with the top edge of your window, once your happy start squeegeeing out the water starting from the middle going up to the top in t V shape to each corner getting every drop of water out you can, if you need to wet the outside of the tint to make your squeegee move easier, now roll up your window carefully and spray your tint again if needed, keep your tint wet to stop it sticking before you want it to stick, and continue squeegeeing the water from under the rest of the tint, pushing the tint under window seals ect.
Then basically you’re done the first window just do the remaining ones the same.. The back window is a bit trickier you’ll need a heat gun.. set up and cut the tint the same way as the other windows but only roughly cut it to size as you’ll need to heat shrink the tint a little to go the tint to mould to the curve of the back window.. so using a heat gun on low setting use your squeegee to help you heat shrink the tint heres a little video of what heat shrinking the tint looks like.. p.s no, it’s not me.
YouTube - Window tinting / heatshrinking backglass by Texastintchick
Now you’re done I think, just don’t open your windows for the next 3 or 4 days till the glue can dry then after you open your windows you can use a razor and trim along the top if there's any overhang
I’ll try to answer any questions you have and here a pic of my tint
")